2021 Grand Design Momentum 395MS
This is a companion blog post to the Five2Go tour video. I thought people might want to see photos of modifications as they were happening and various parts of the RV that aren’t normally showcased well.
Table of Contents
Specs
- Length: 43’ 8”
- Height: 13’ 5”
- Hitch Weight: 2900 lbs
- GVWR: 20k lbs
- Axle Rating: 3 x 7000 lbs
- Fresh Water Capacity: 155 Gallons
- Grey Water Capacity: 104 Gallons
- Black Water Capacity: 104 Gallons
- Fuel Capacity: 60 Gallons
- LP Capacity: 60 lbs
- Furnace: 35k BTU
- Fireplace: 5k BTU
- Frame Size: 12” I-Beam
- Awnings: 4
- Slides: 3
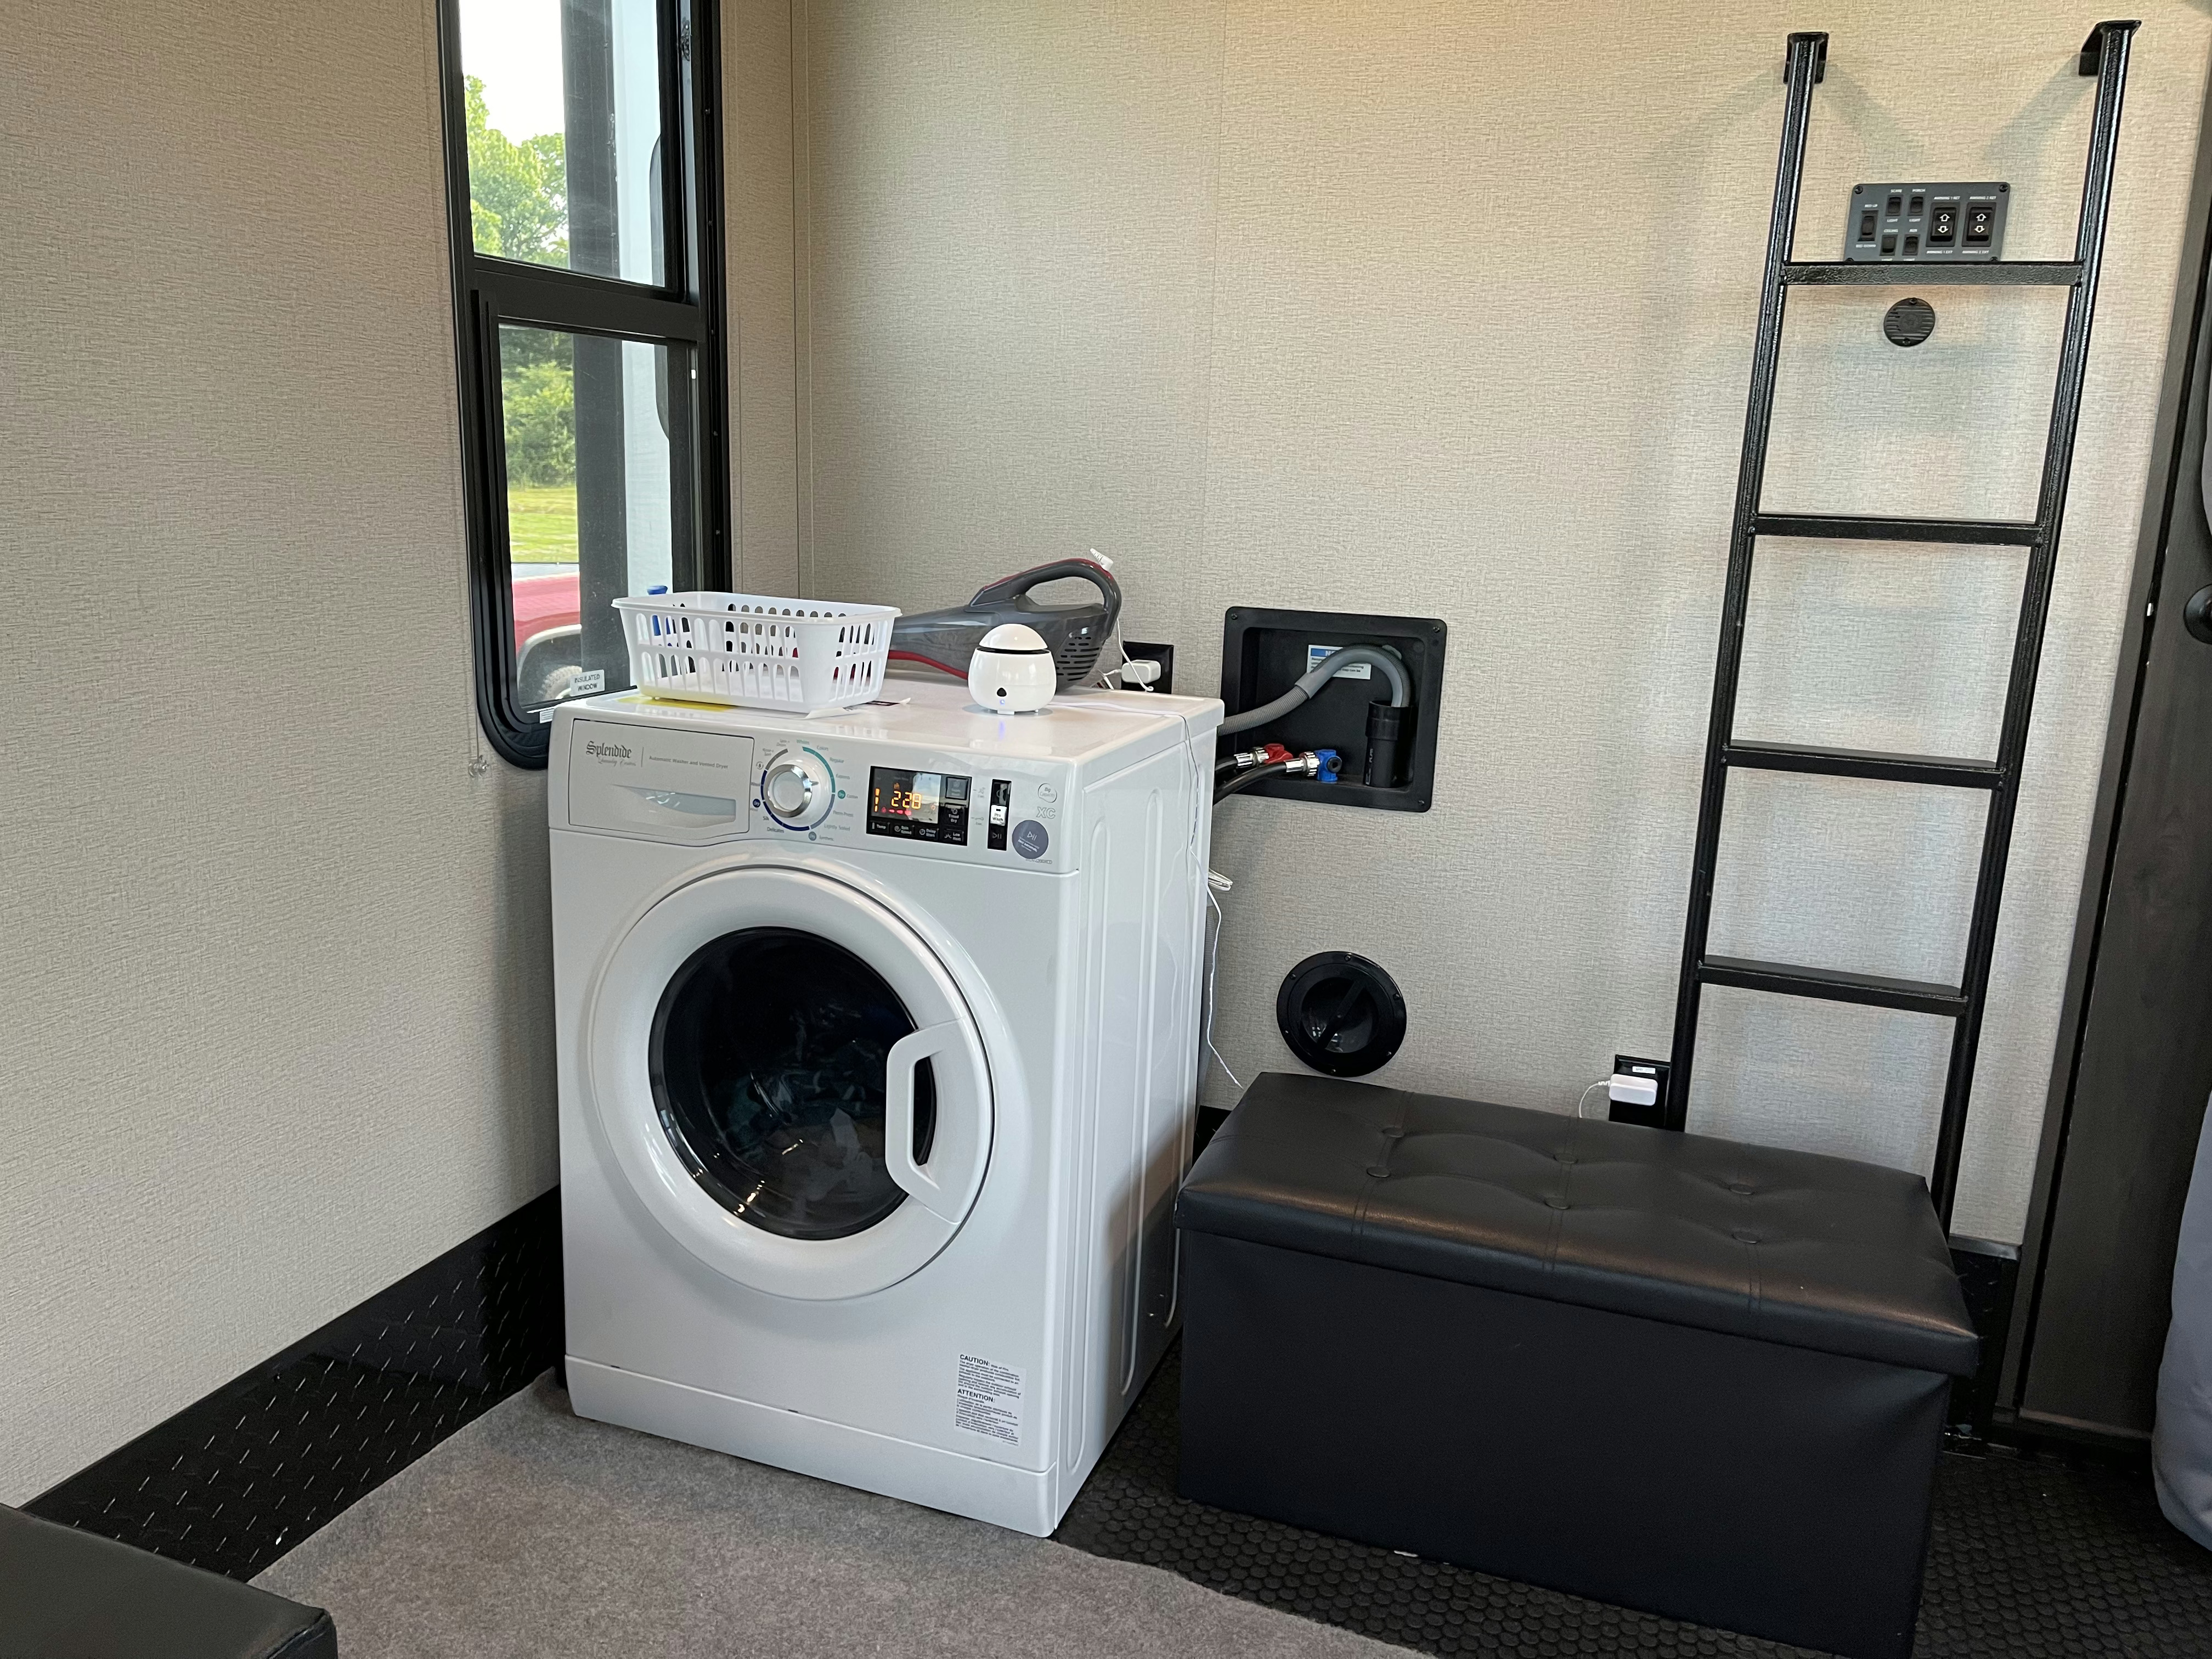
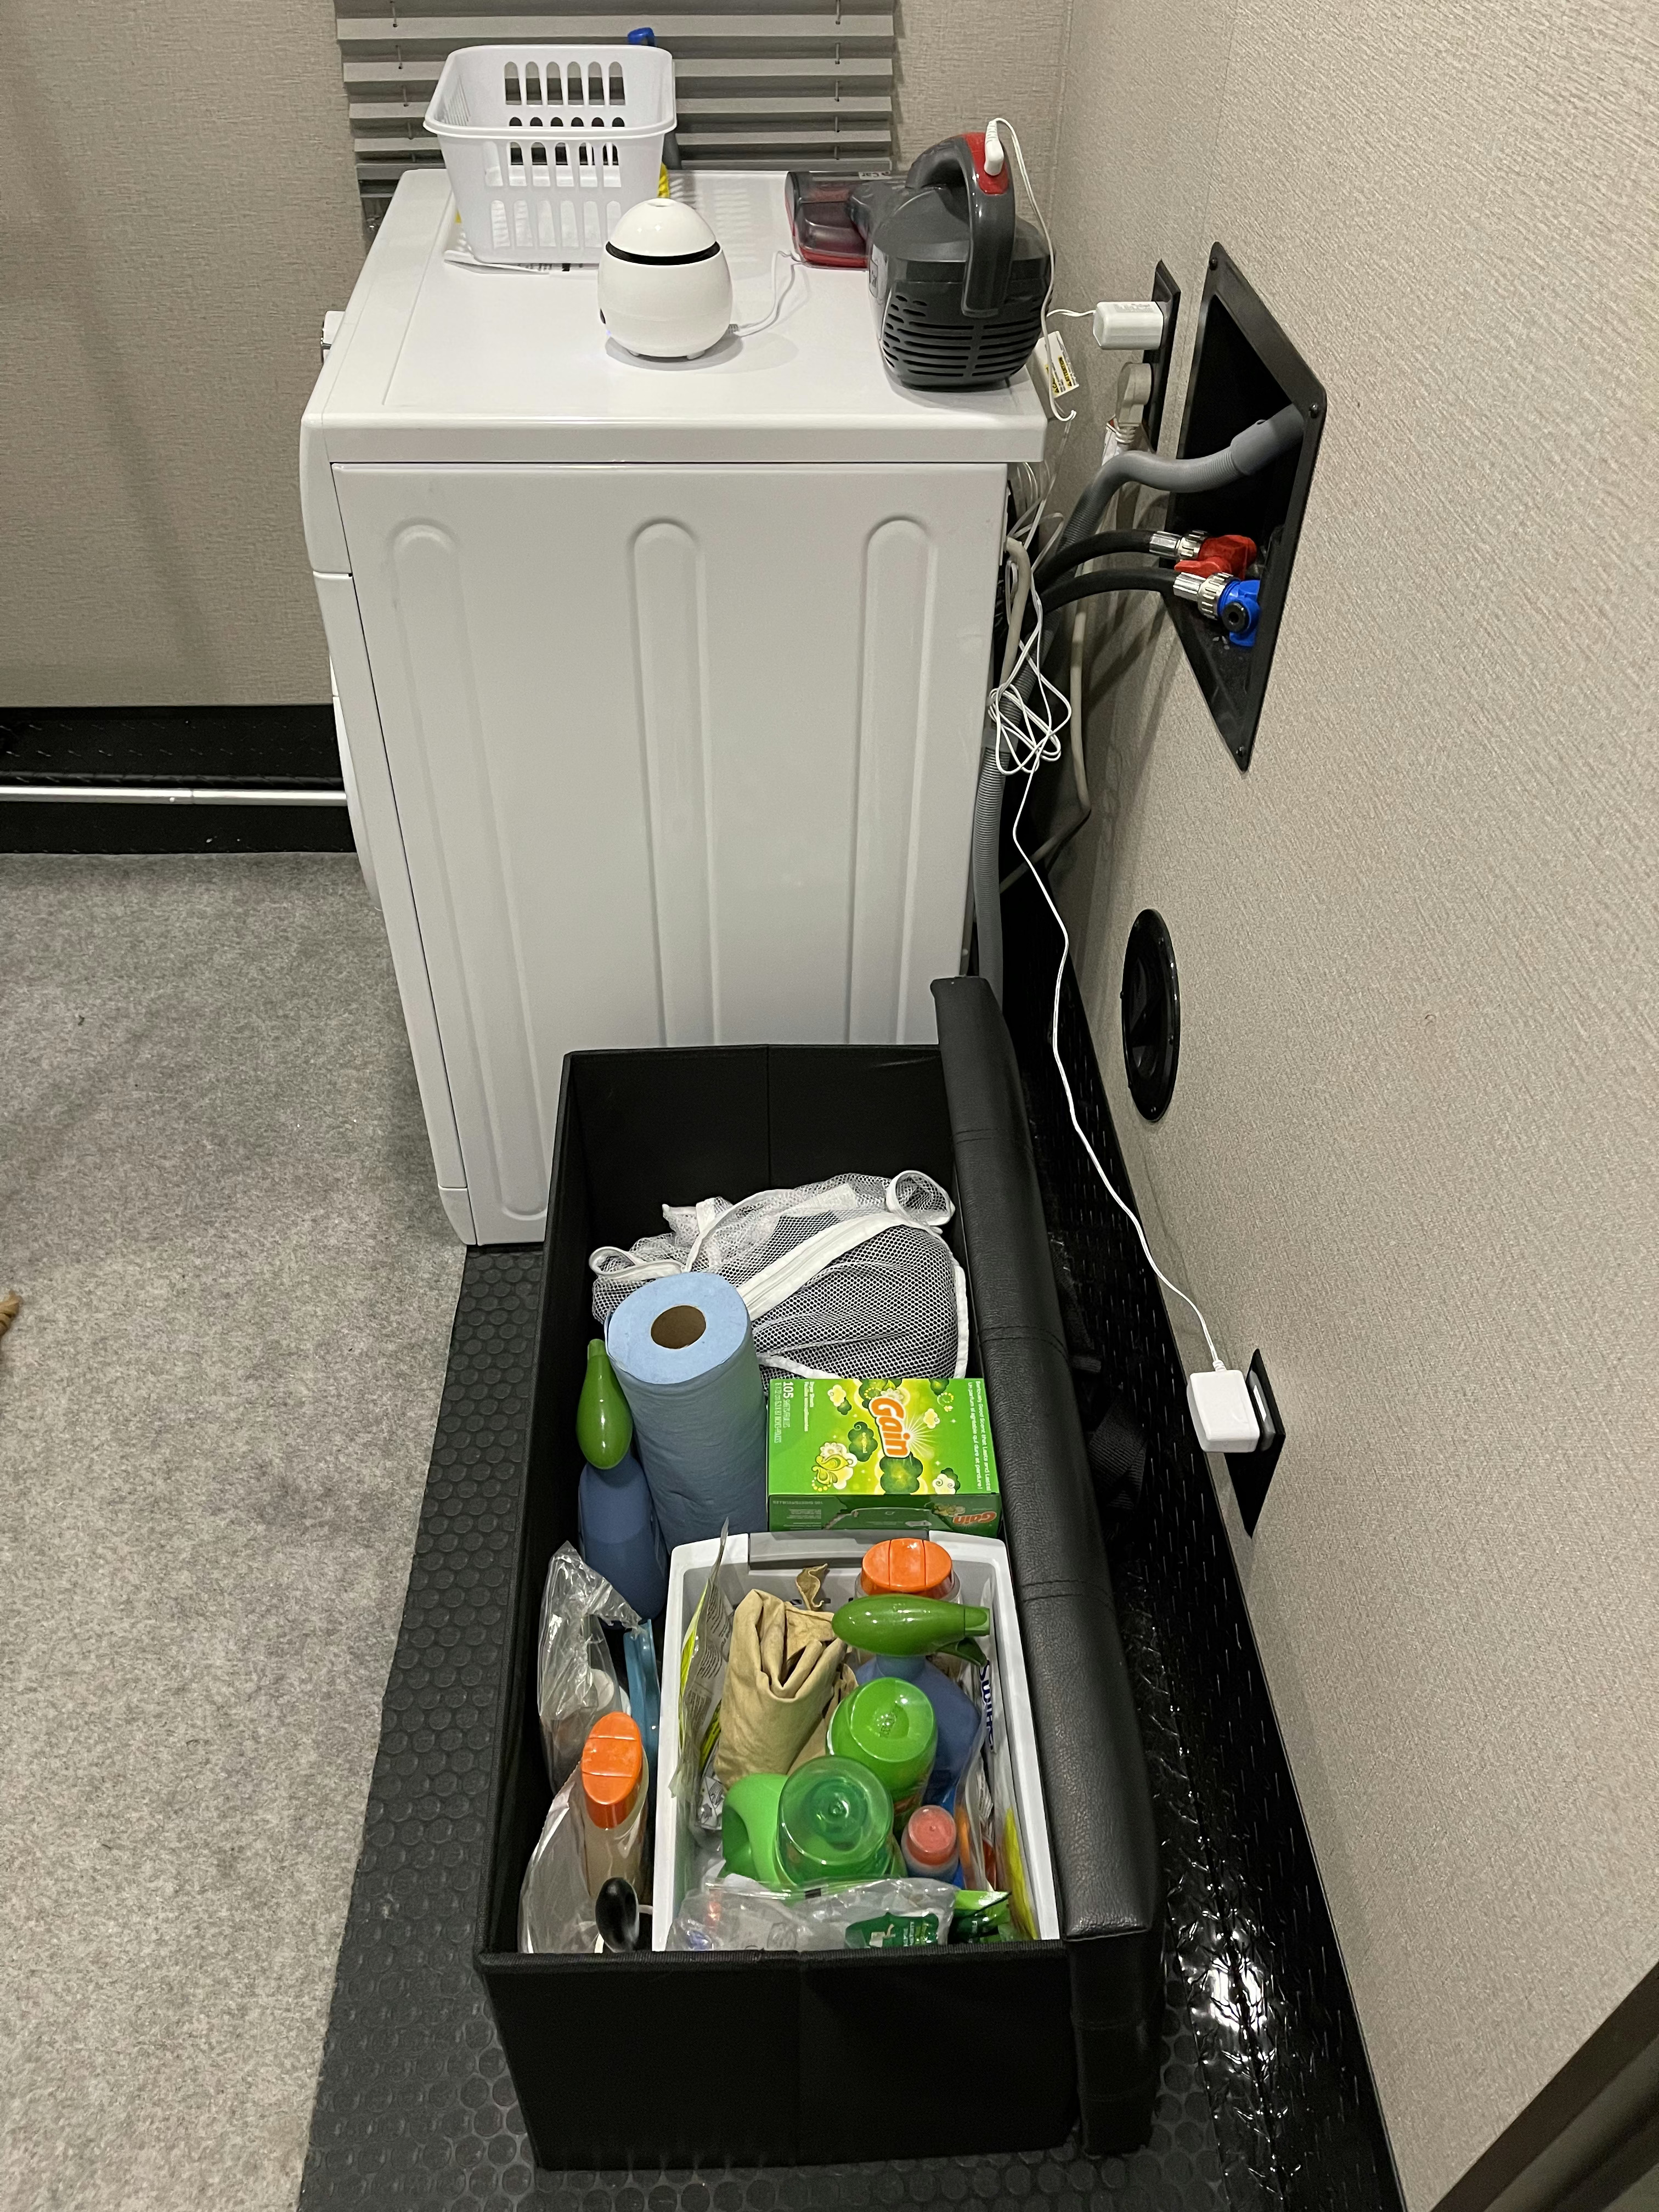
Washer/Dryer Combo
We had our dealer install a Splendide WDV2200XCD before we hauled it off the lot and boy is it handy. It can’t do large loads and we pretty much run a load every evening but it works well. There were a couple of scares with oversudsing which fortunately vented outside instead of inside the rig.
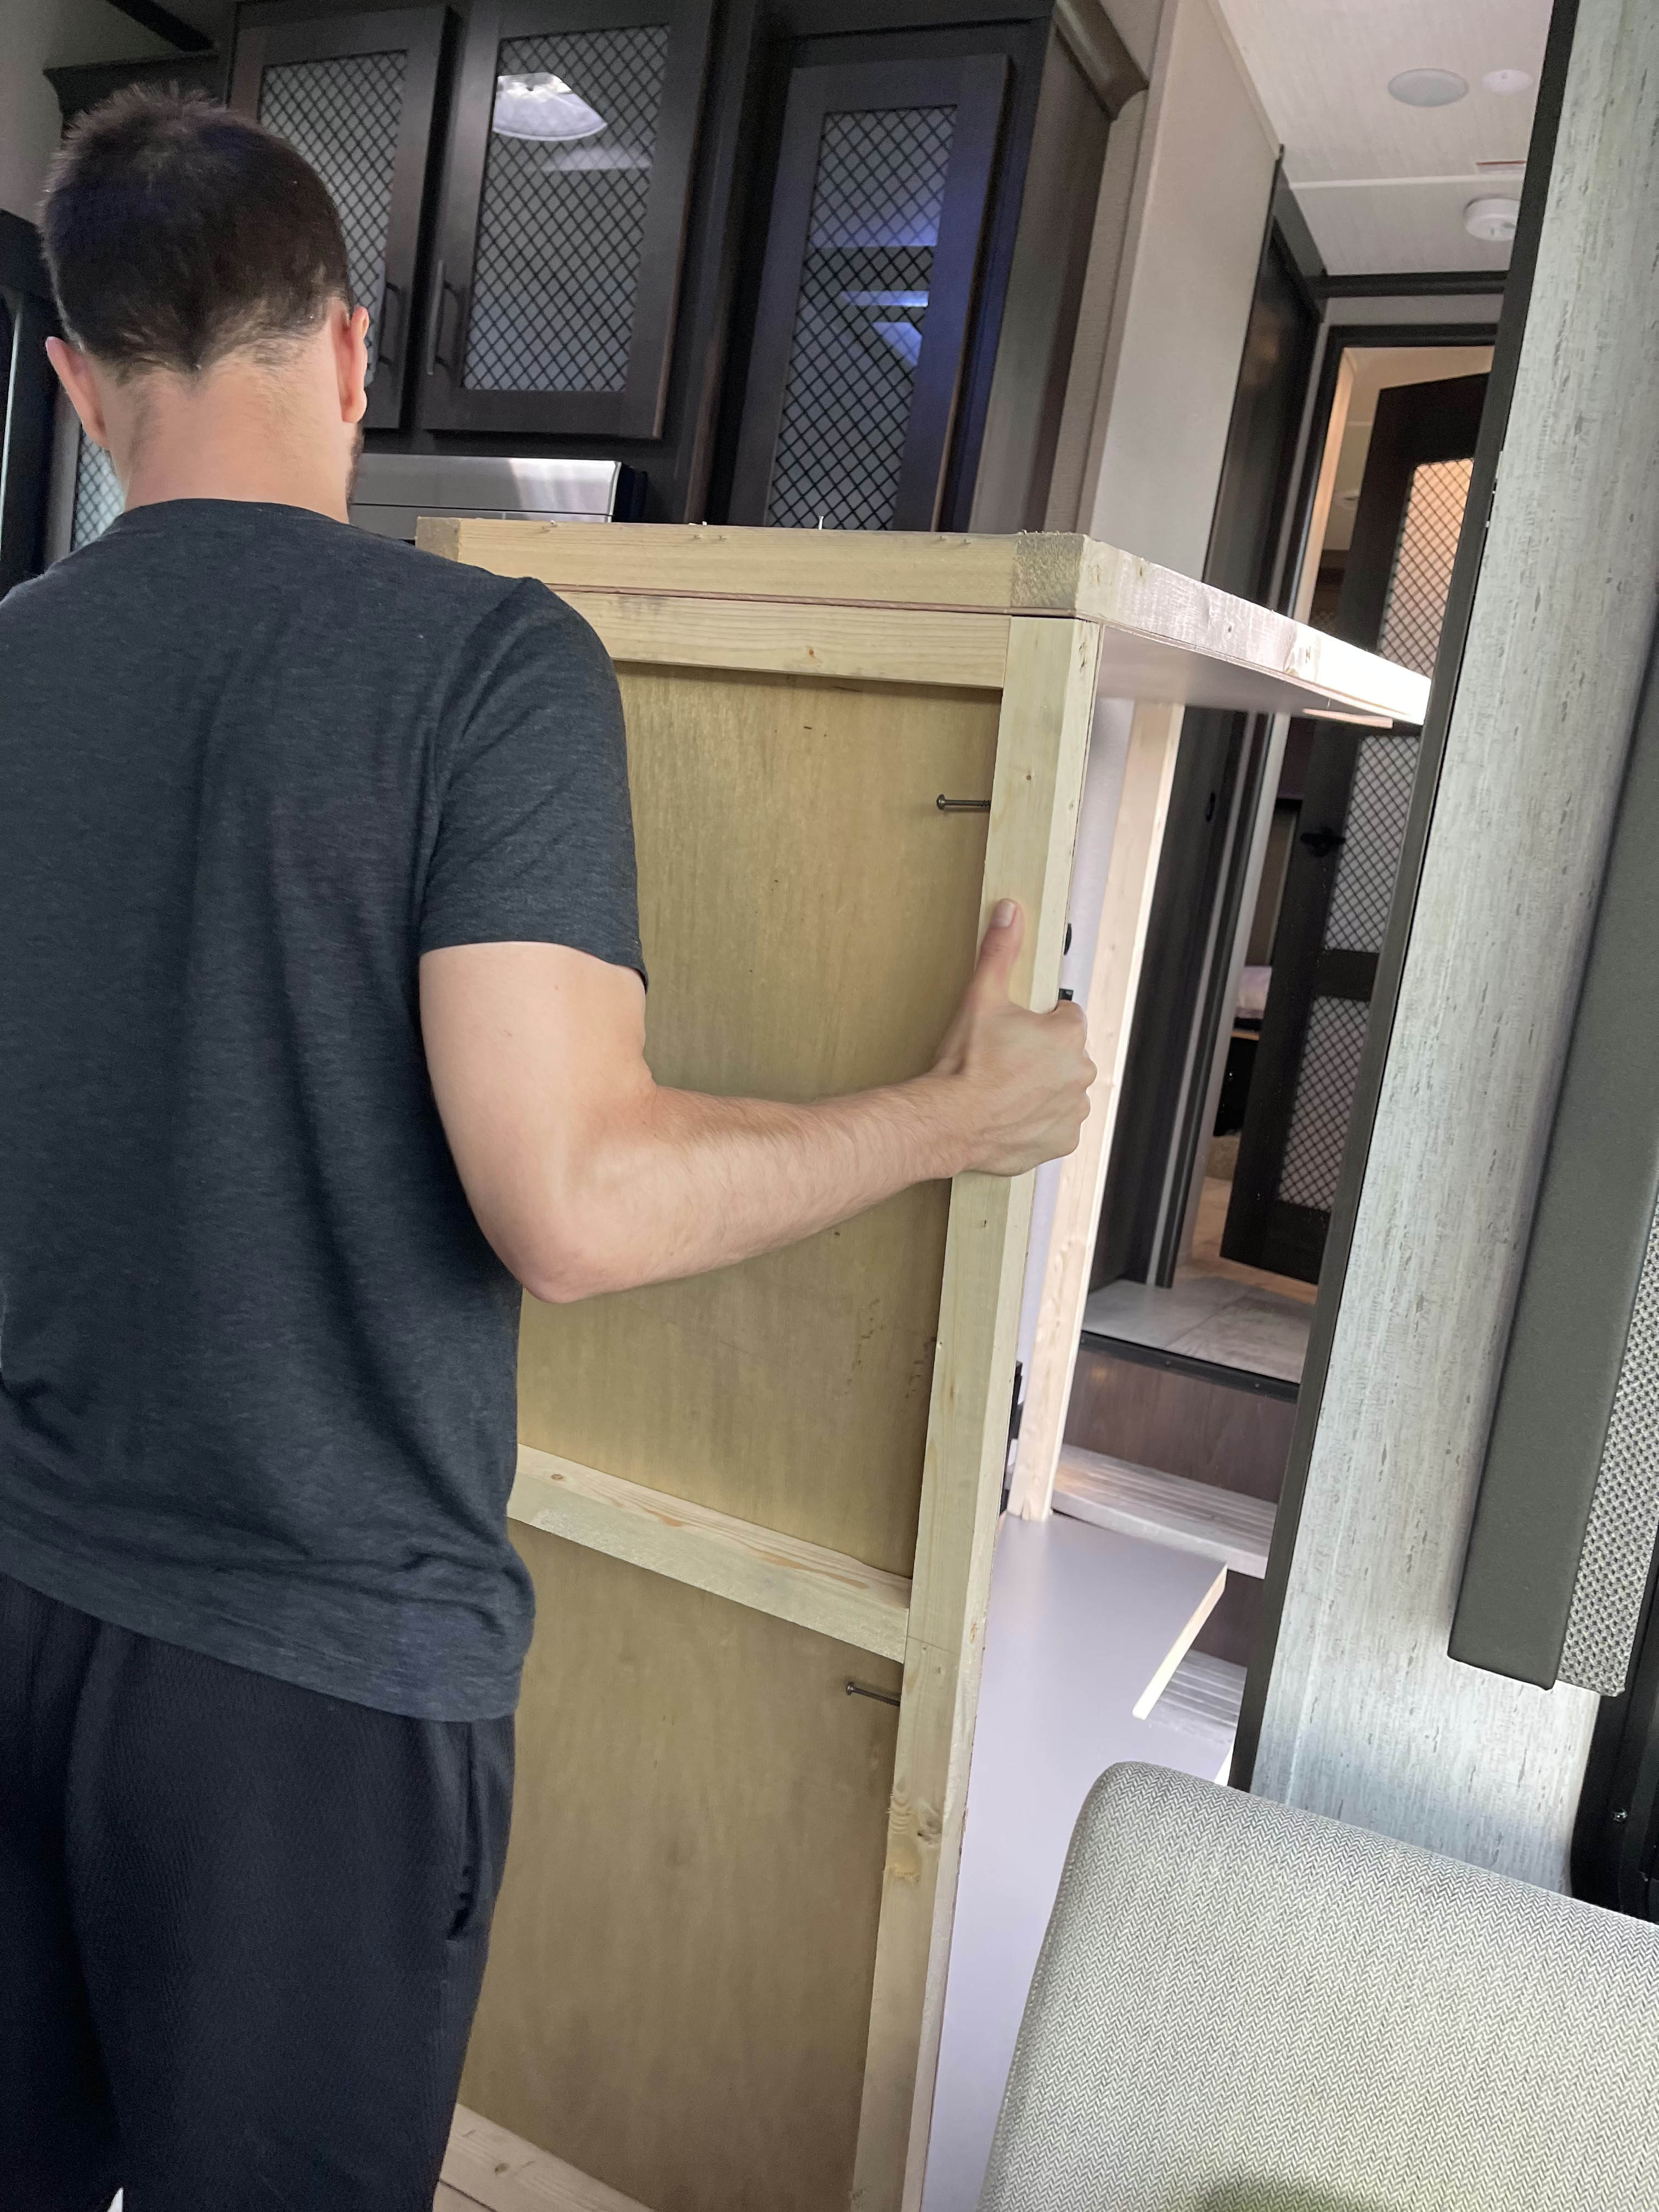
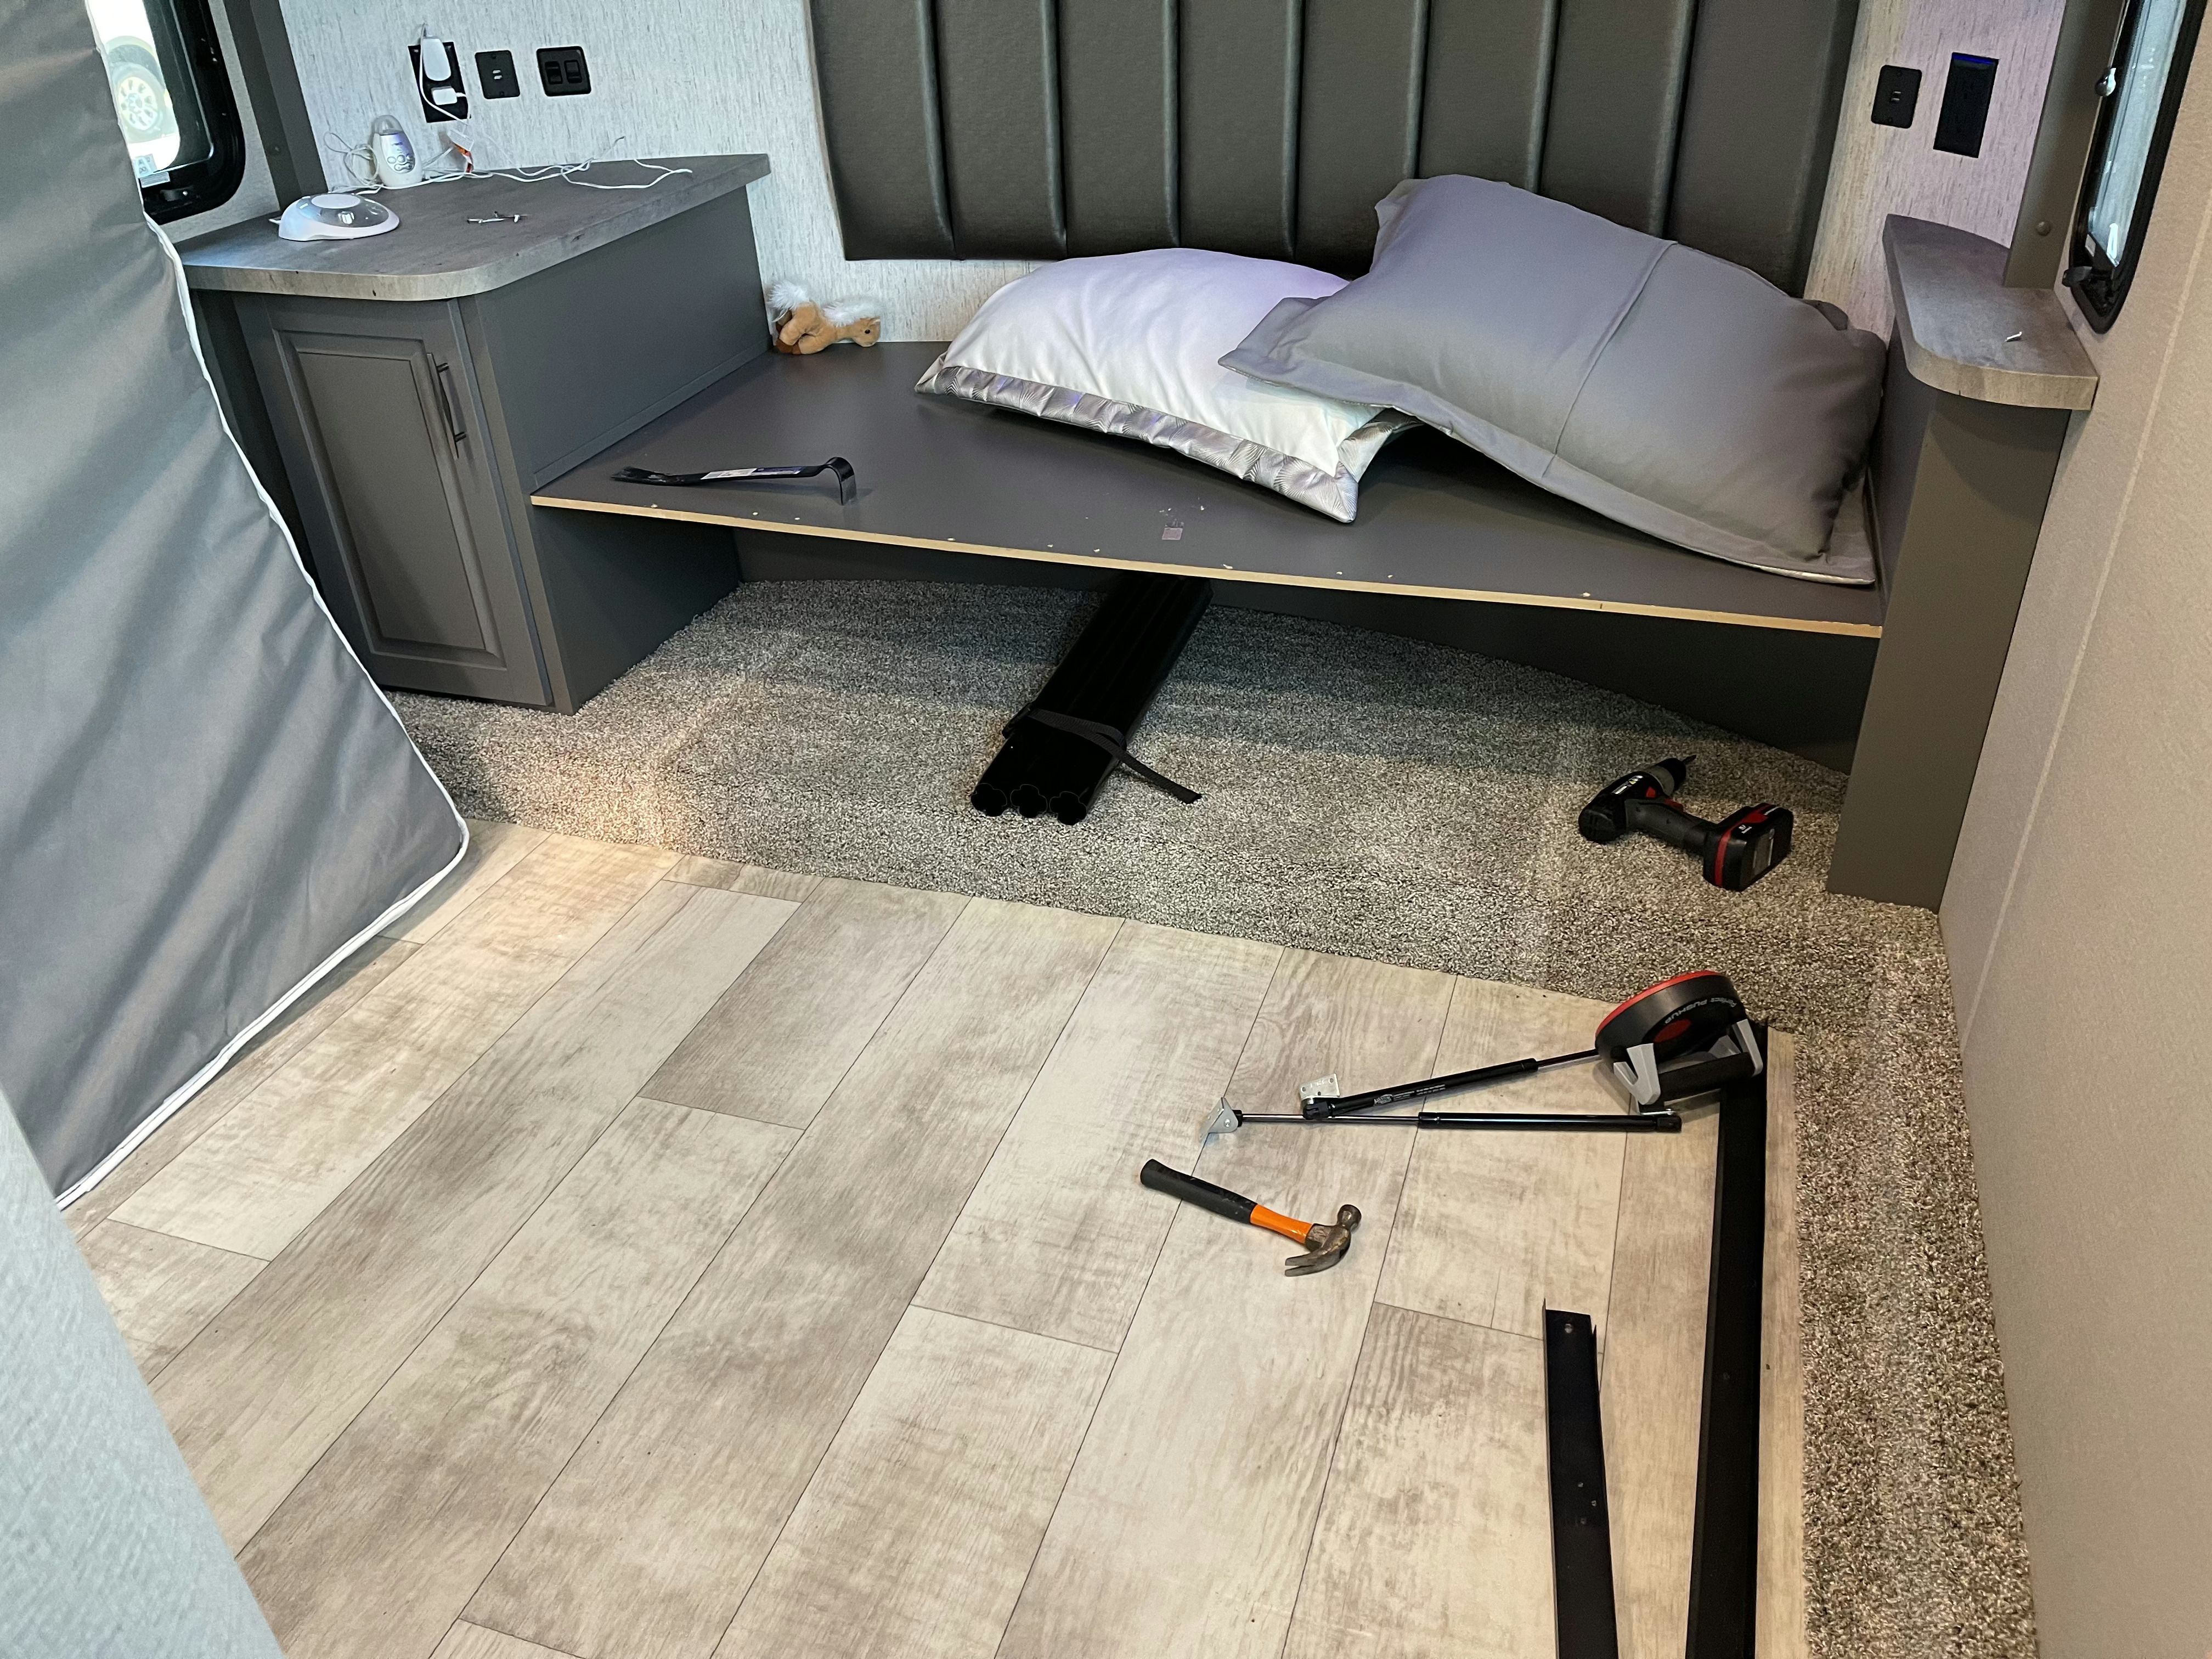
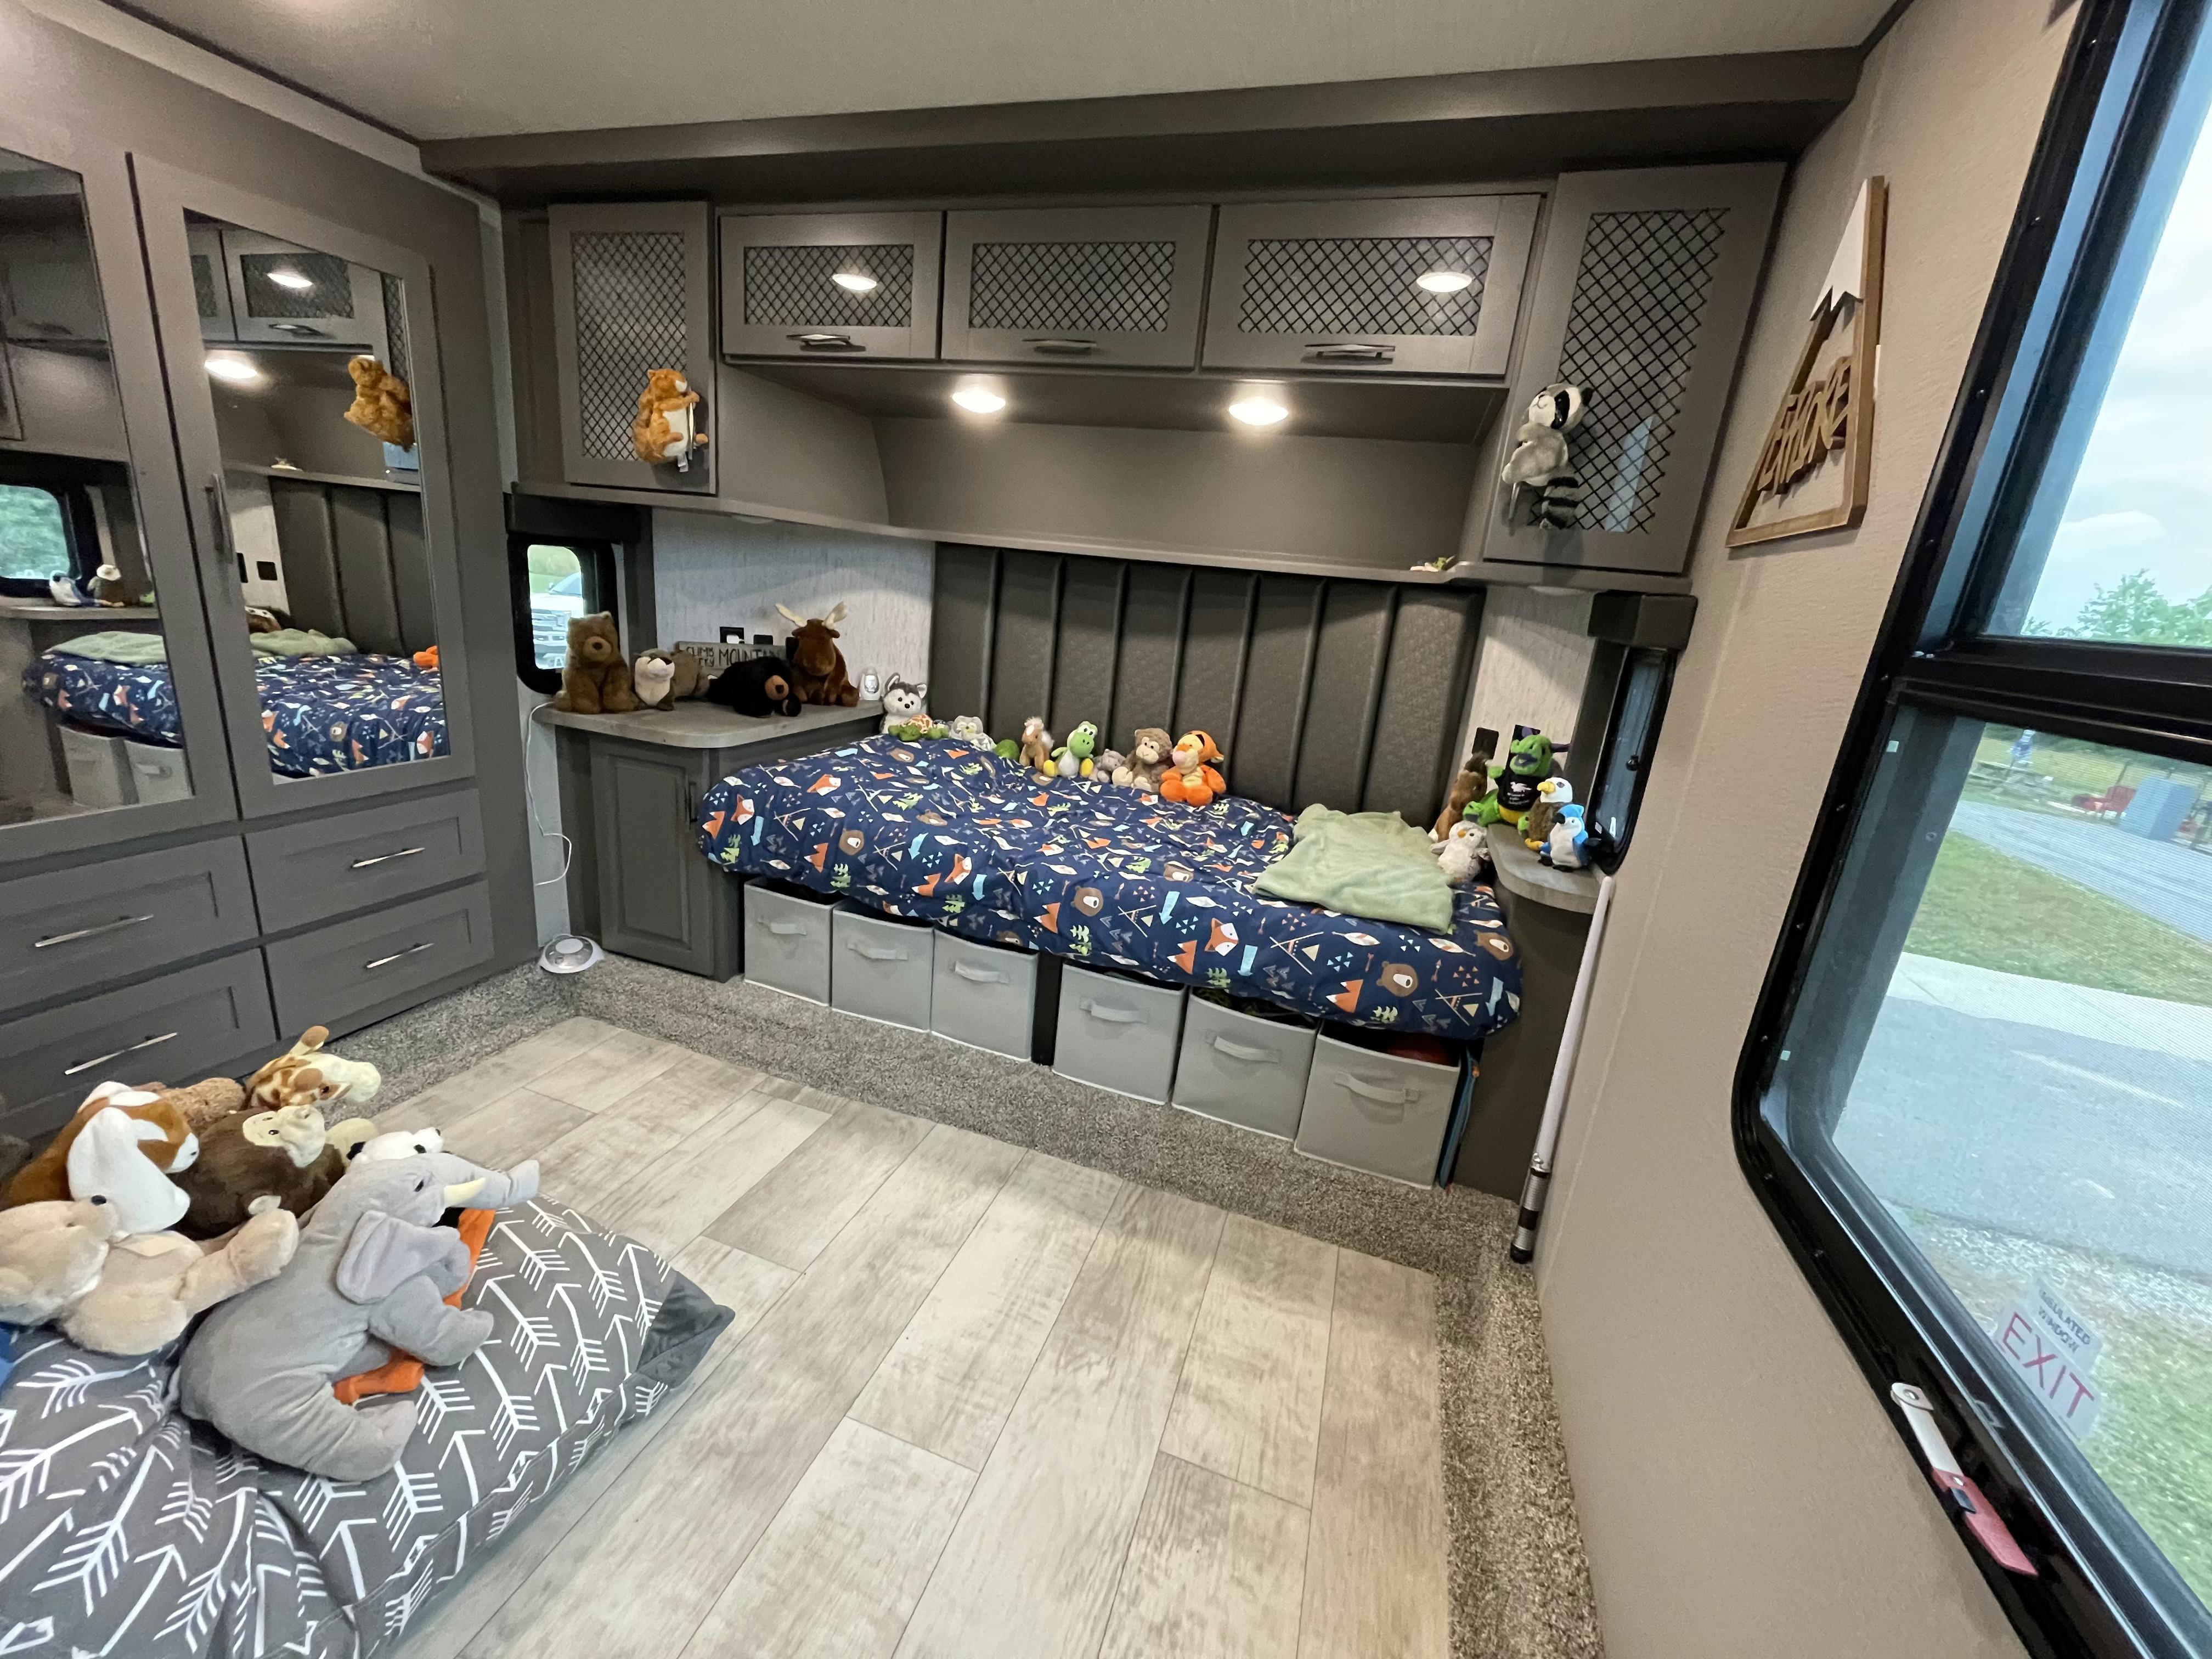
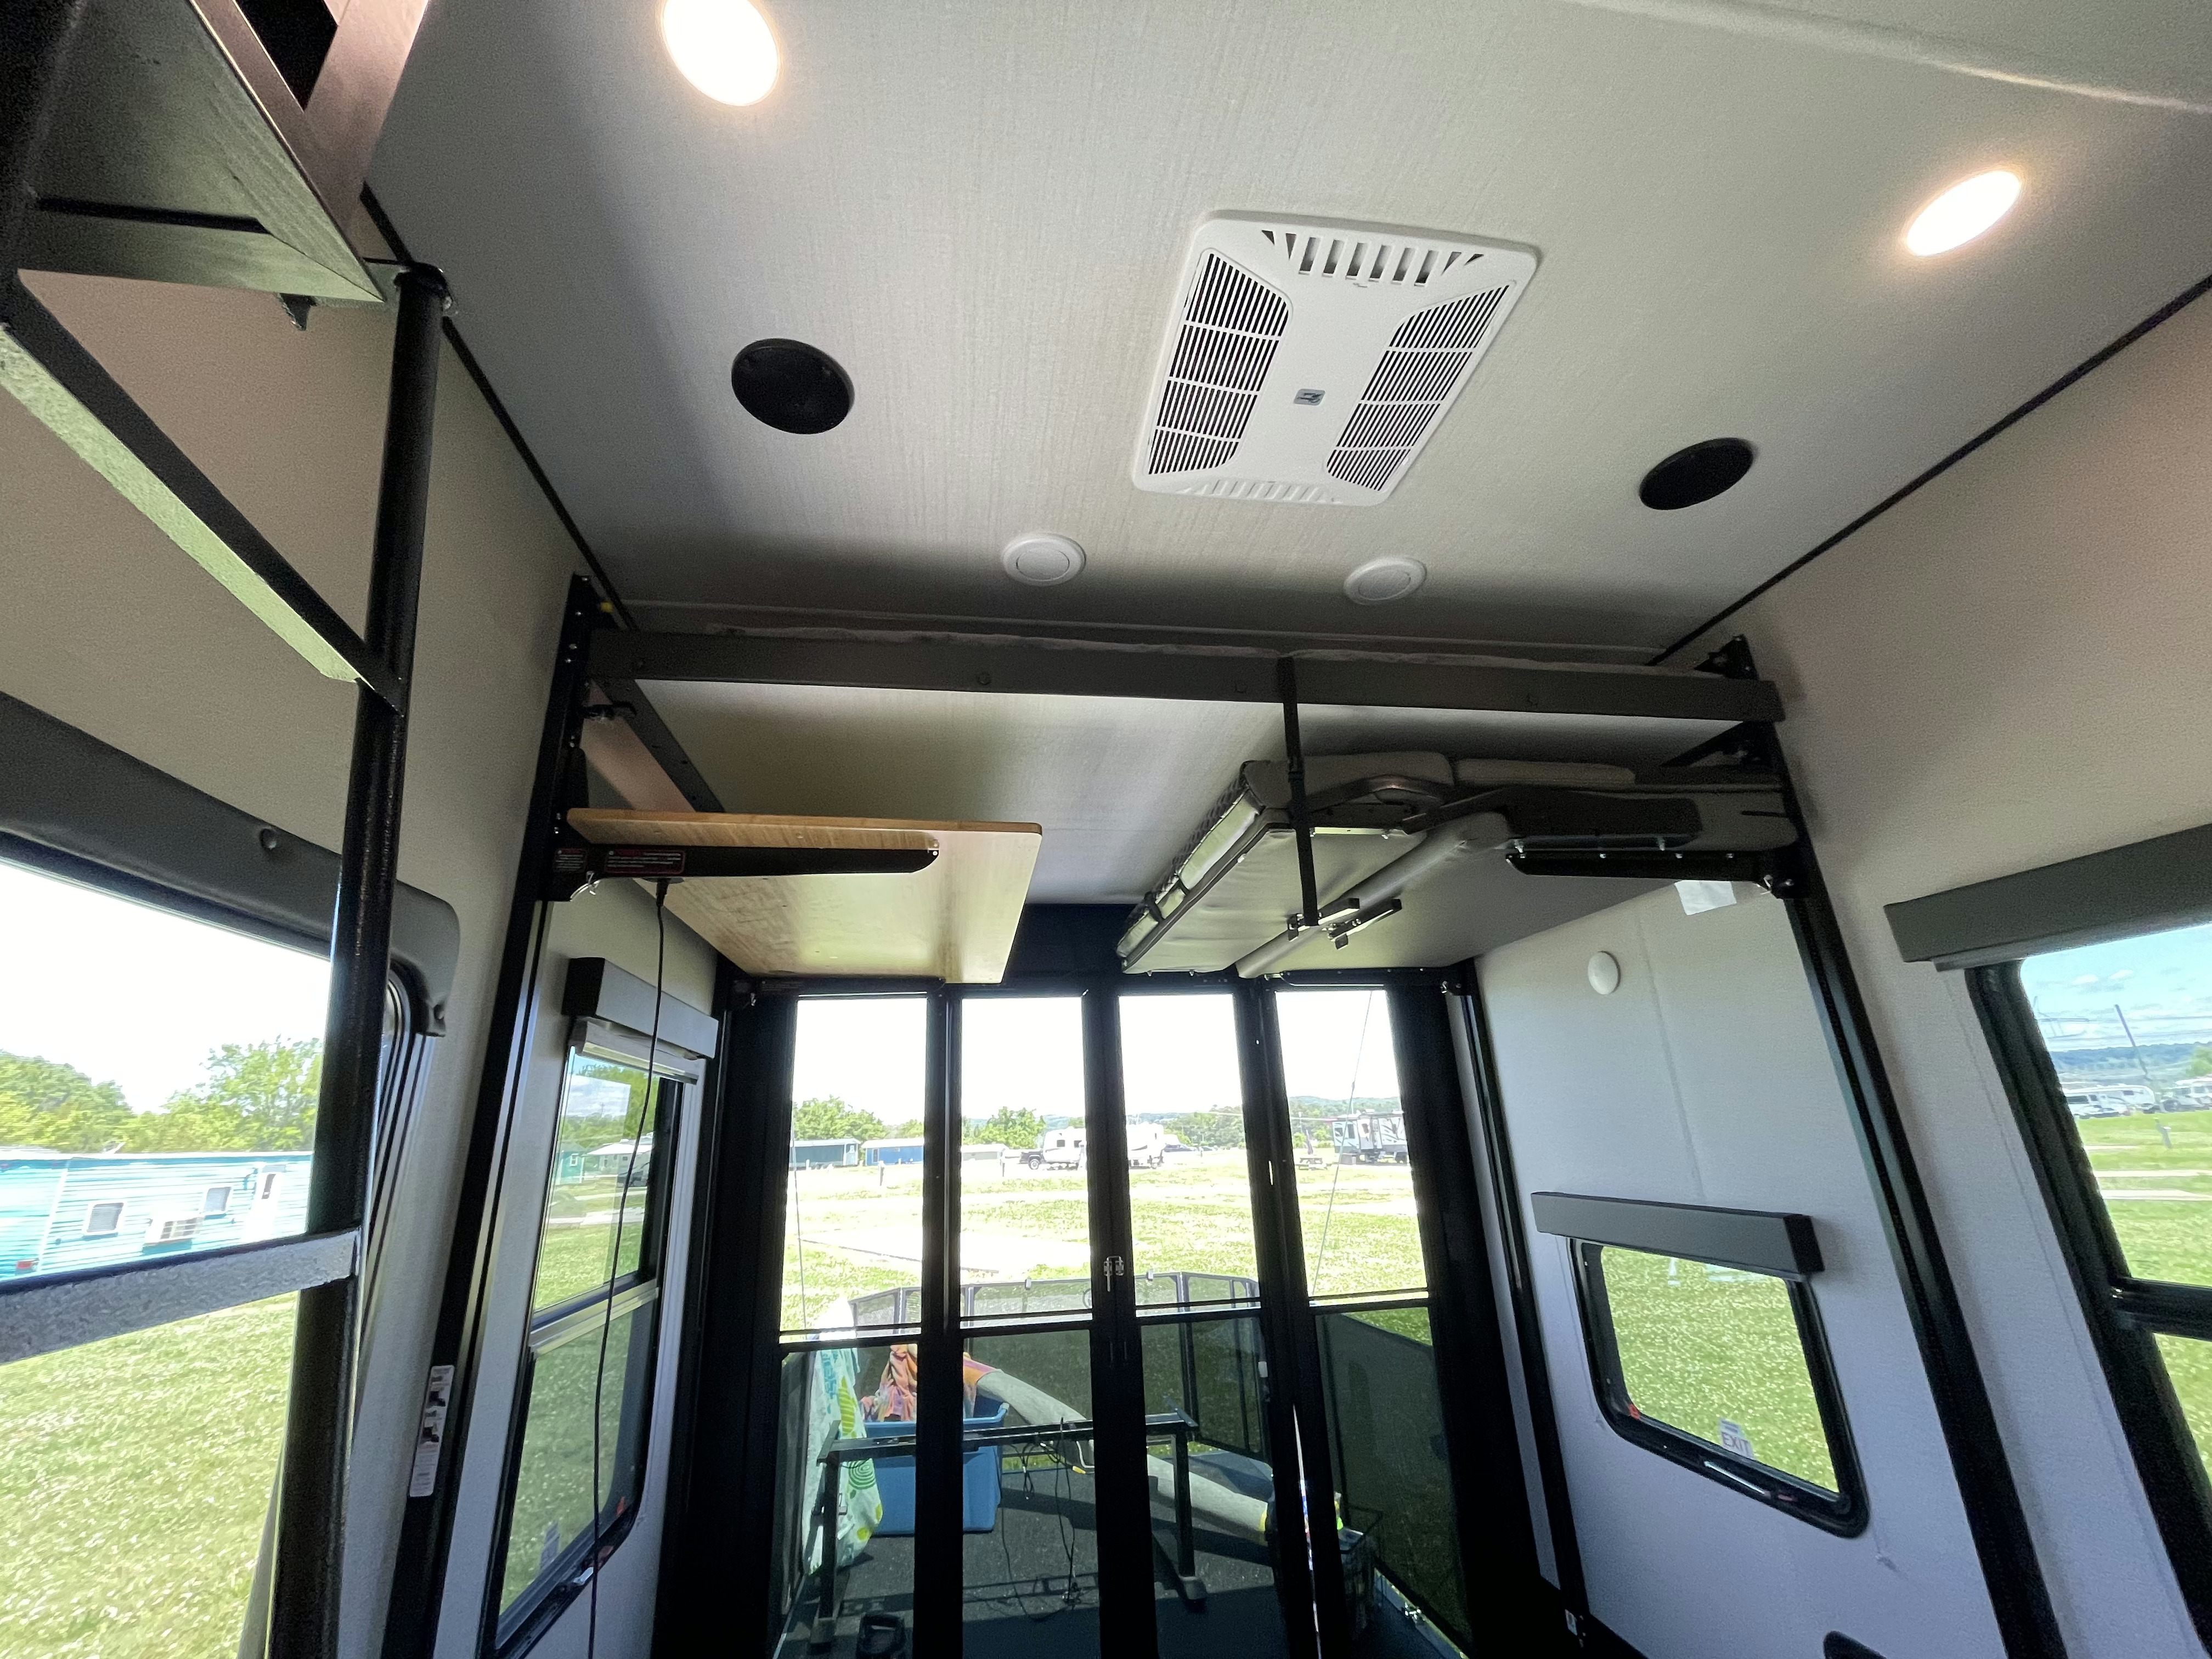
King Bed to Child Bedroom Mod
This is the king bed option. We wanted our son to grow up having his own bedroom while we’re traveling the country, so we decided to opt for the king so that he’d have more bed length when we reconfigured the room. We turned the garage into our office/bedroom for ourselves. Here are the photos of the process going from full king bed to a child’s bedroom.

Lots of long and small screws. You will have to pry off parts with a pry bar to get to most of them.

Me navigating out of the rig with the bedframe I’ve just unscrewed from the floor.
We can see the floor!
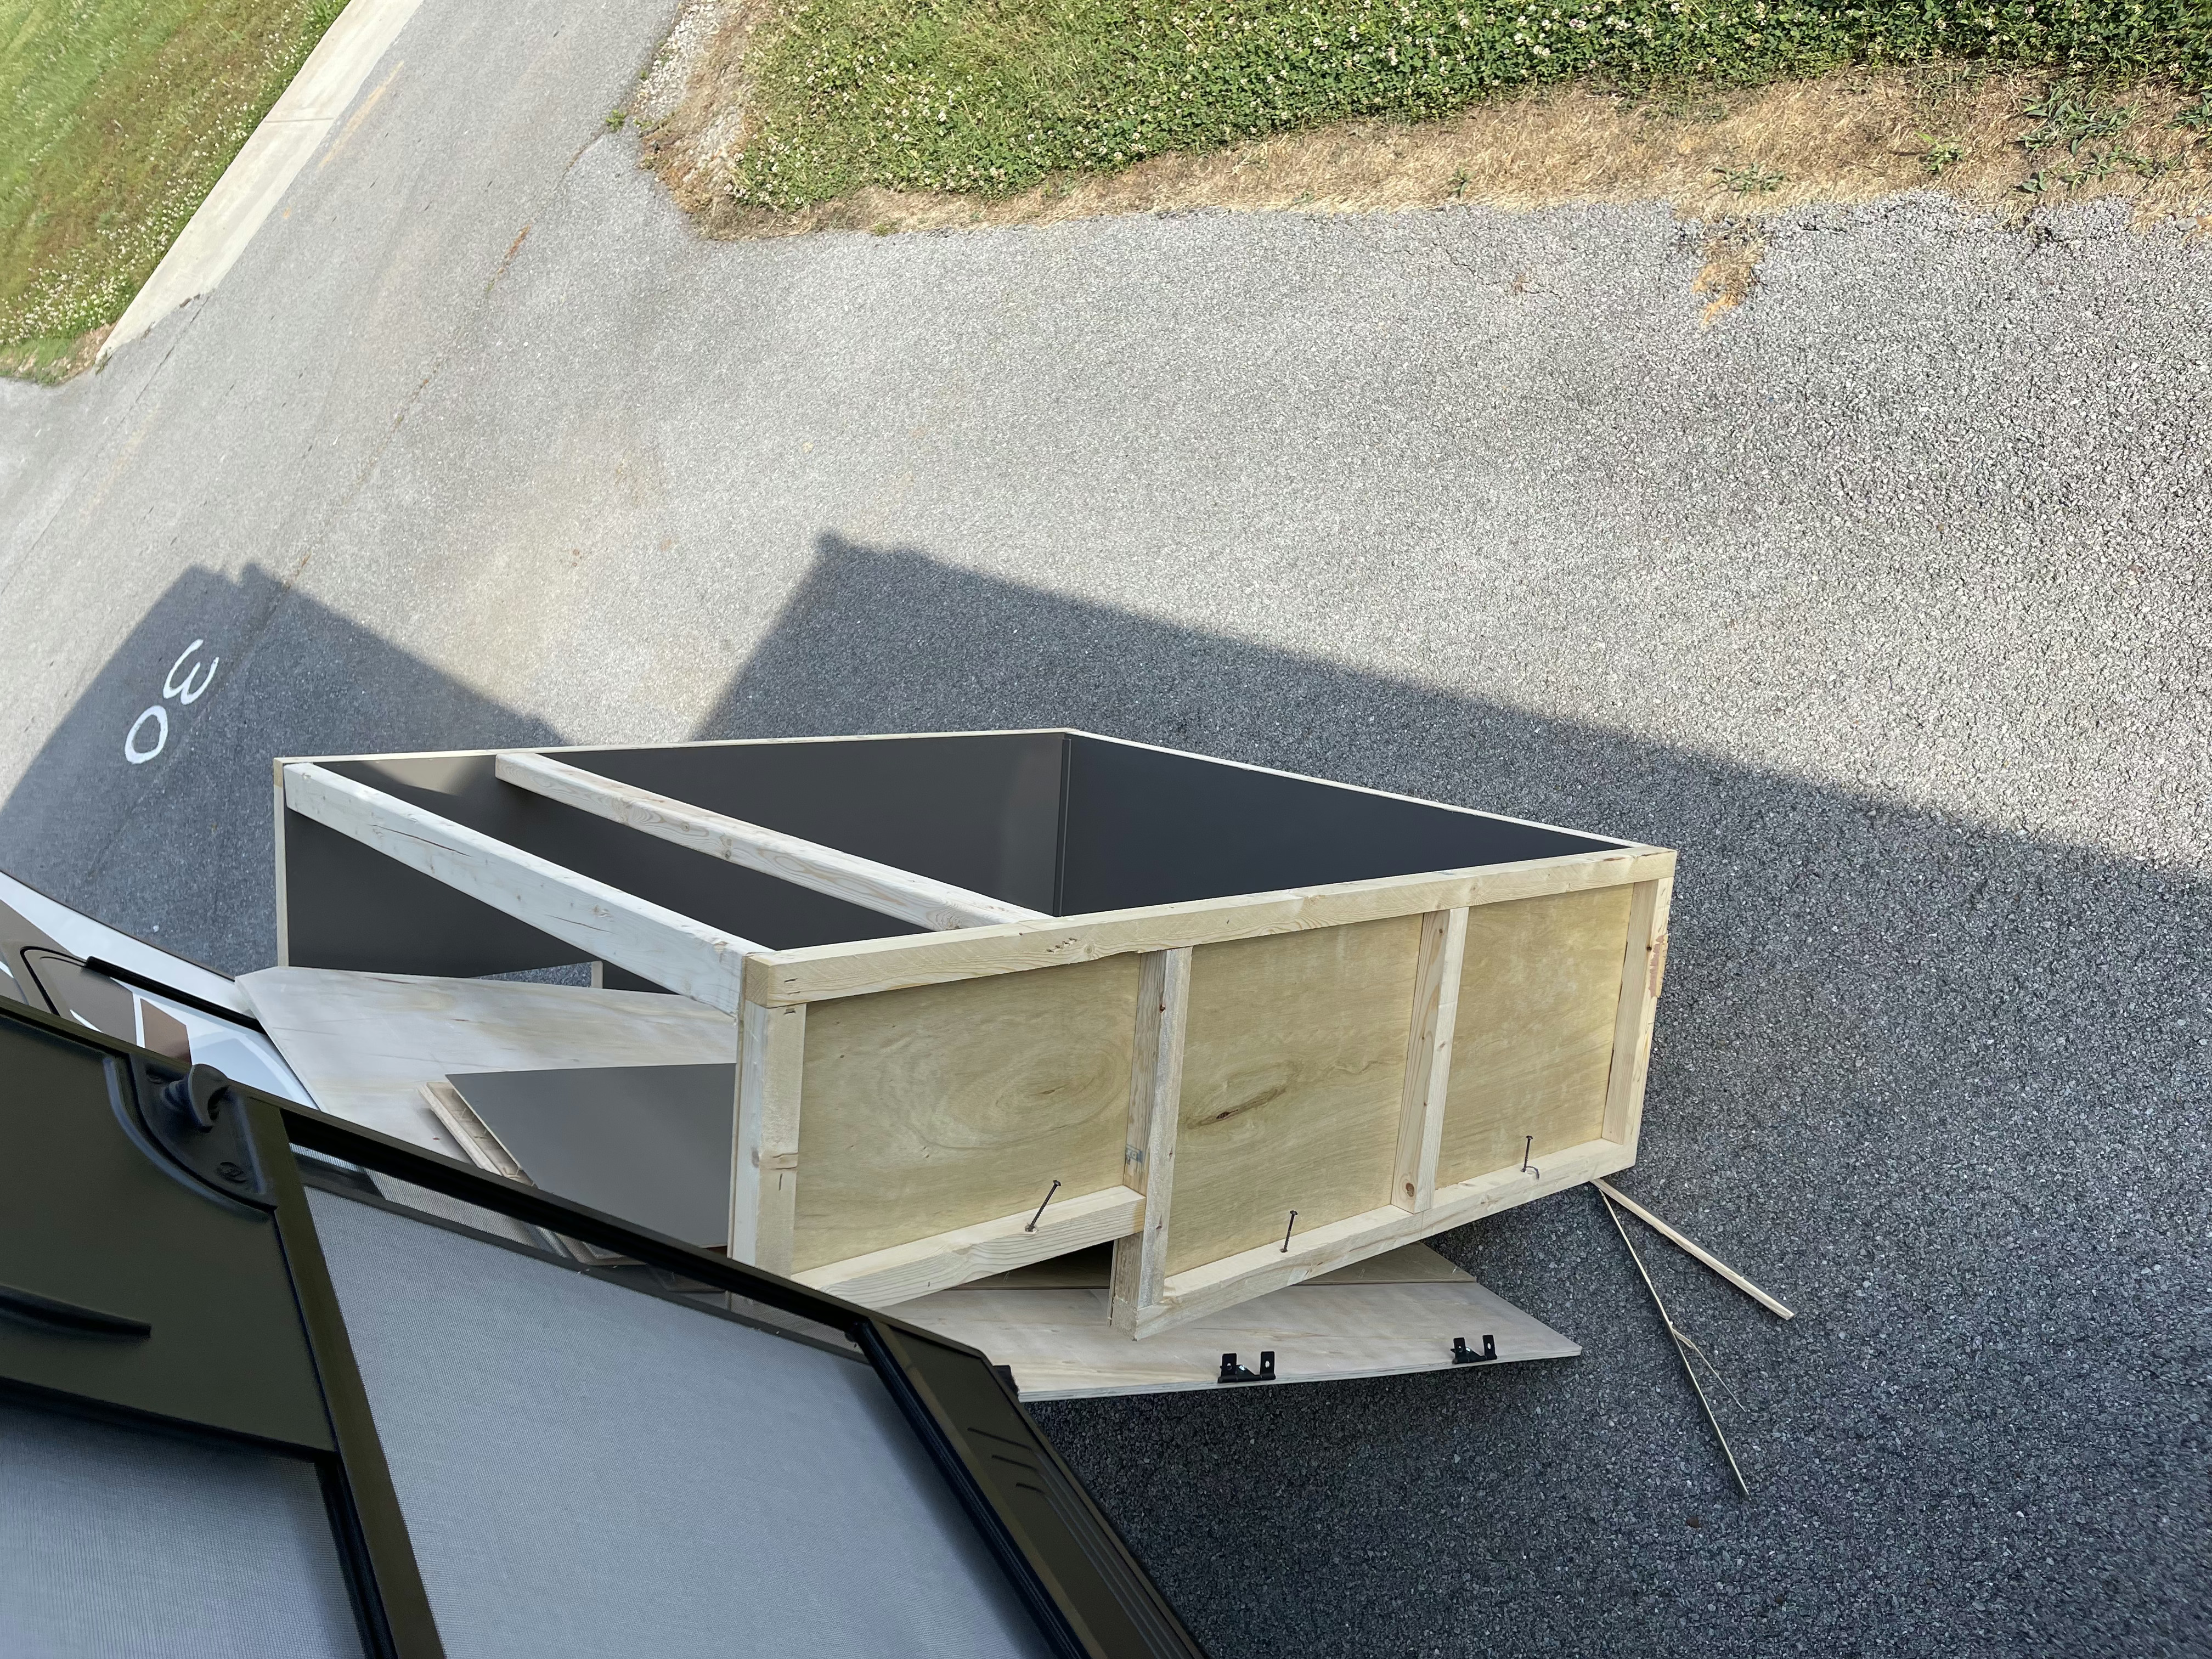
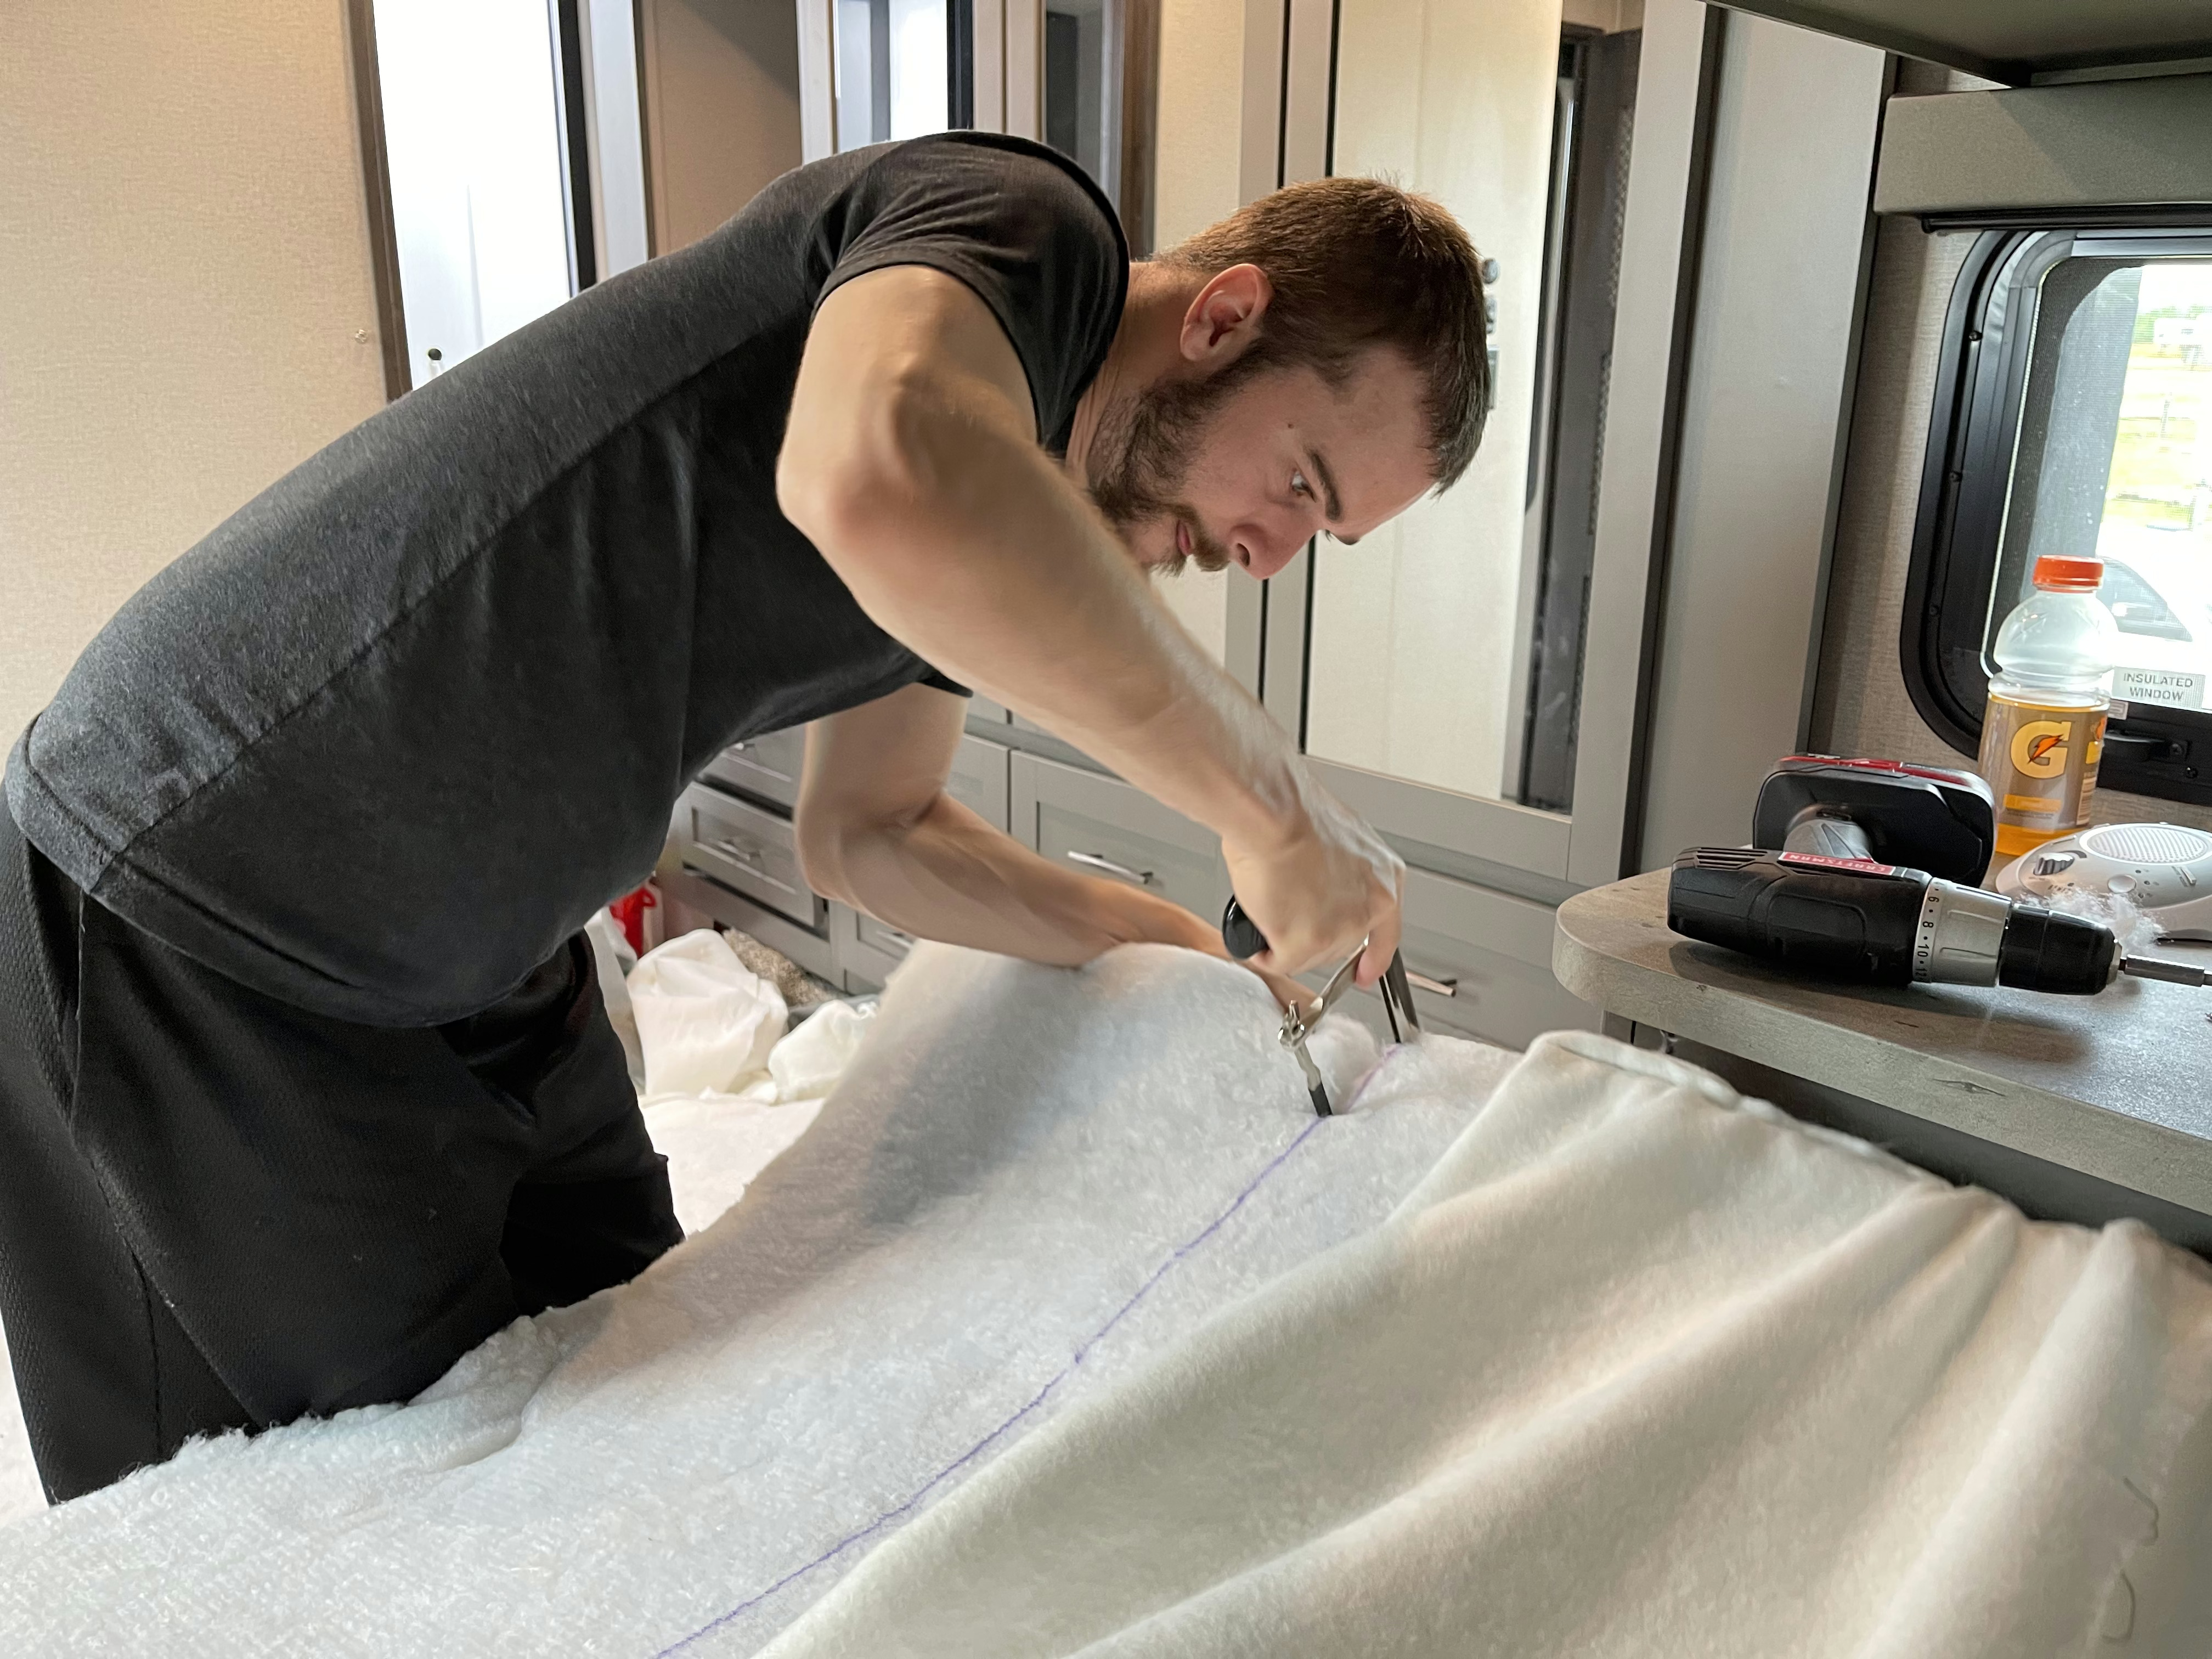
Cutting the mattress was the part I had the most reservations about so I decided to cut it with a handsaw at a line way above where I wanted the final product to test my cutting skills.

After the first run I felt pretty confident and recut to the point I wanted the mattress to just barely hang over the edge of the board. You have to stick your tongue out a bit or it won’t work.
There’s a black piece in the middle that is a piece of wood I cut to size and covered with some plastic from the frame I took out to make it fit the look and support weight in the center of the wood panel.

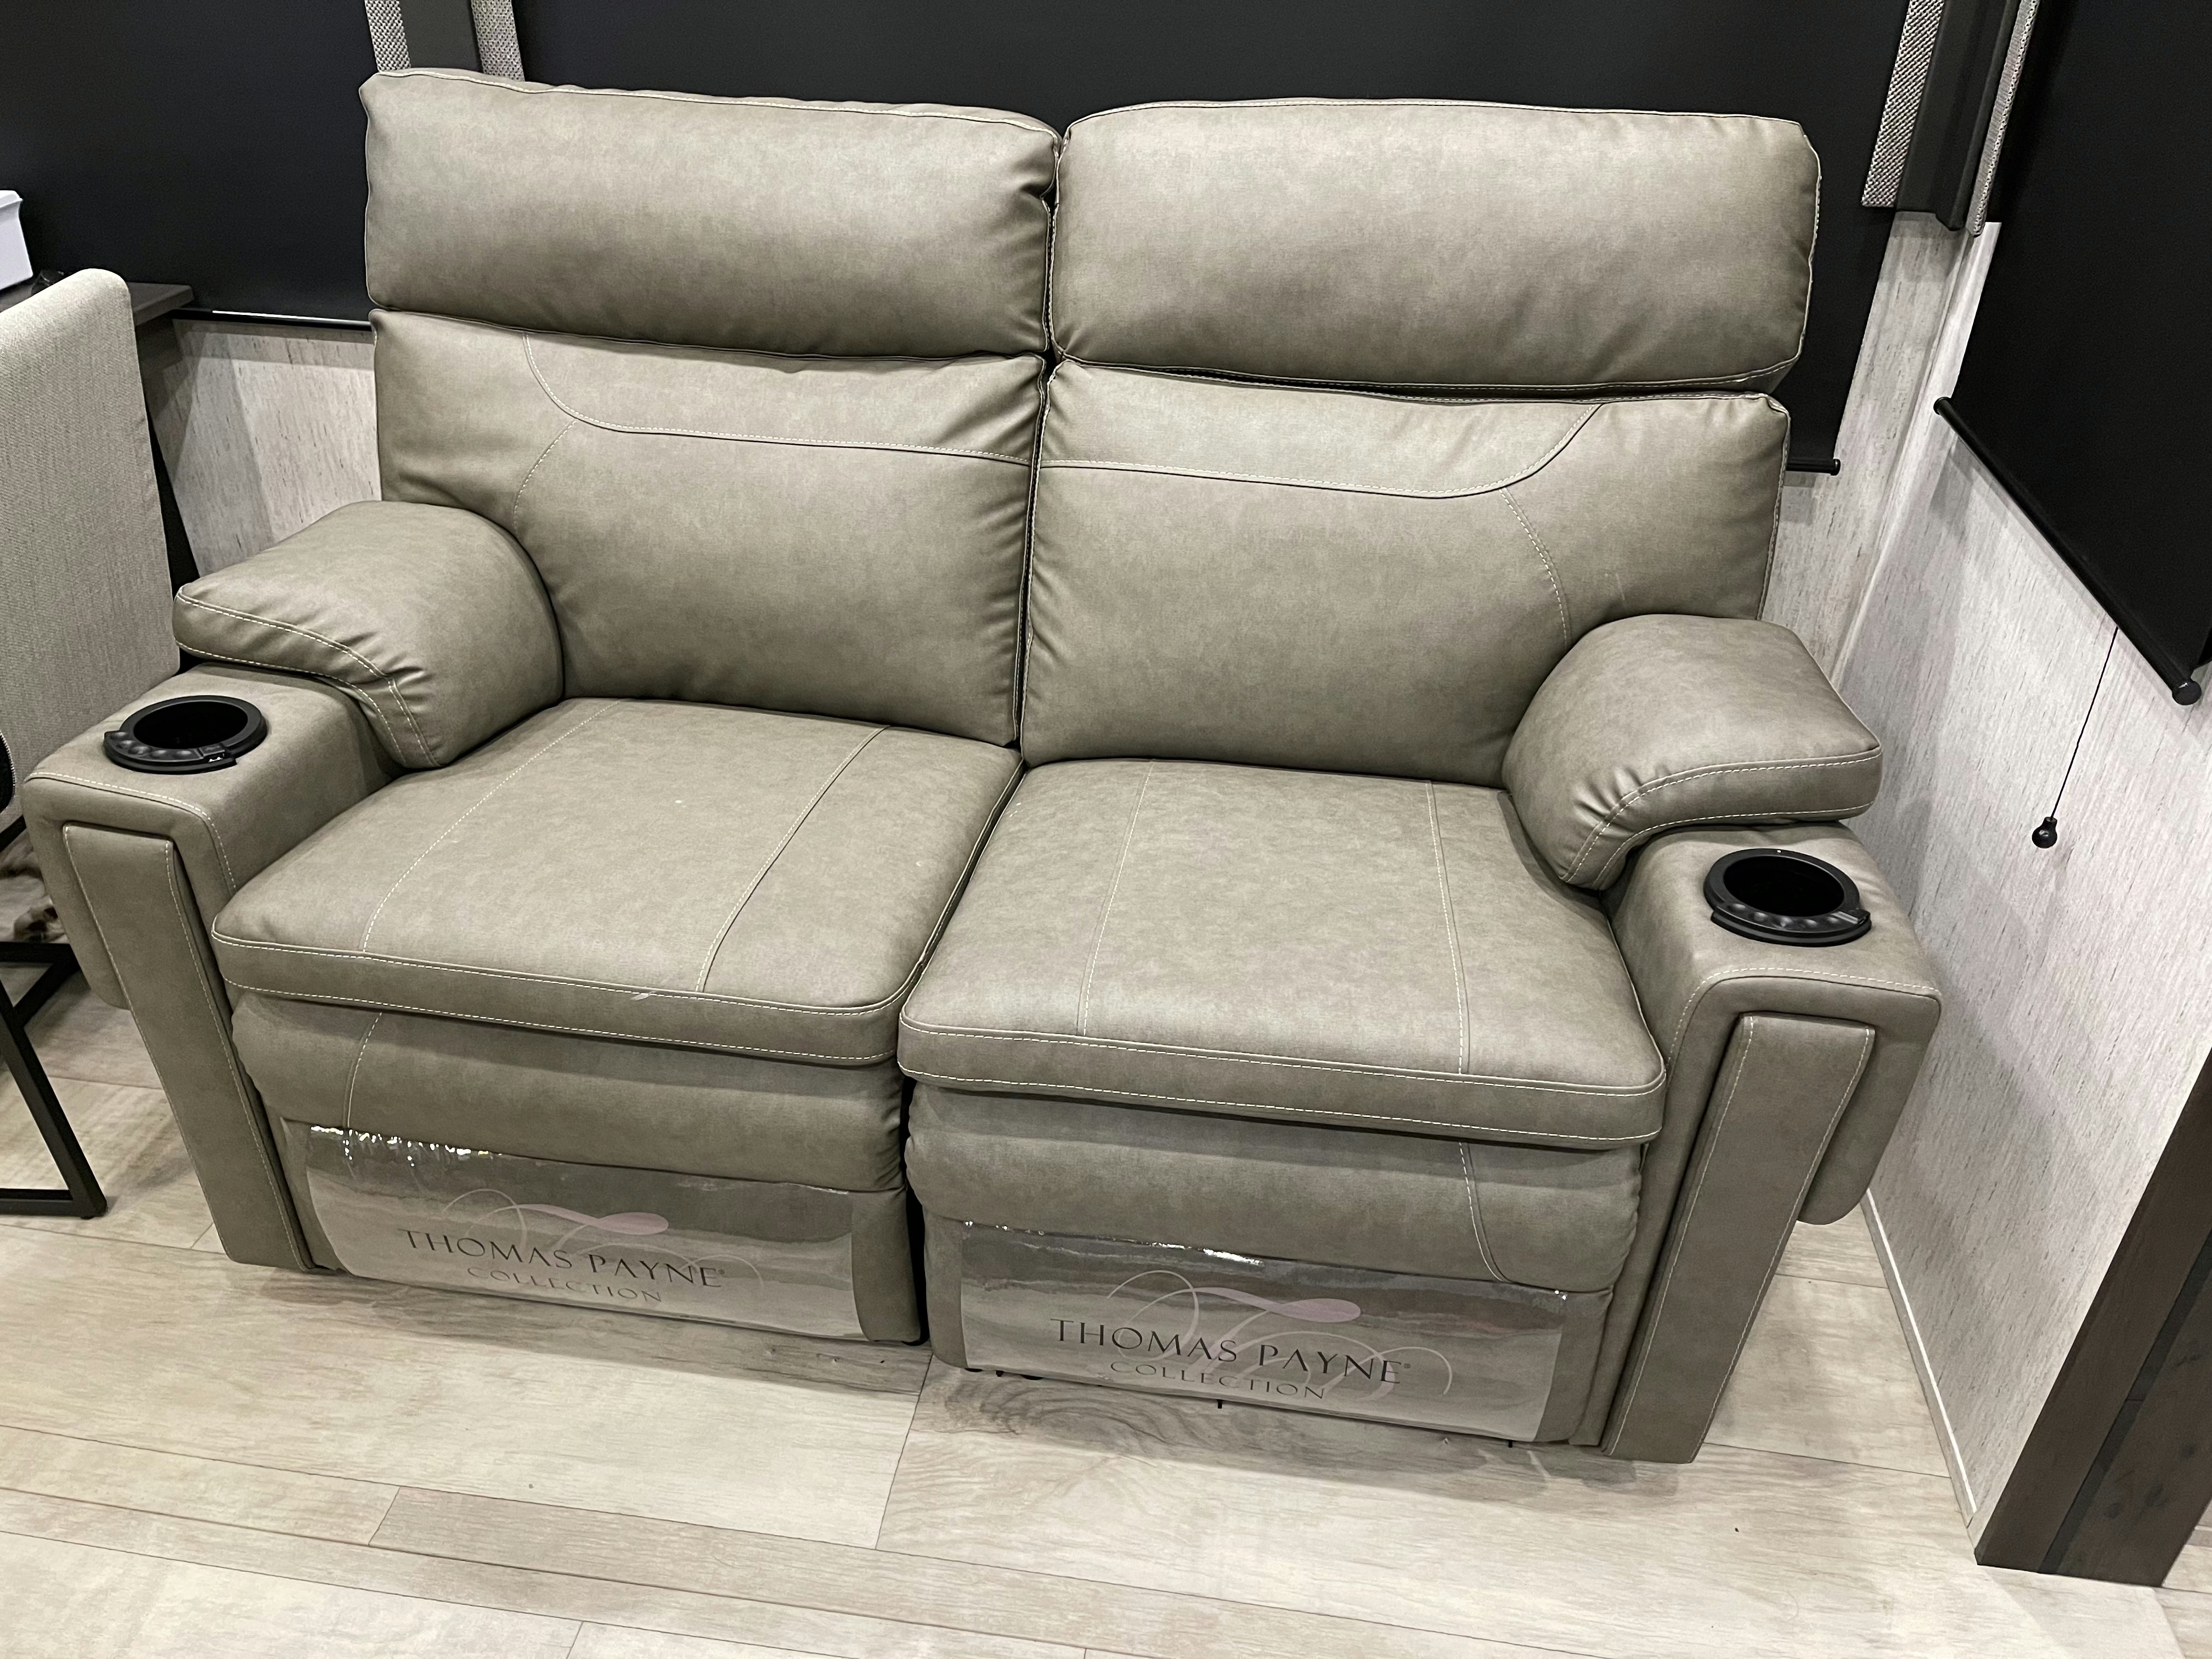
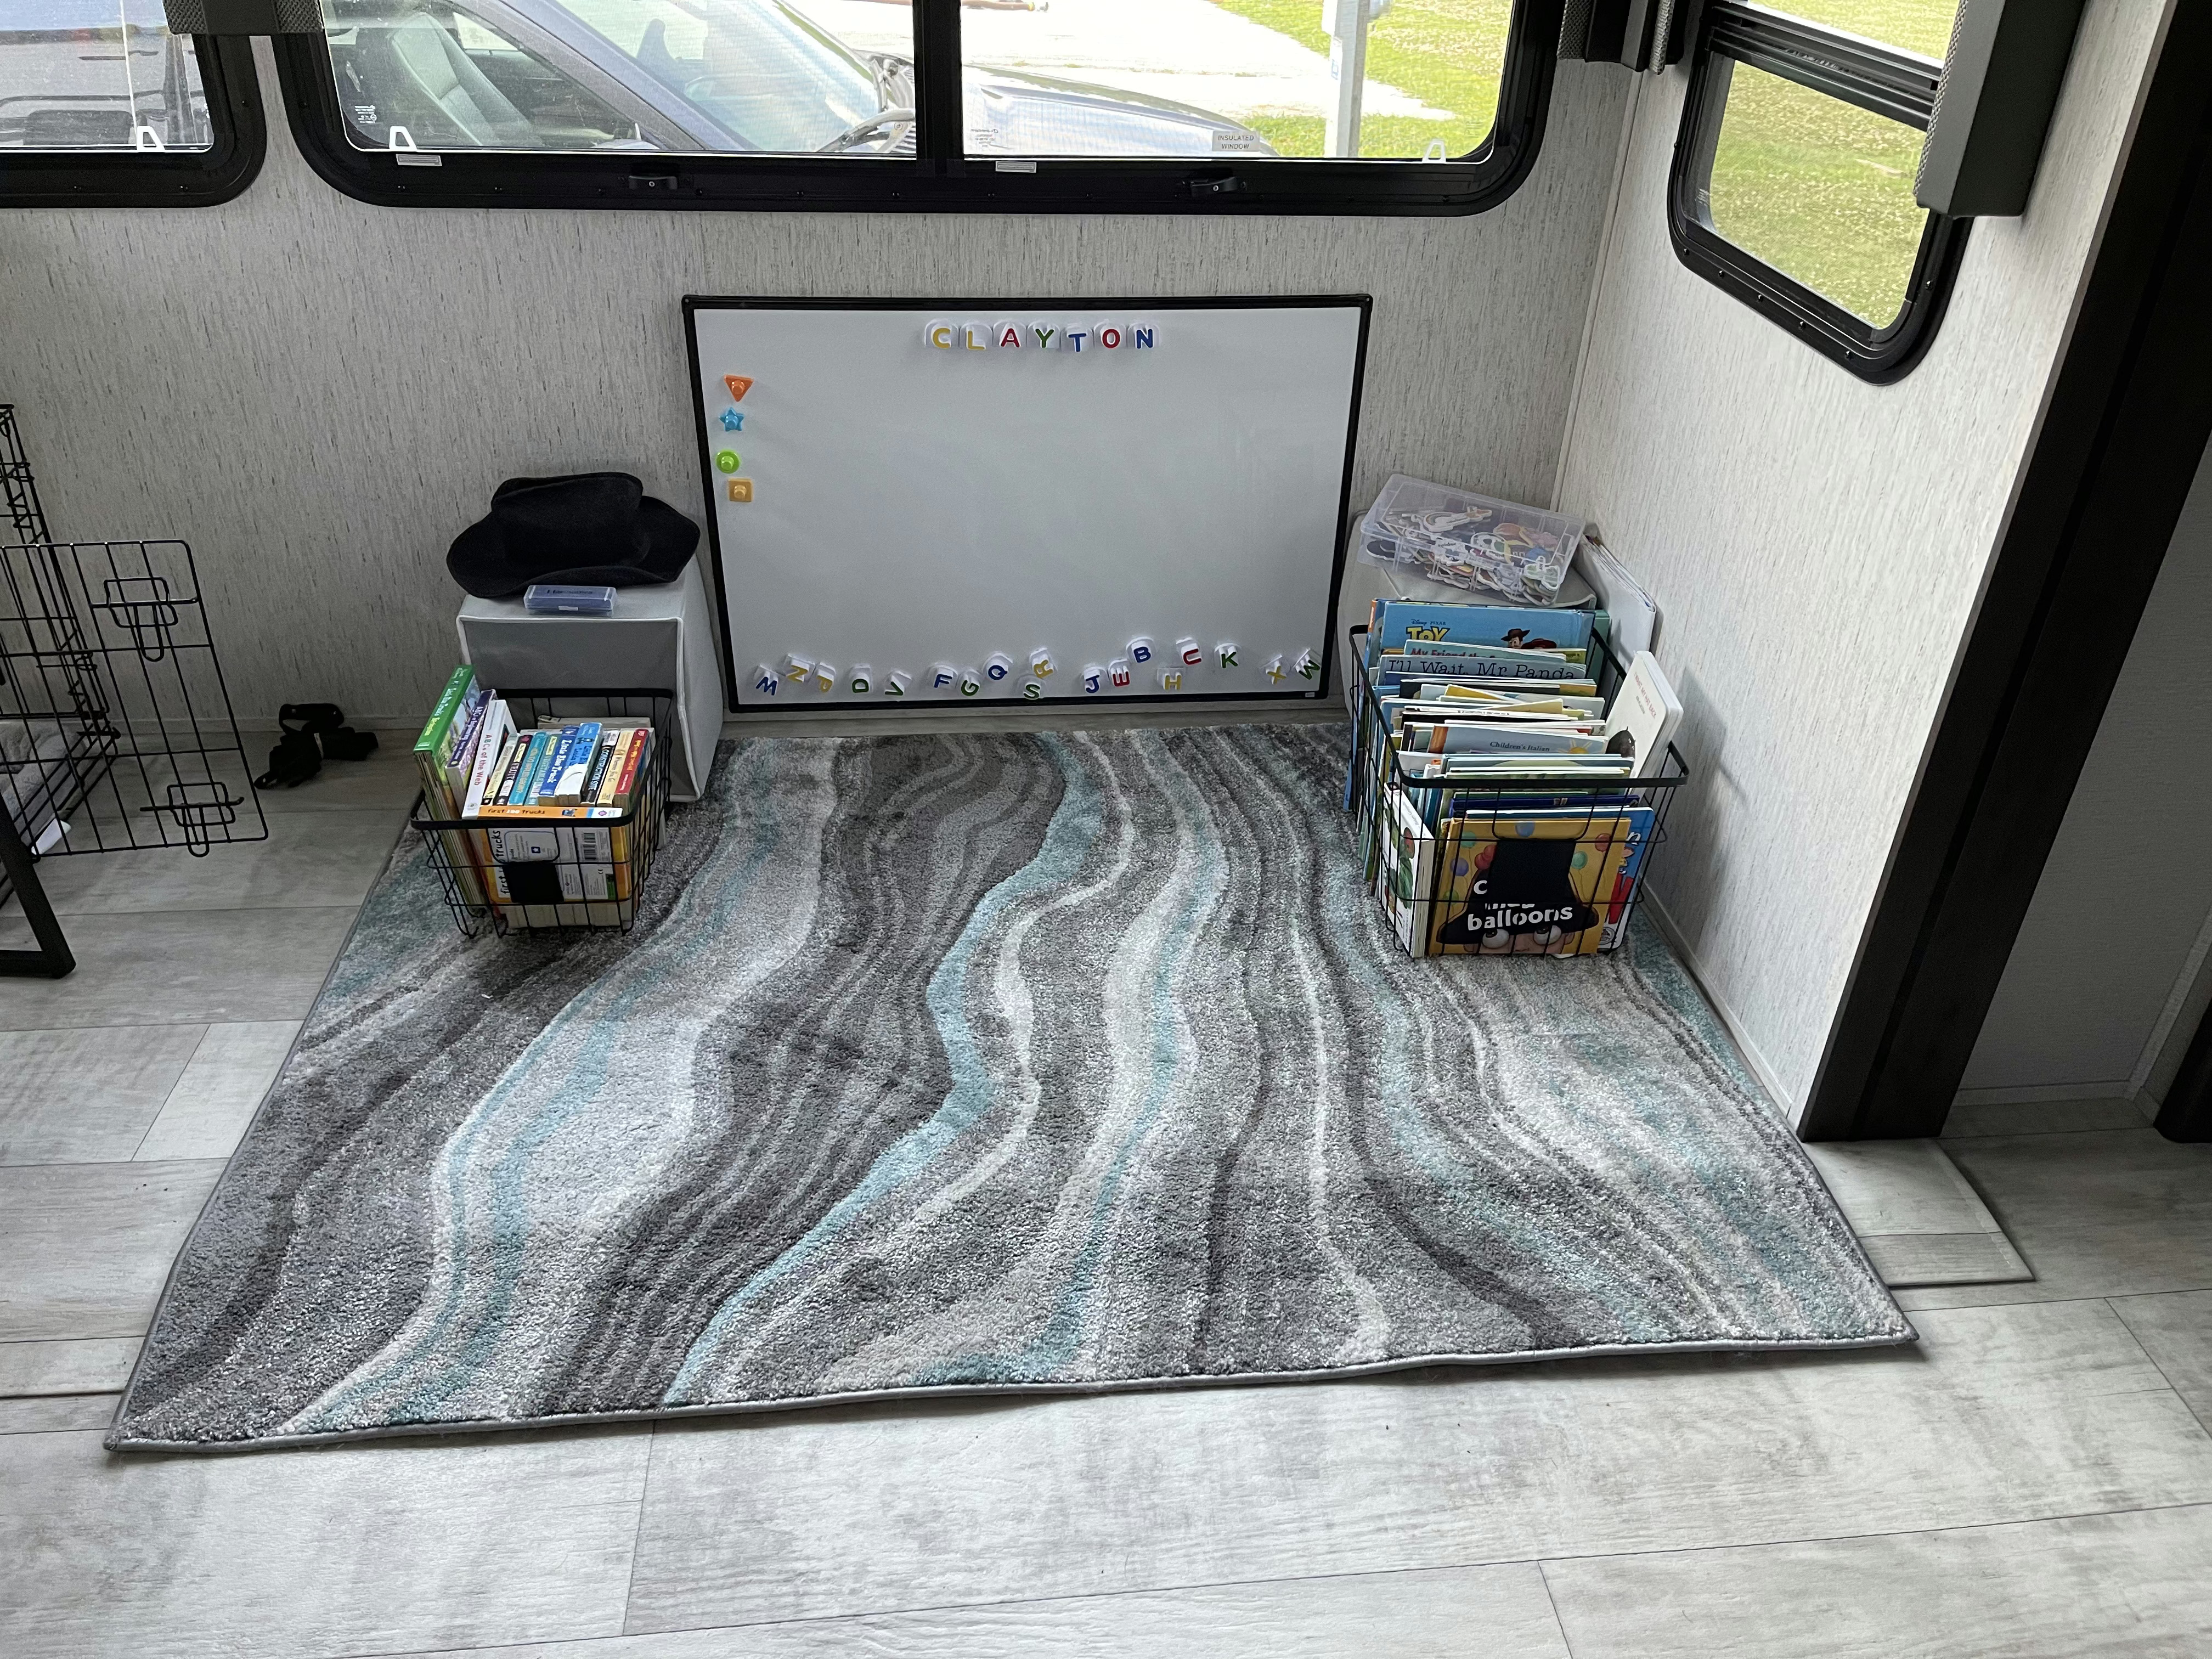
Play Area Mod
This part was a little difficult as there’s 4 screws in a very awkward position screwed in quite tightly. I had to use a hand drill to be able to get them out. After that getting them out was quite awkward but doable.
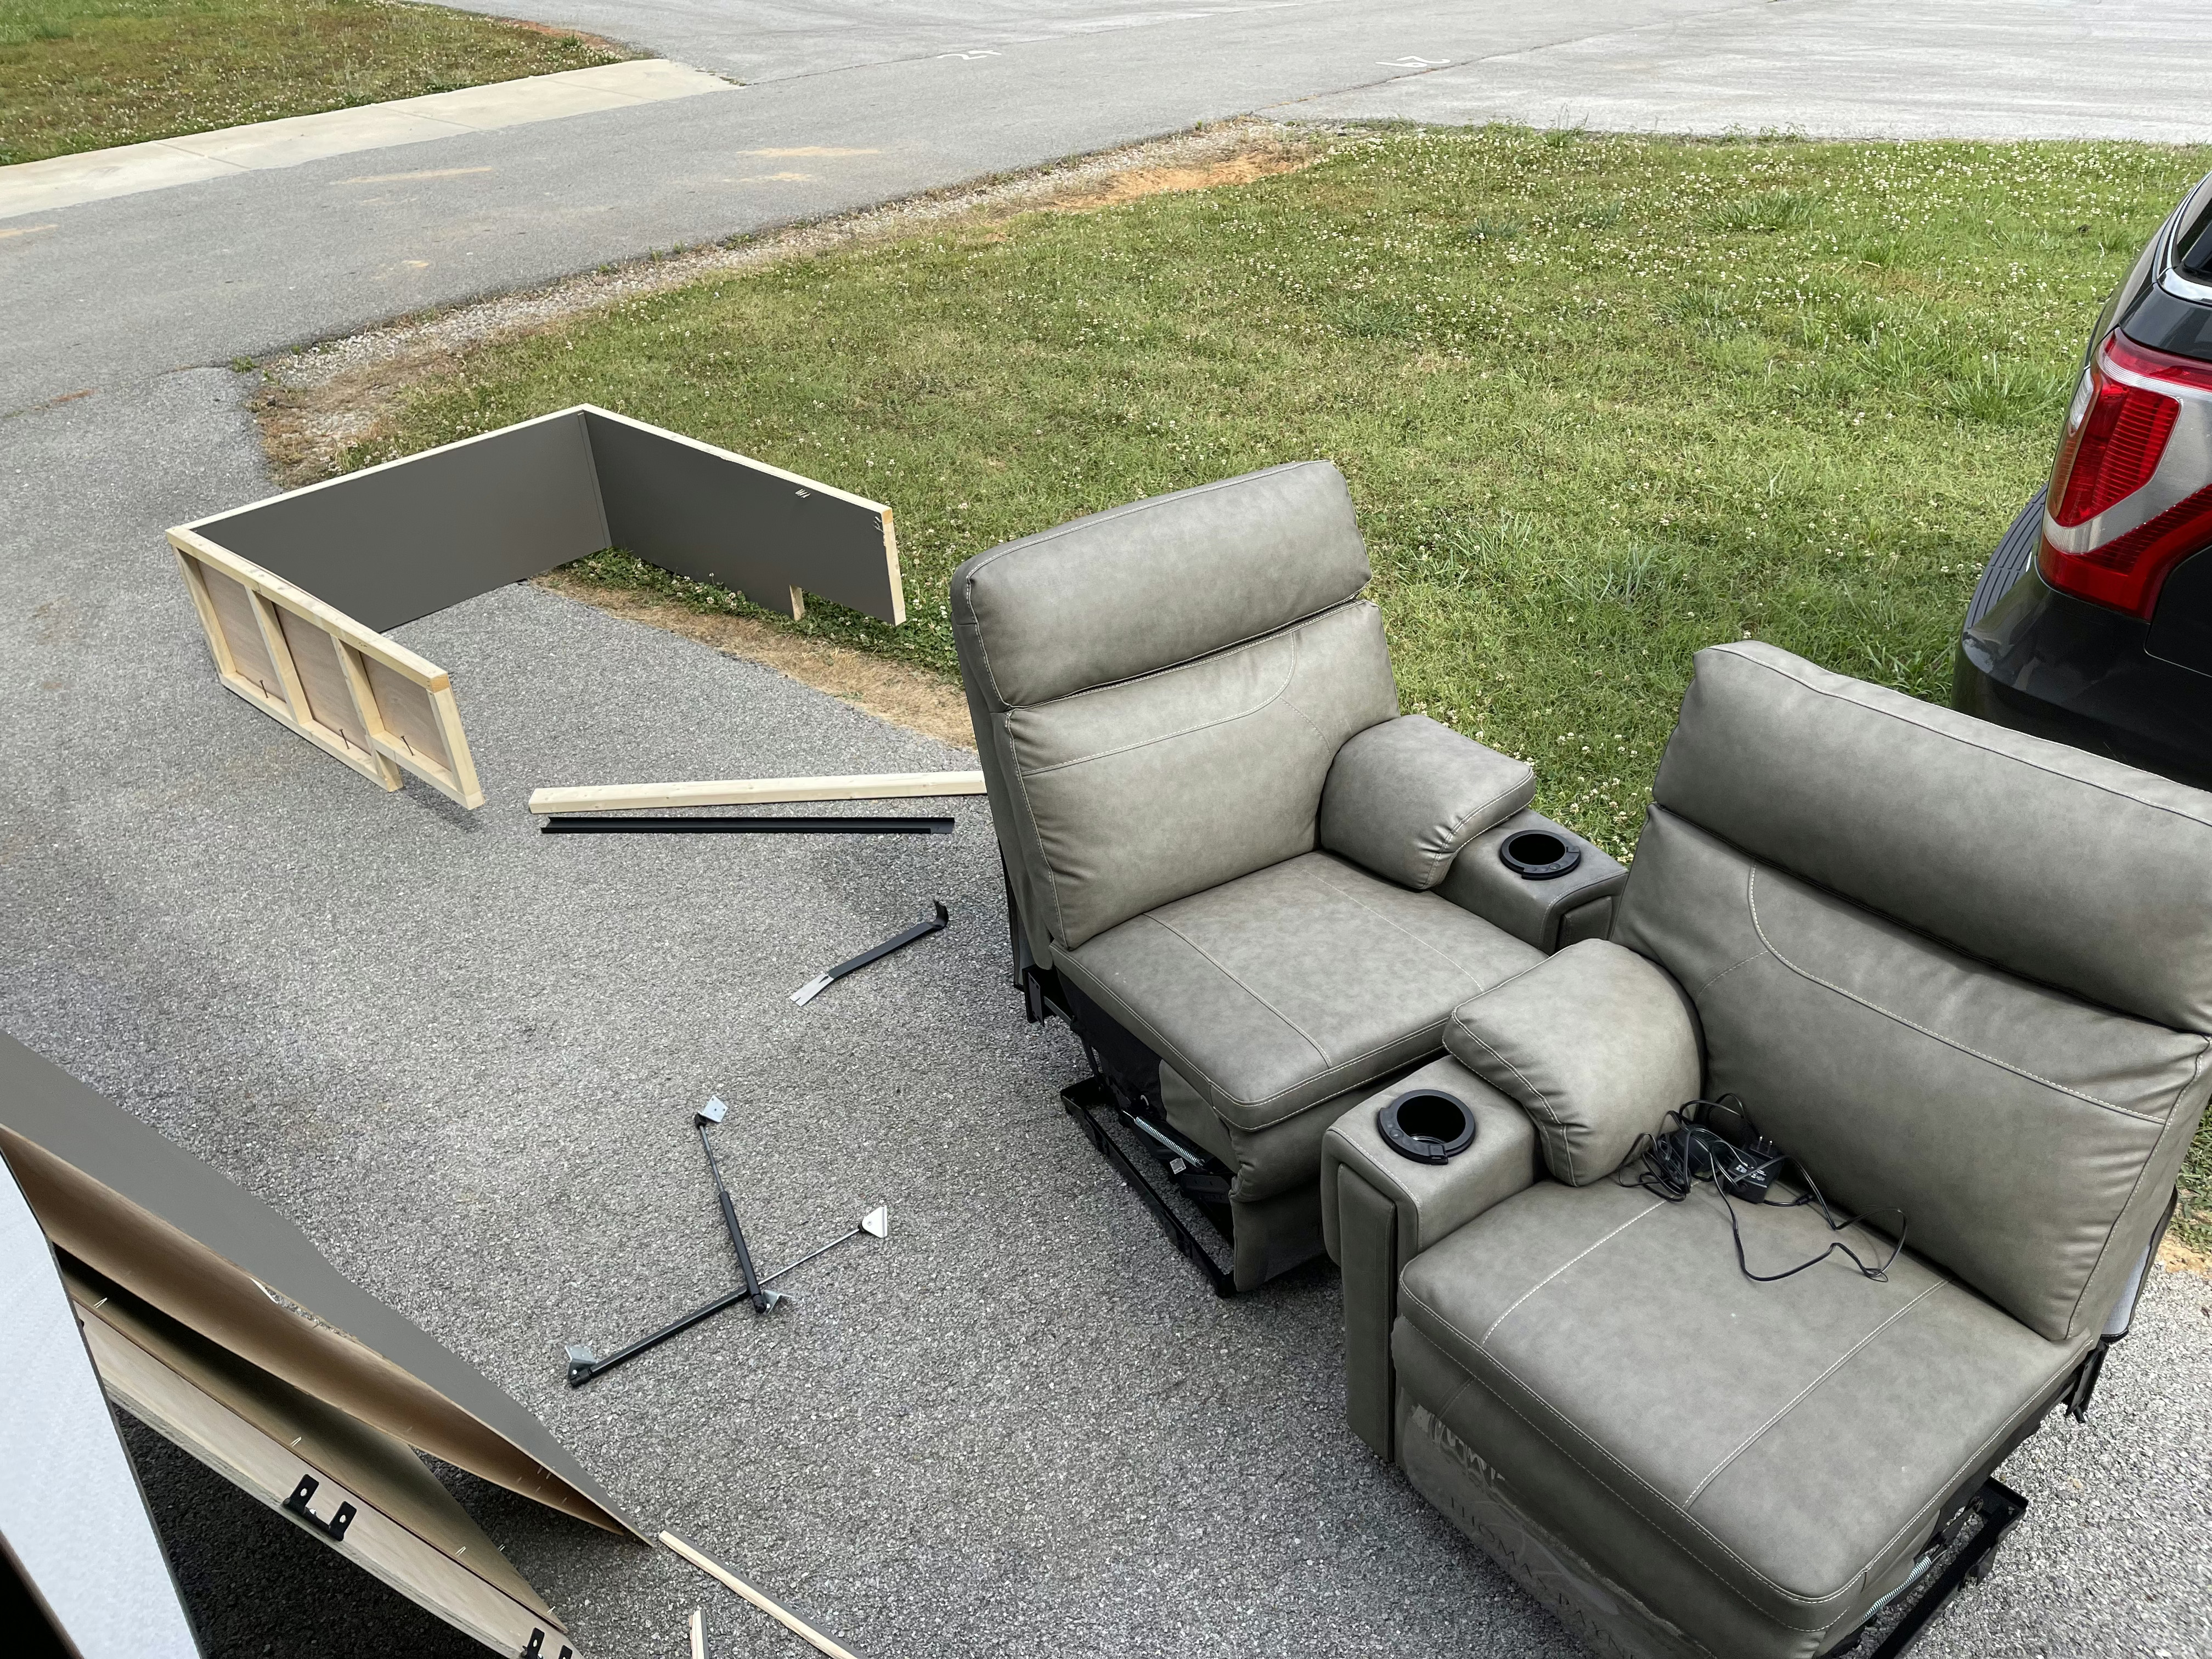
These black boxes are the subwoofer boxes for the outside speakers.

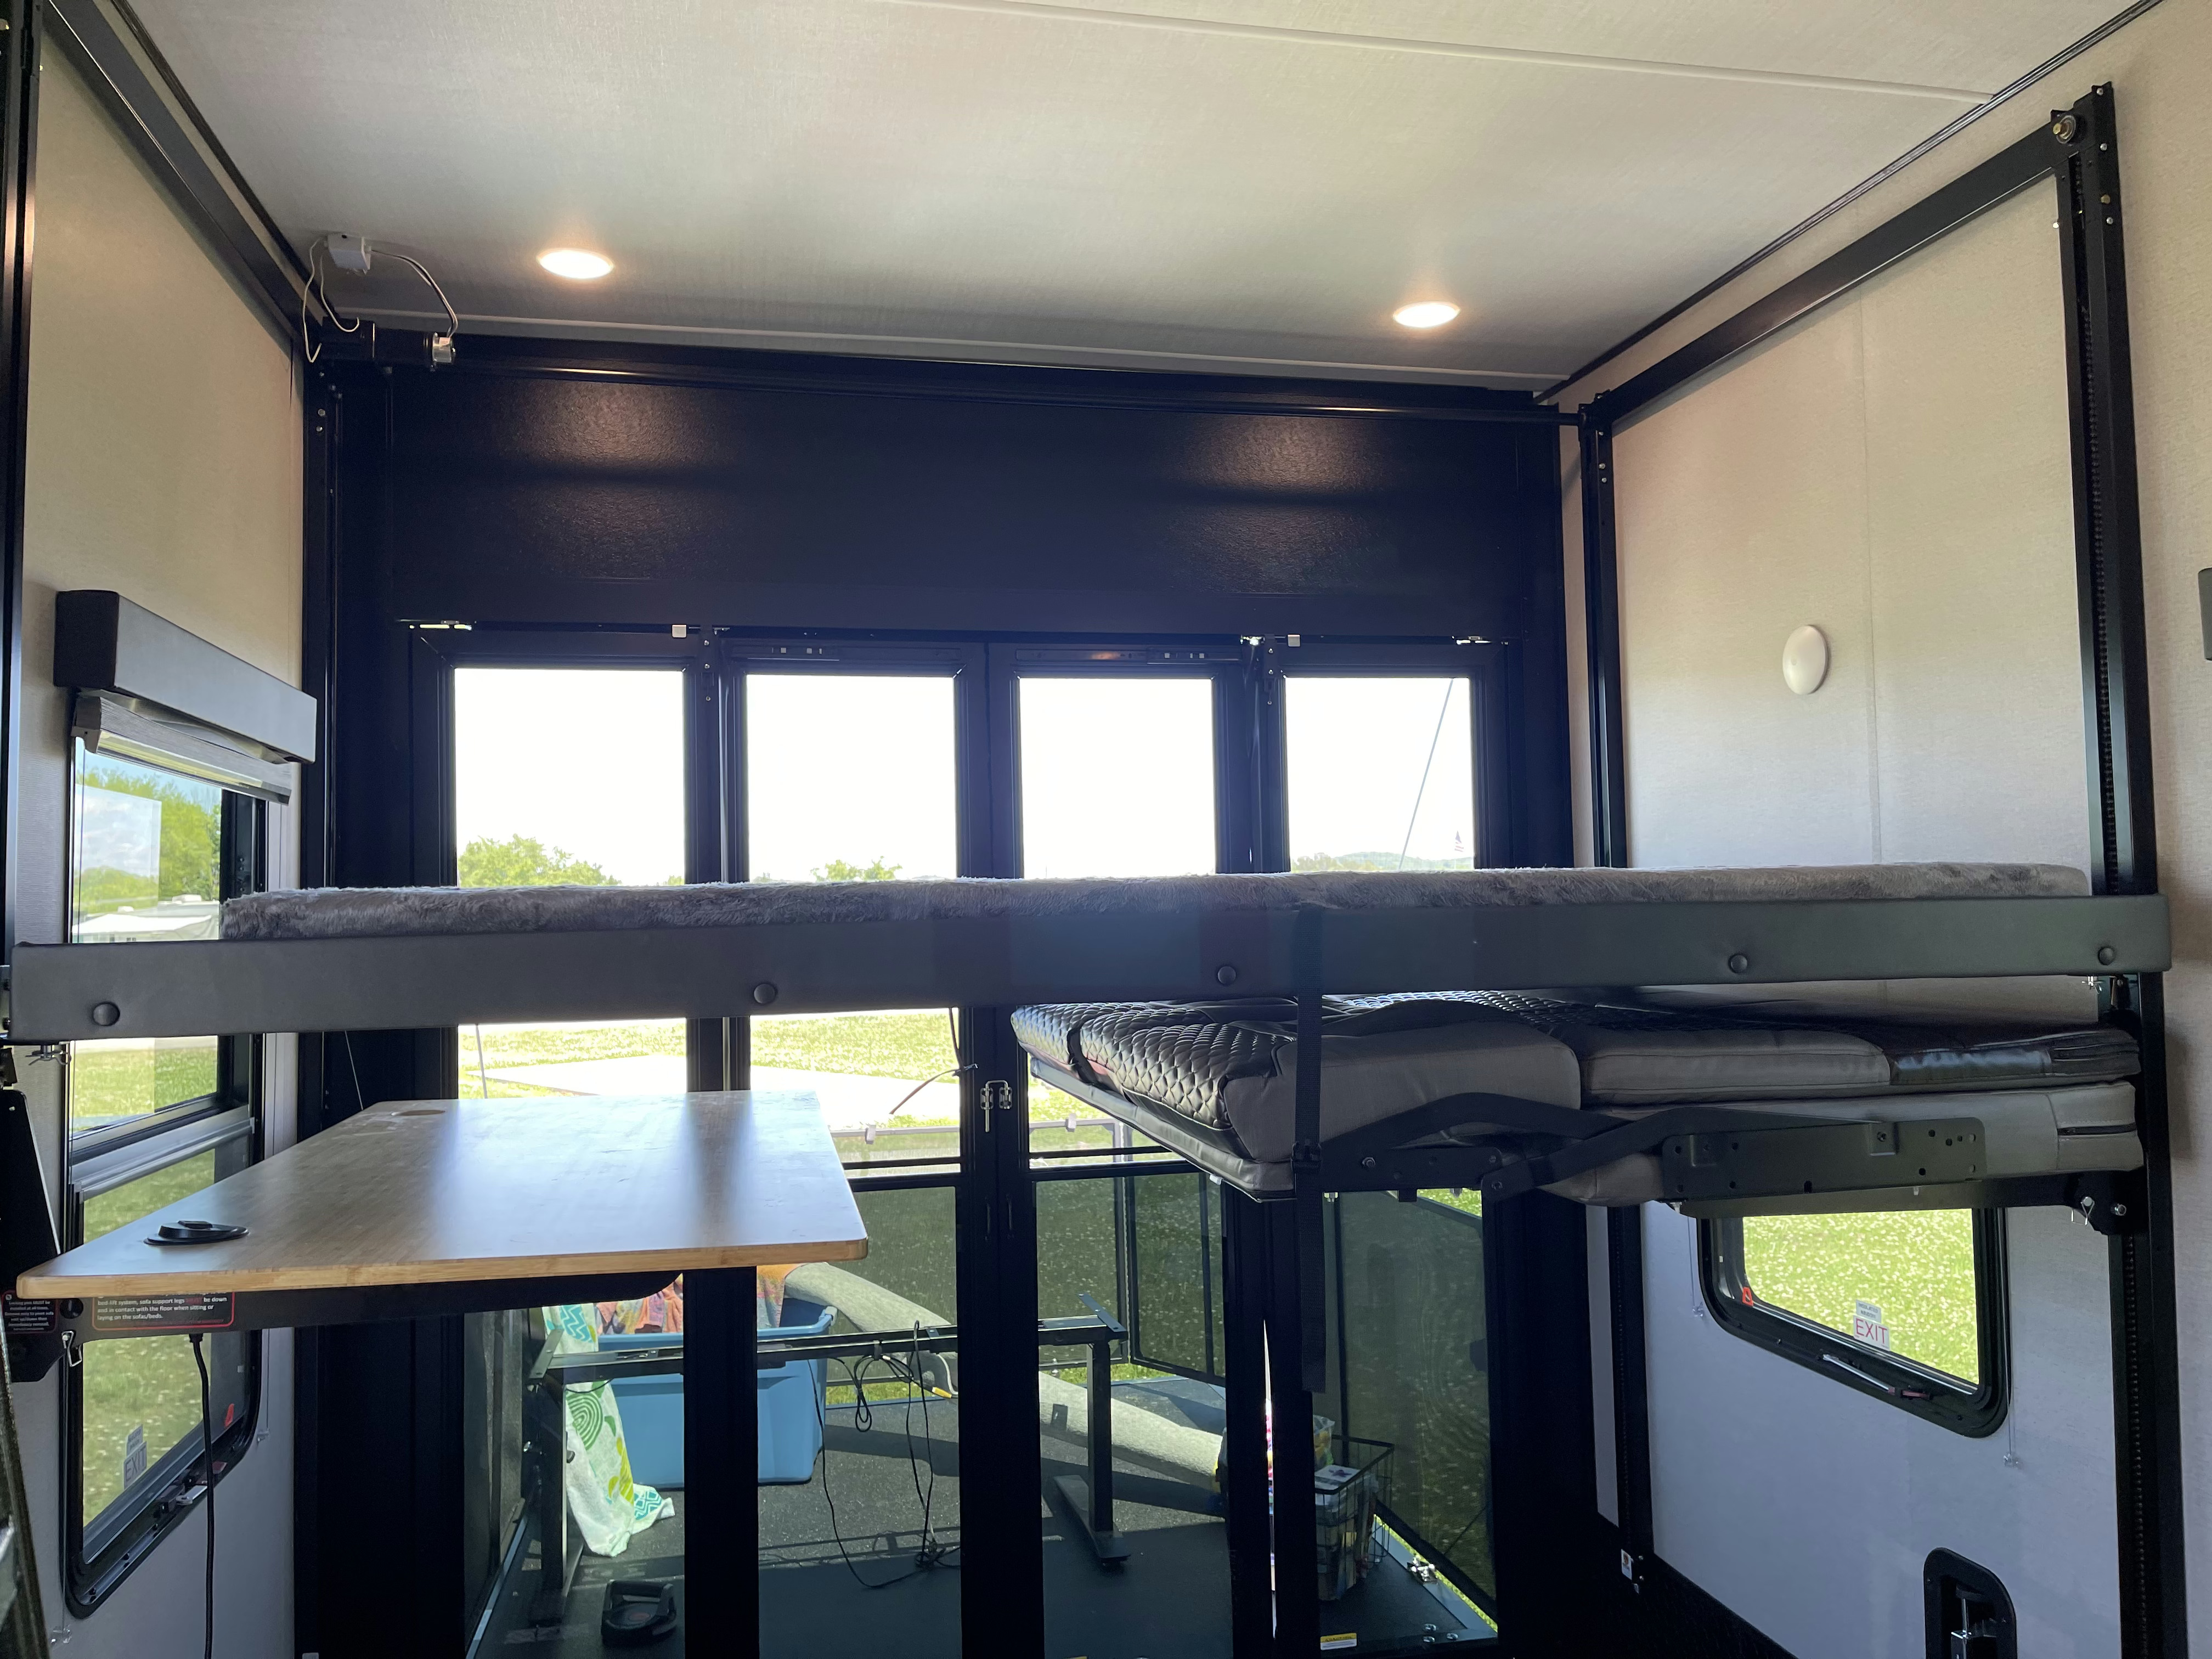
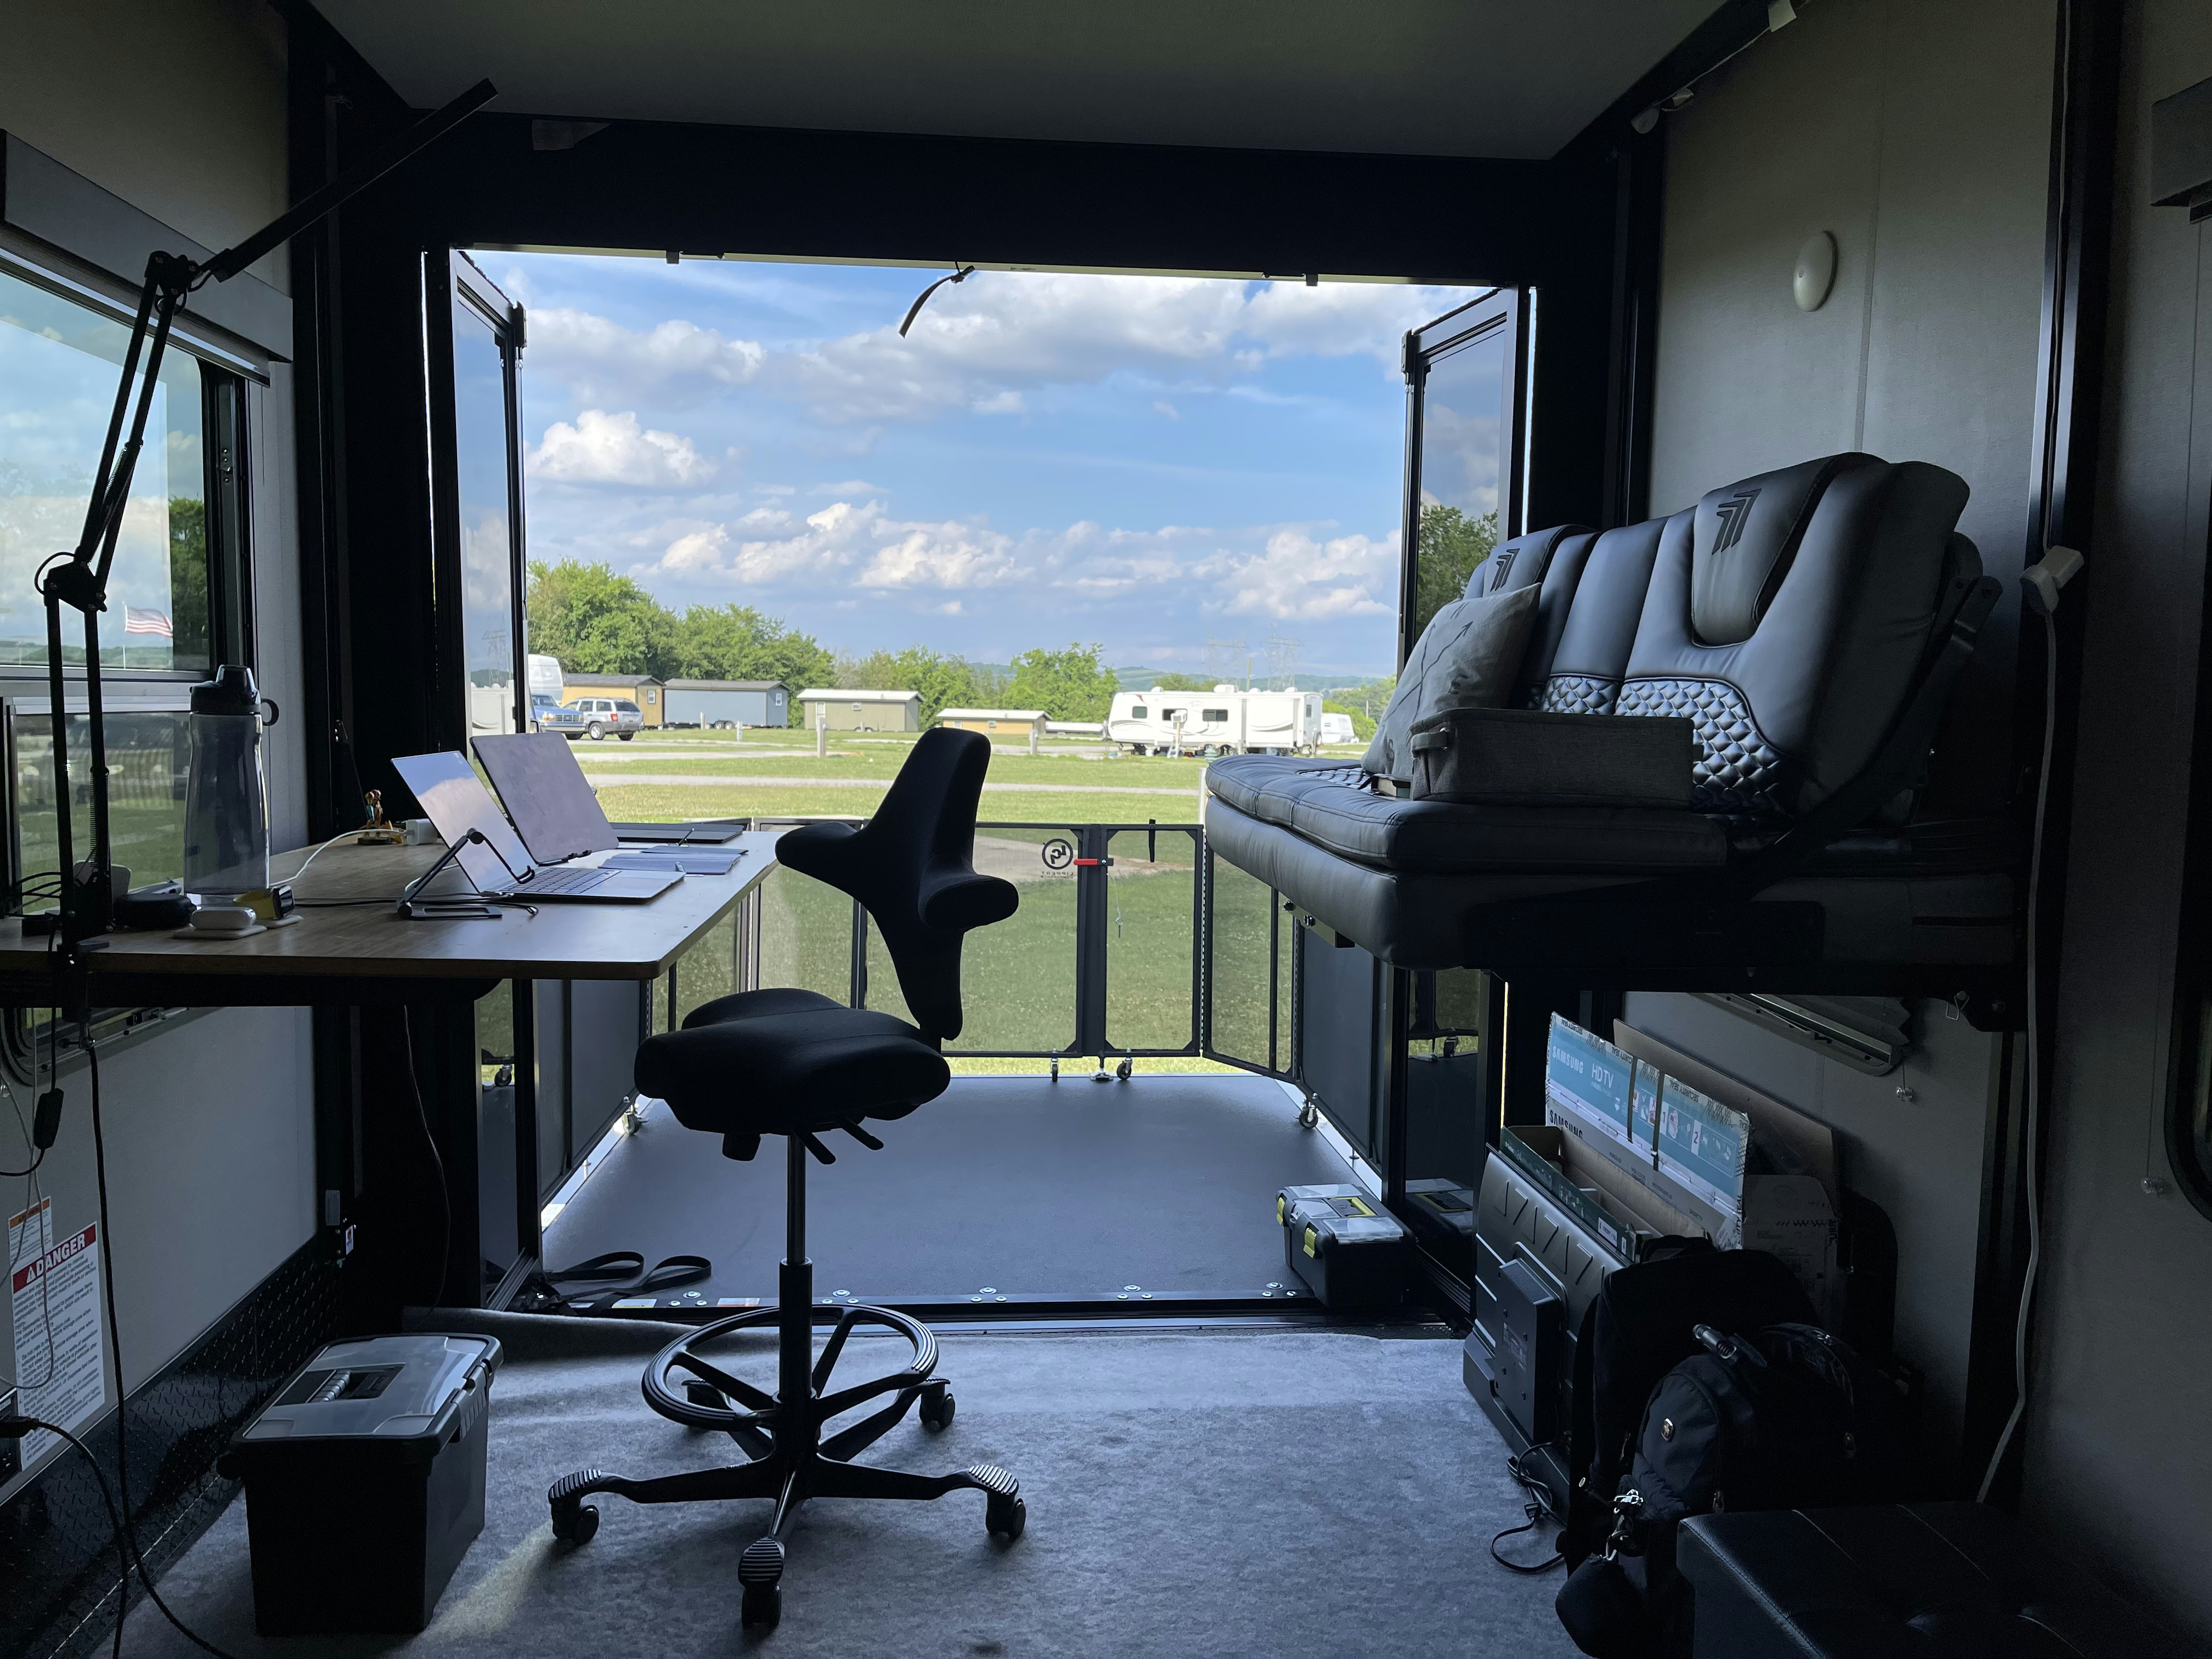
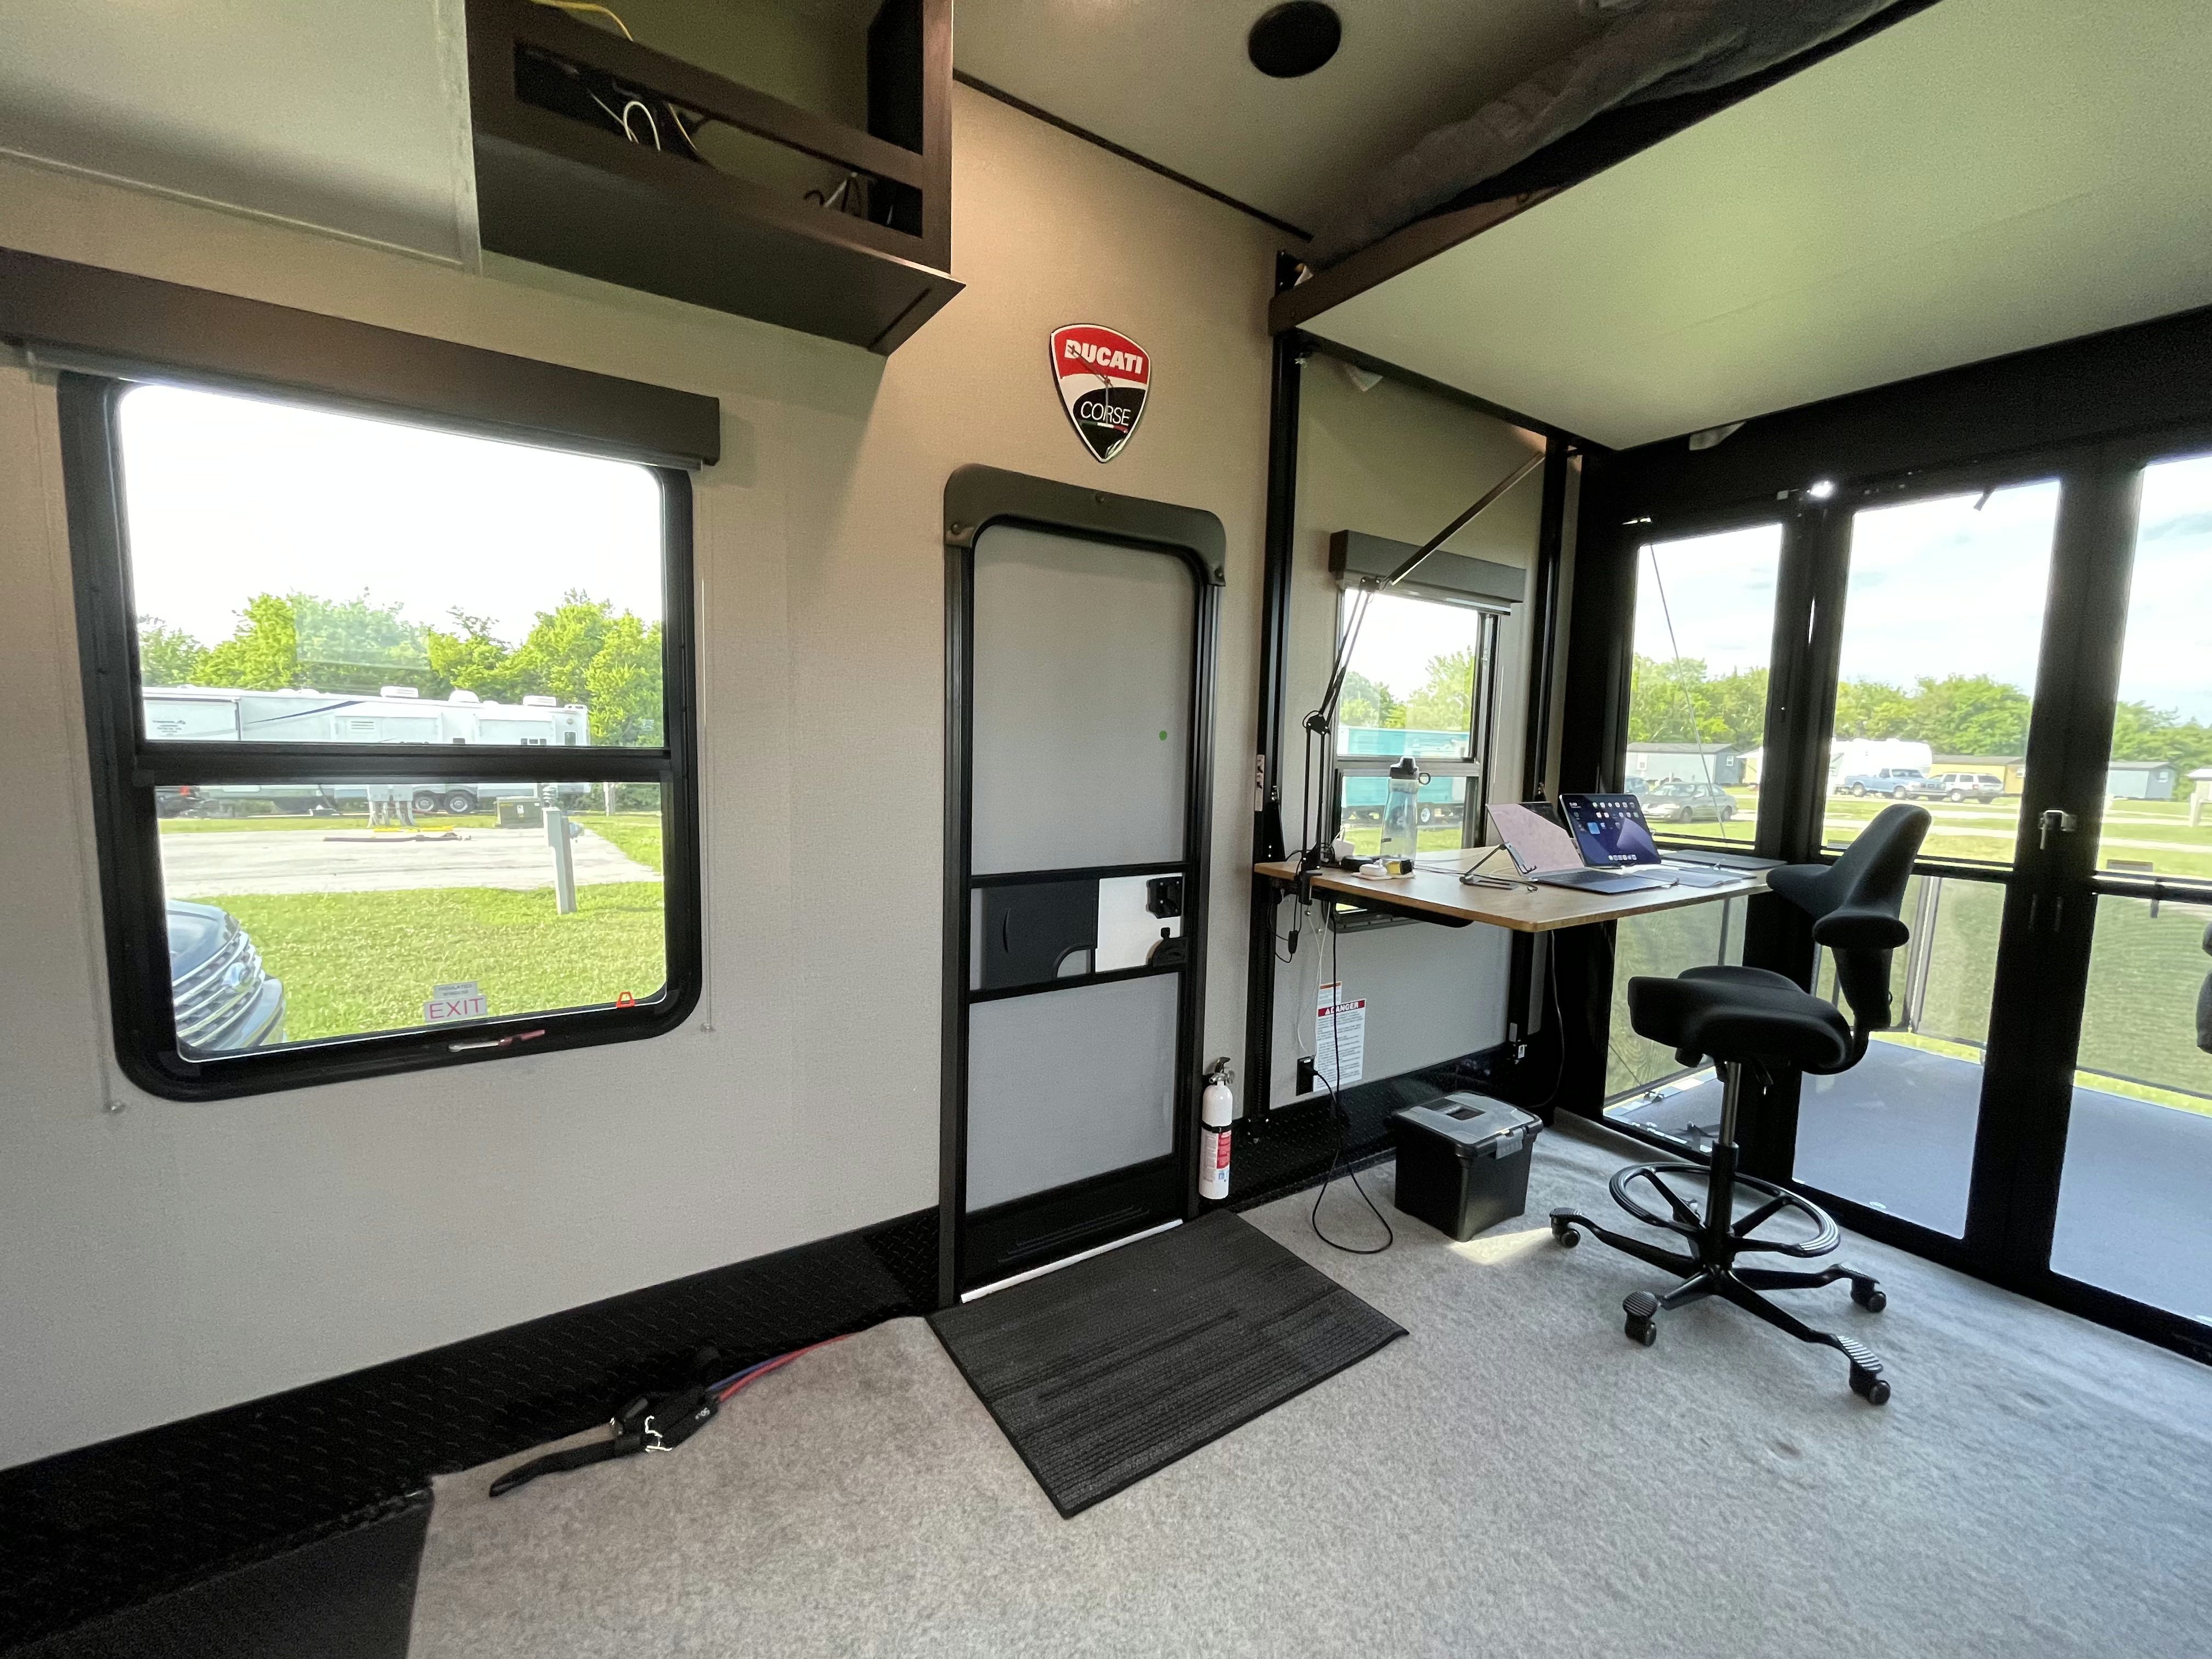
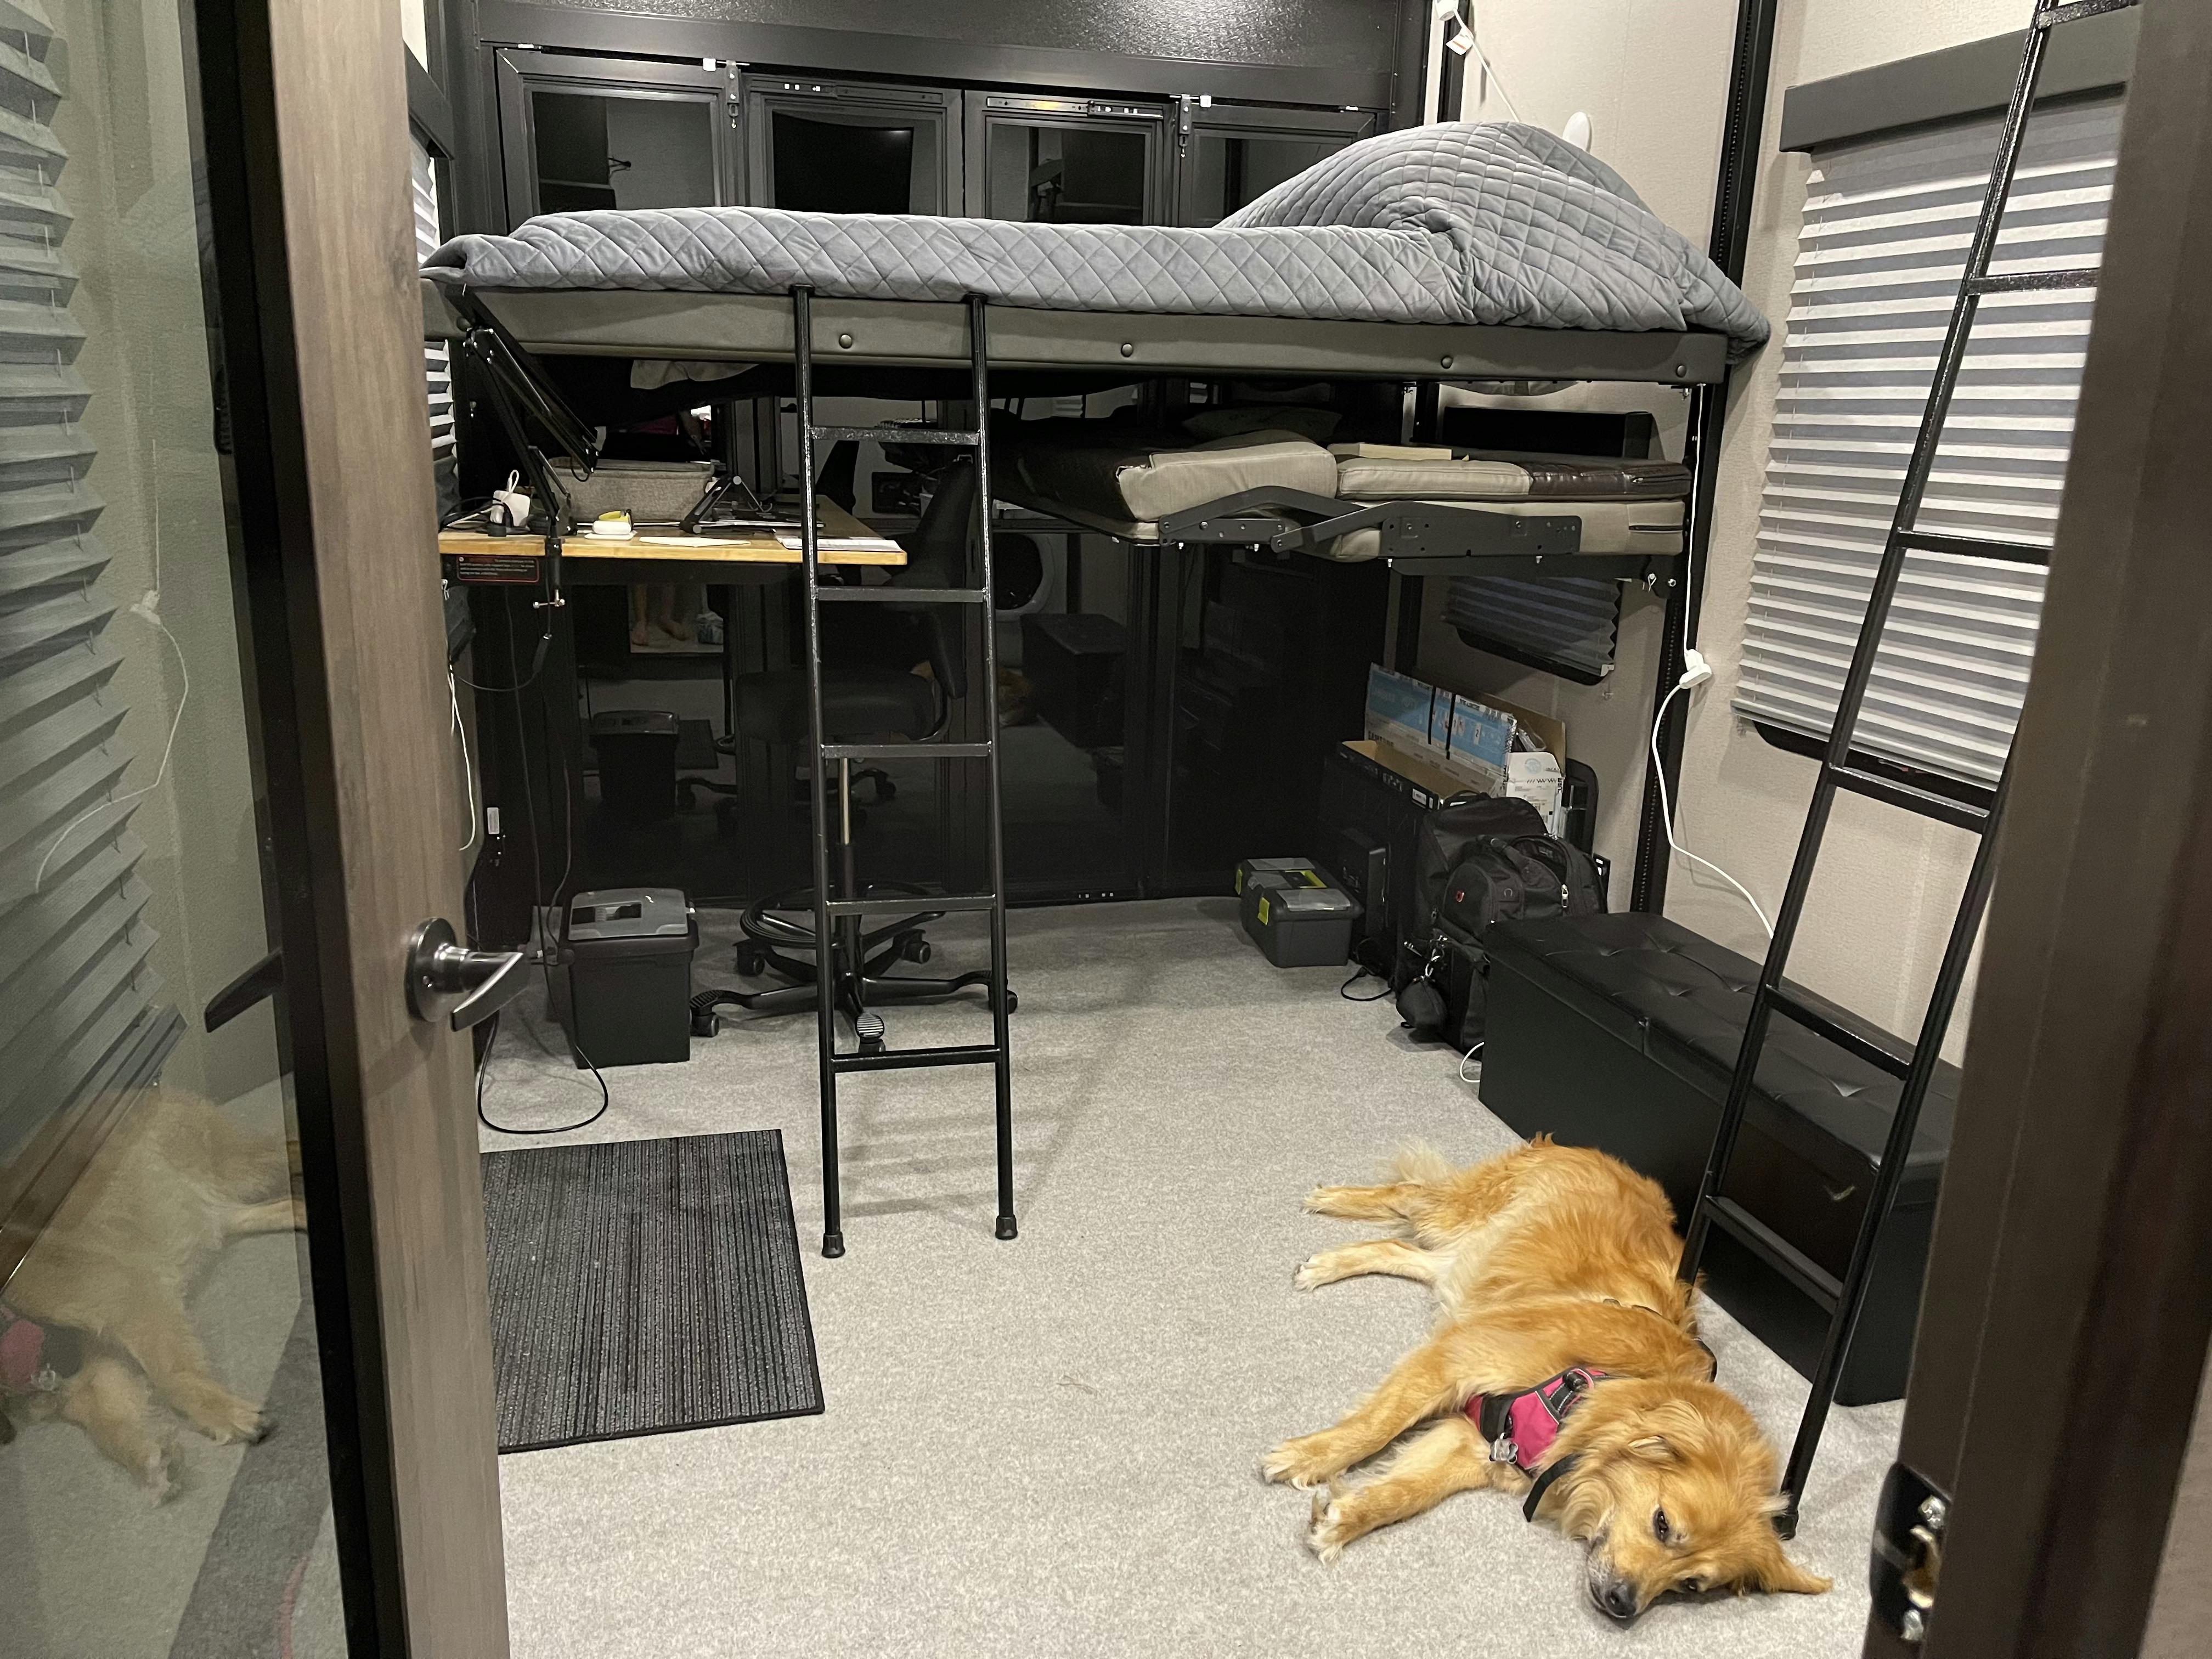
Desk Mod
The RV came with the Happi-Jac Electric Bunk System w/Folding Sofas (N/A 376THS) that turned out to be the perfect width to fit the top of a Jarvis standing desk that I had. I unscrewed the couch from the legs mounting them to the wall and then screwed the desktop in through the same holes using screws short enough to not puncture through the top of the desk.
Working mode
Bedroom mode
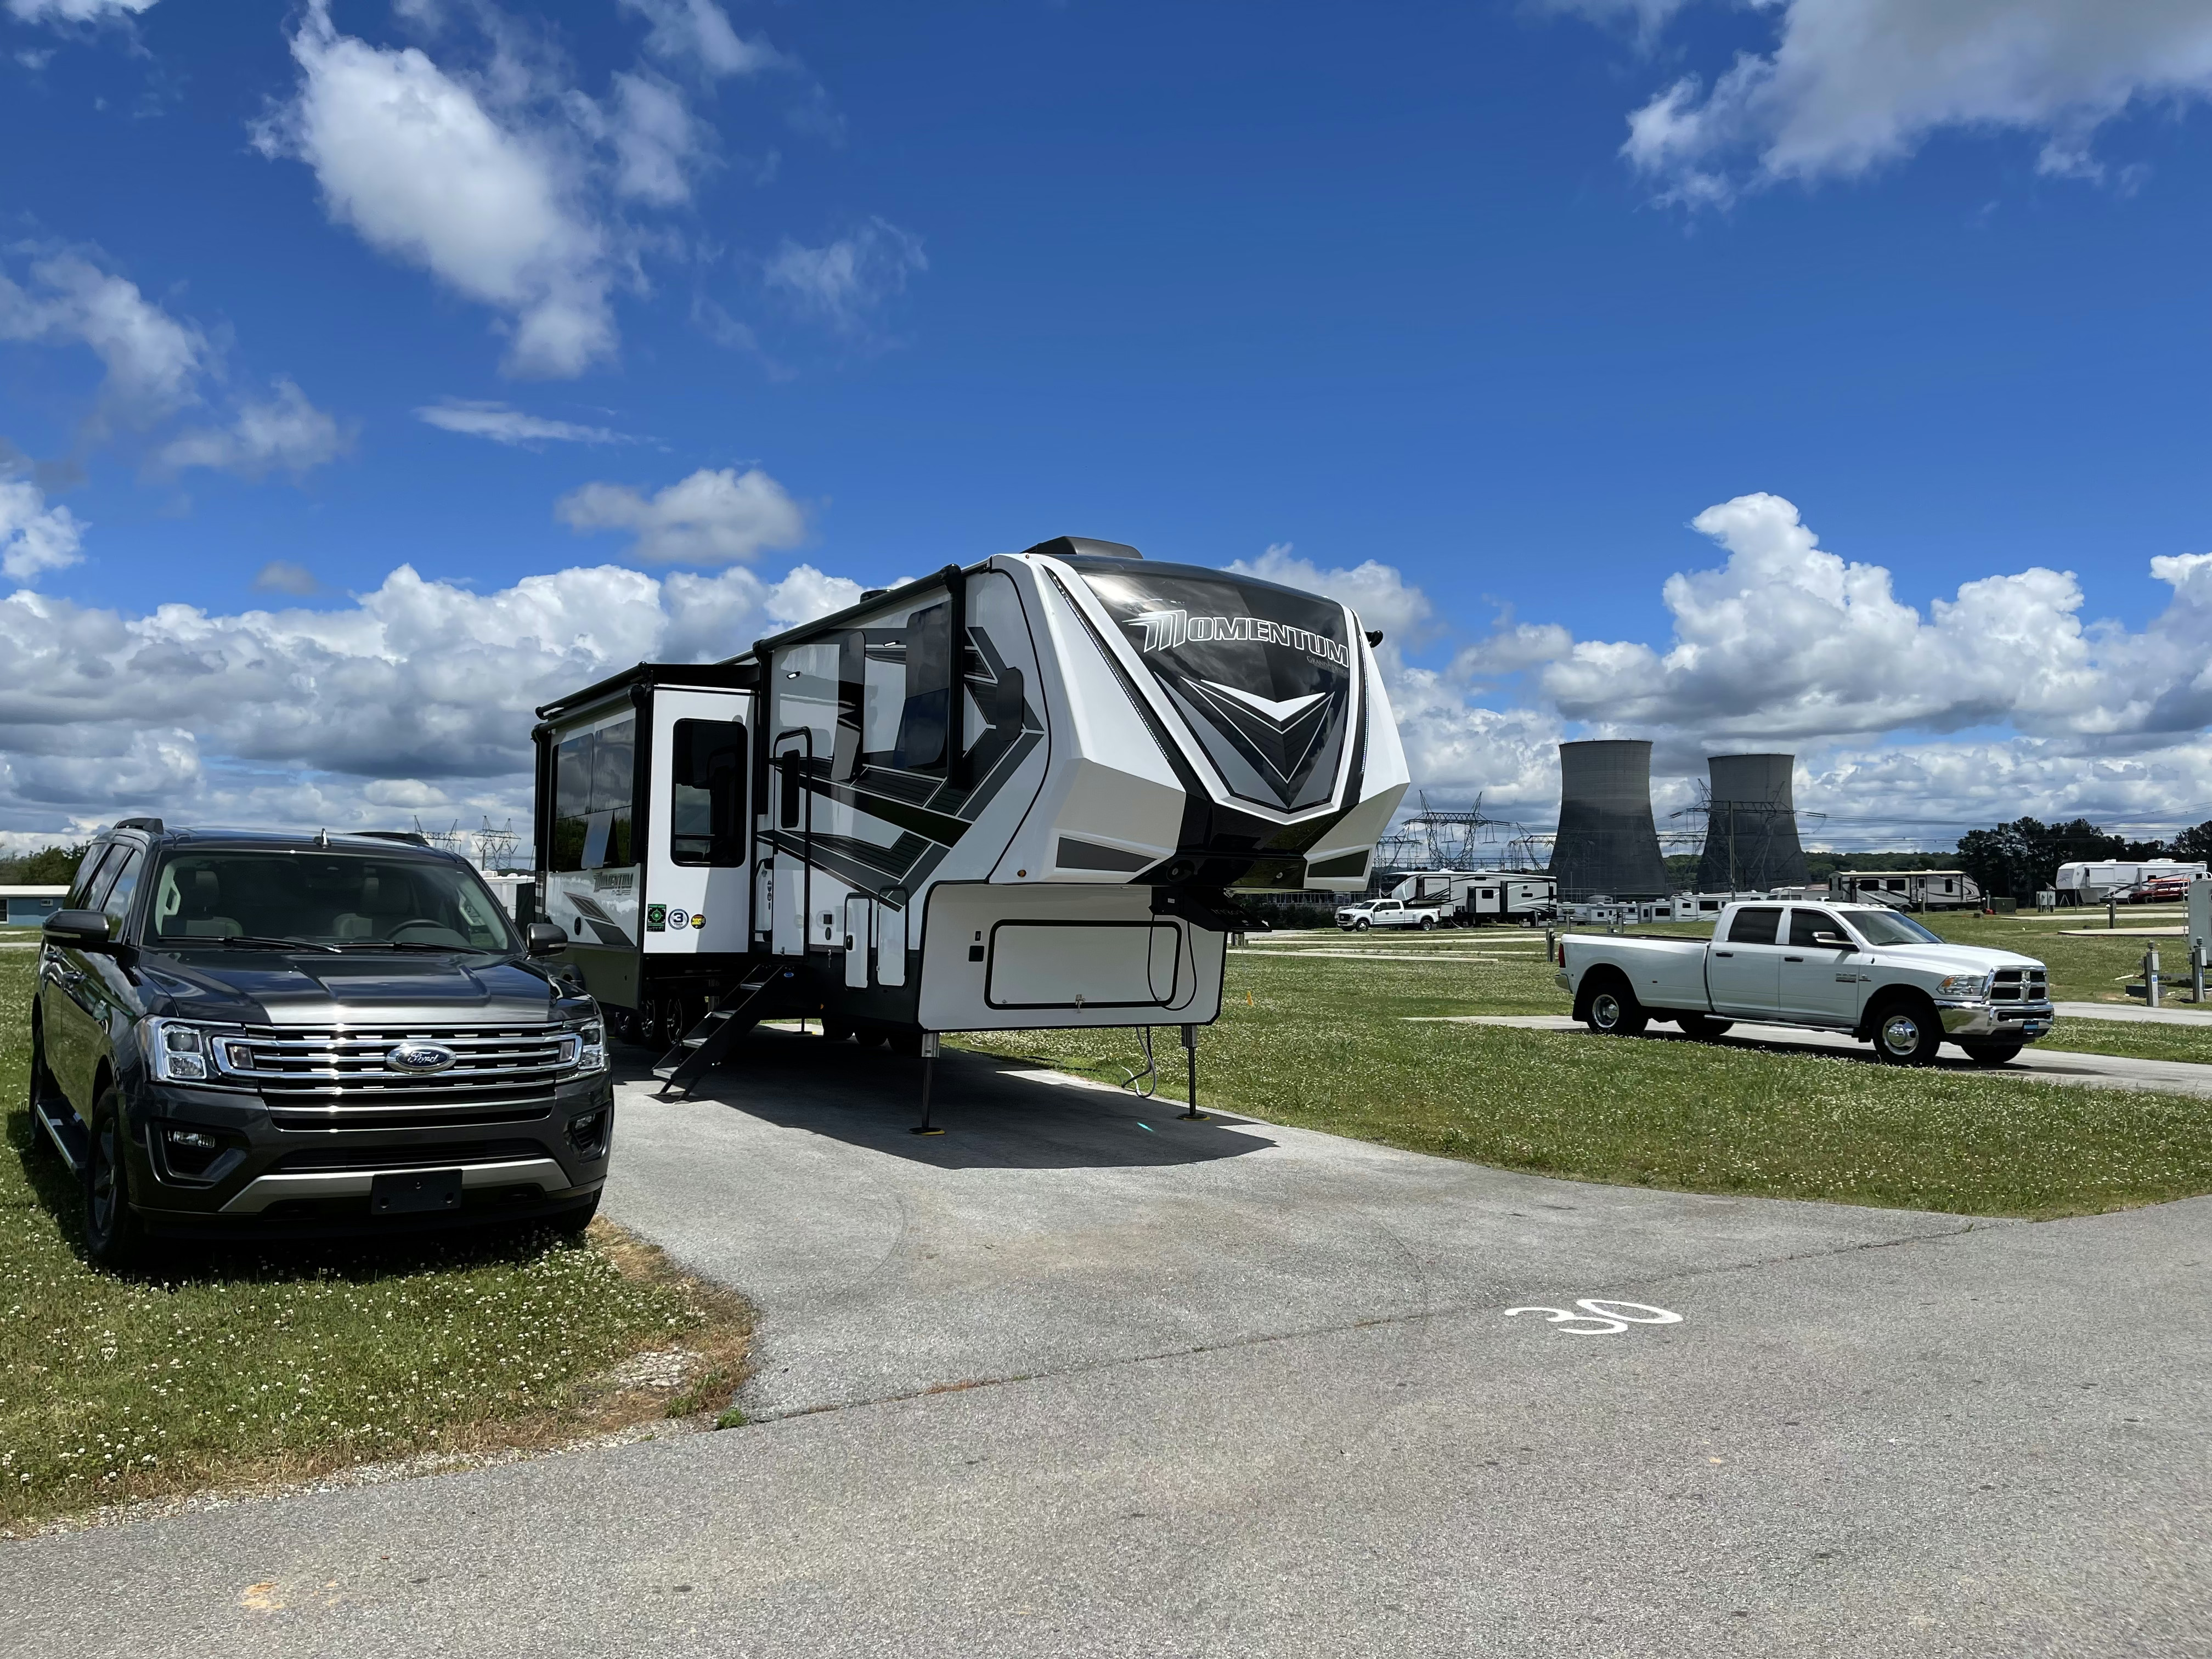
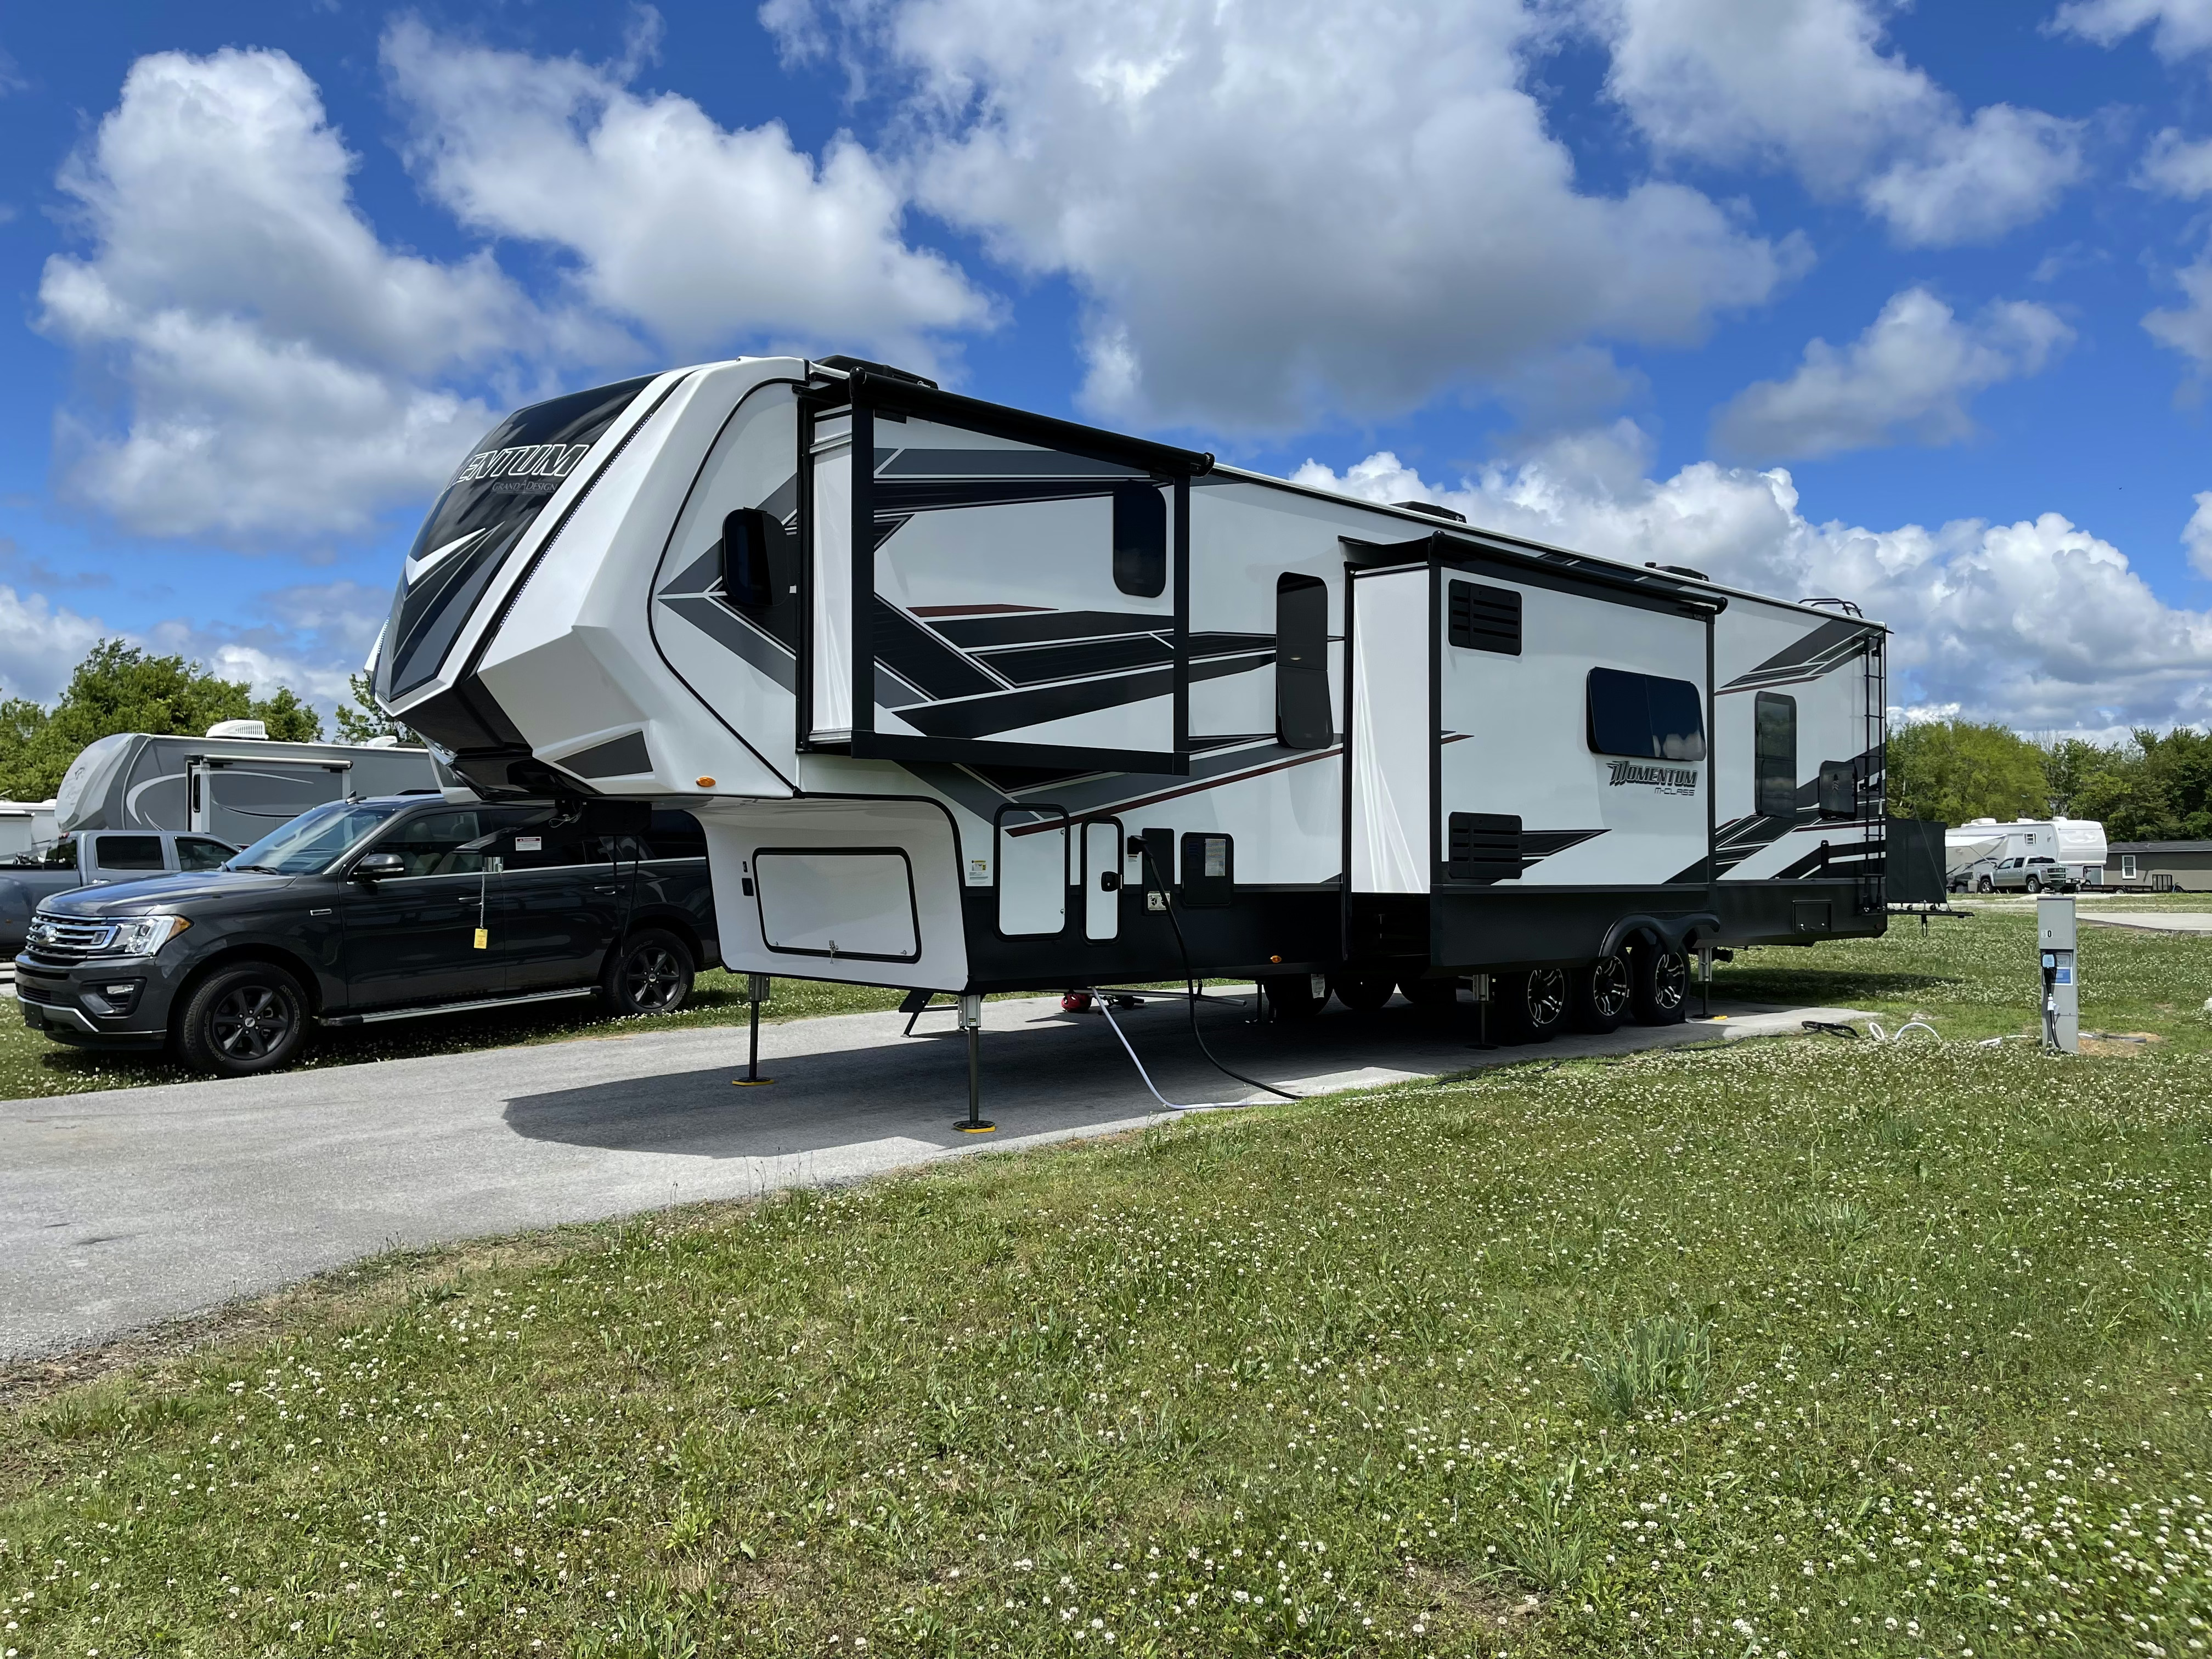
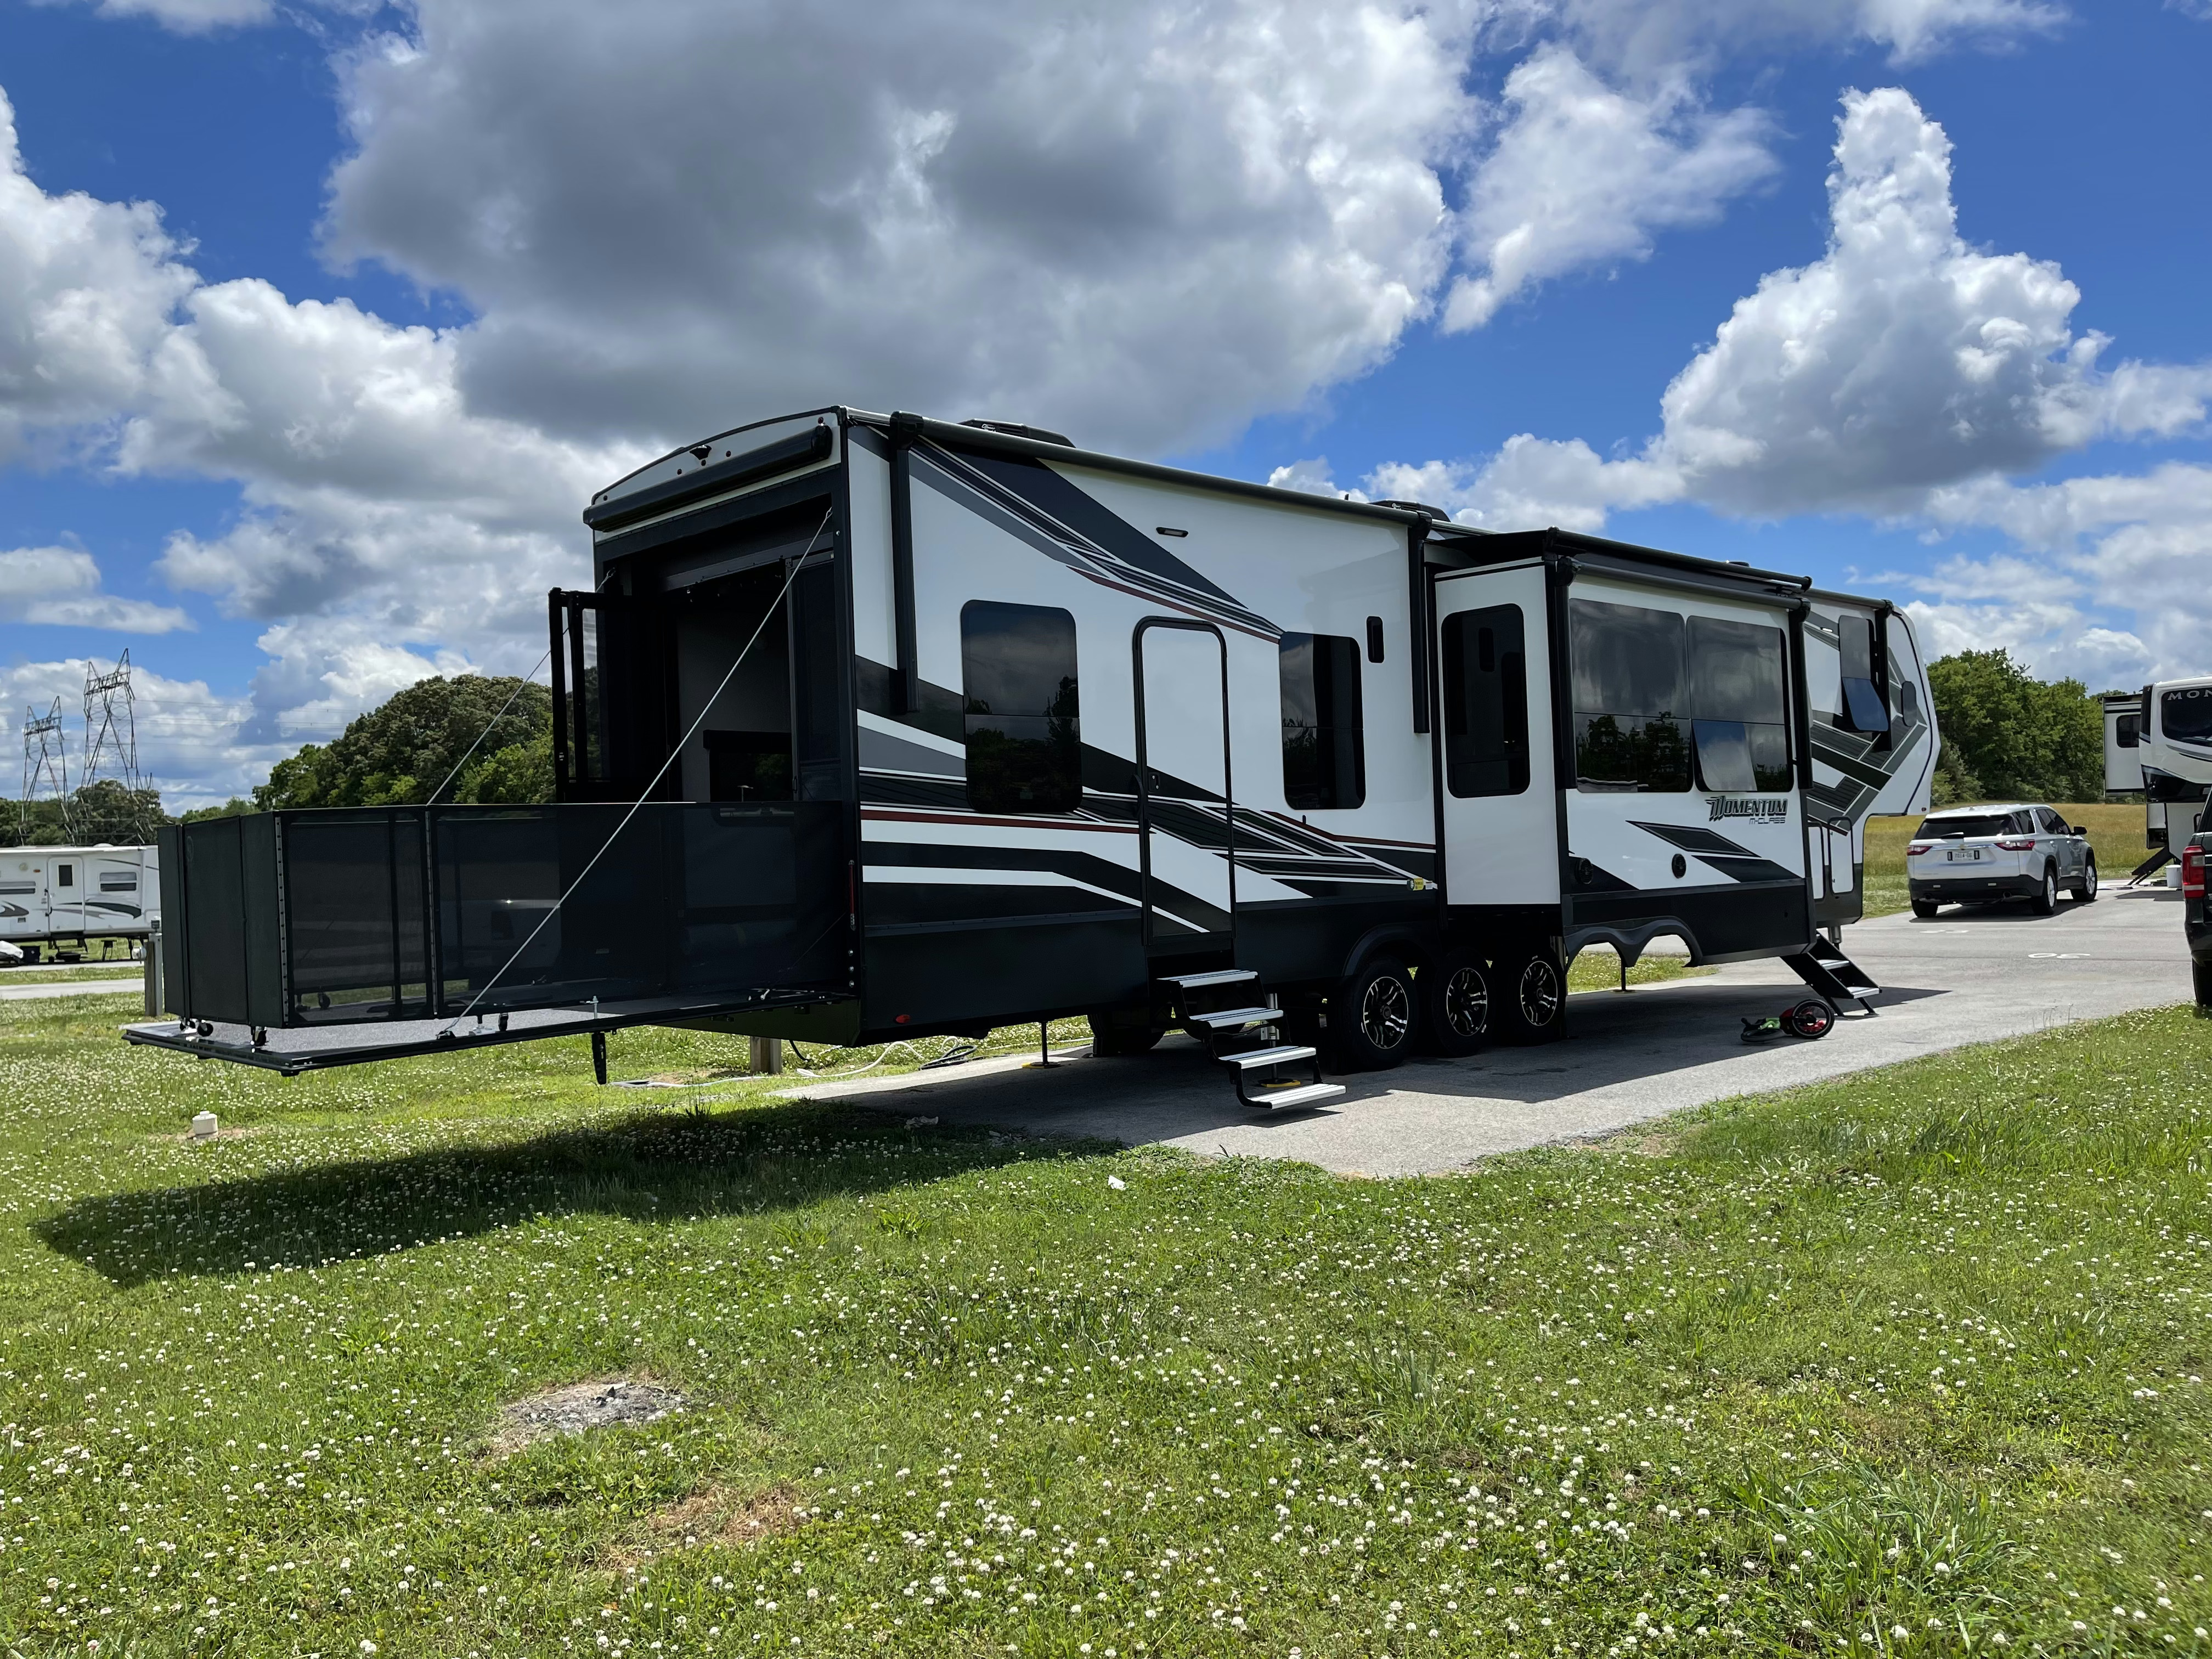
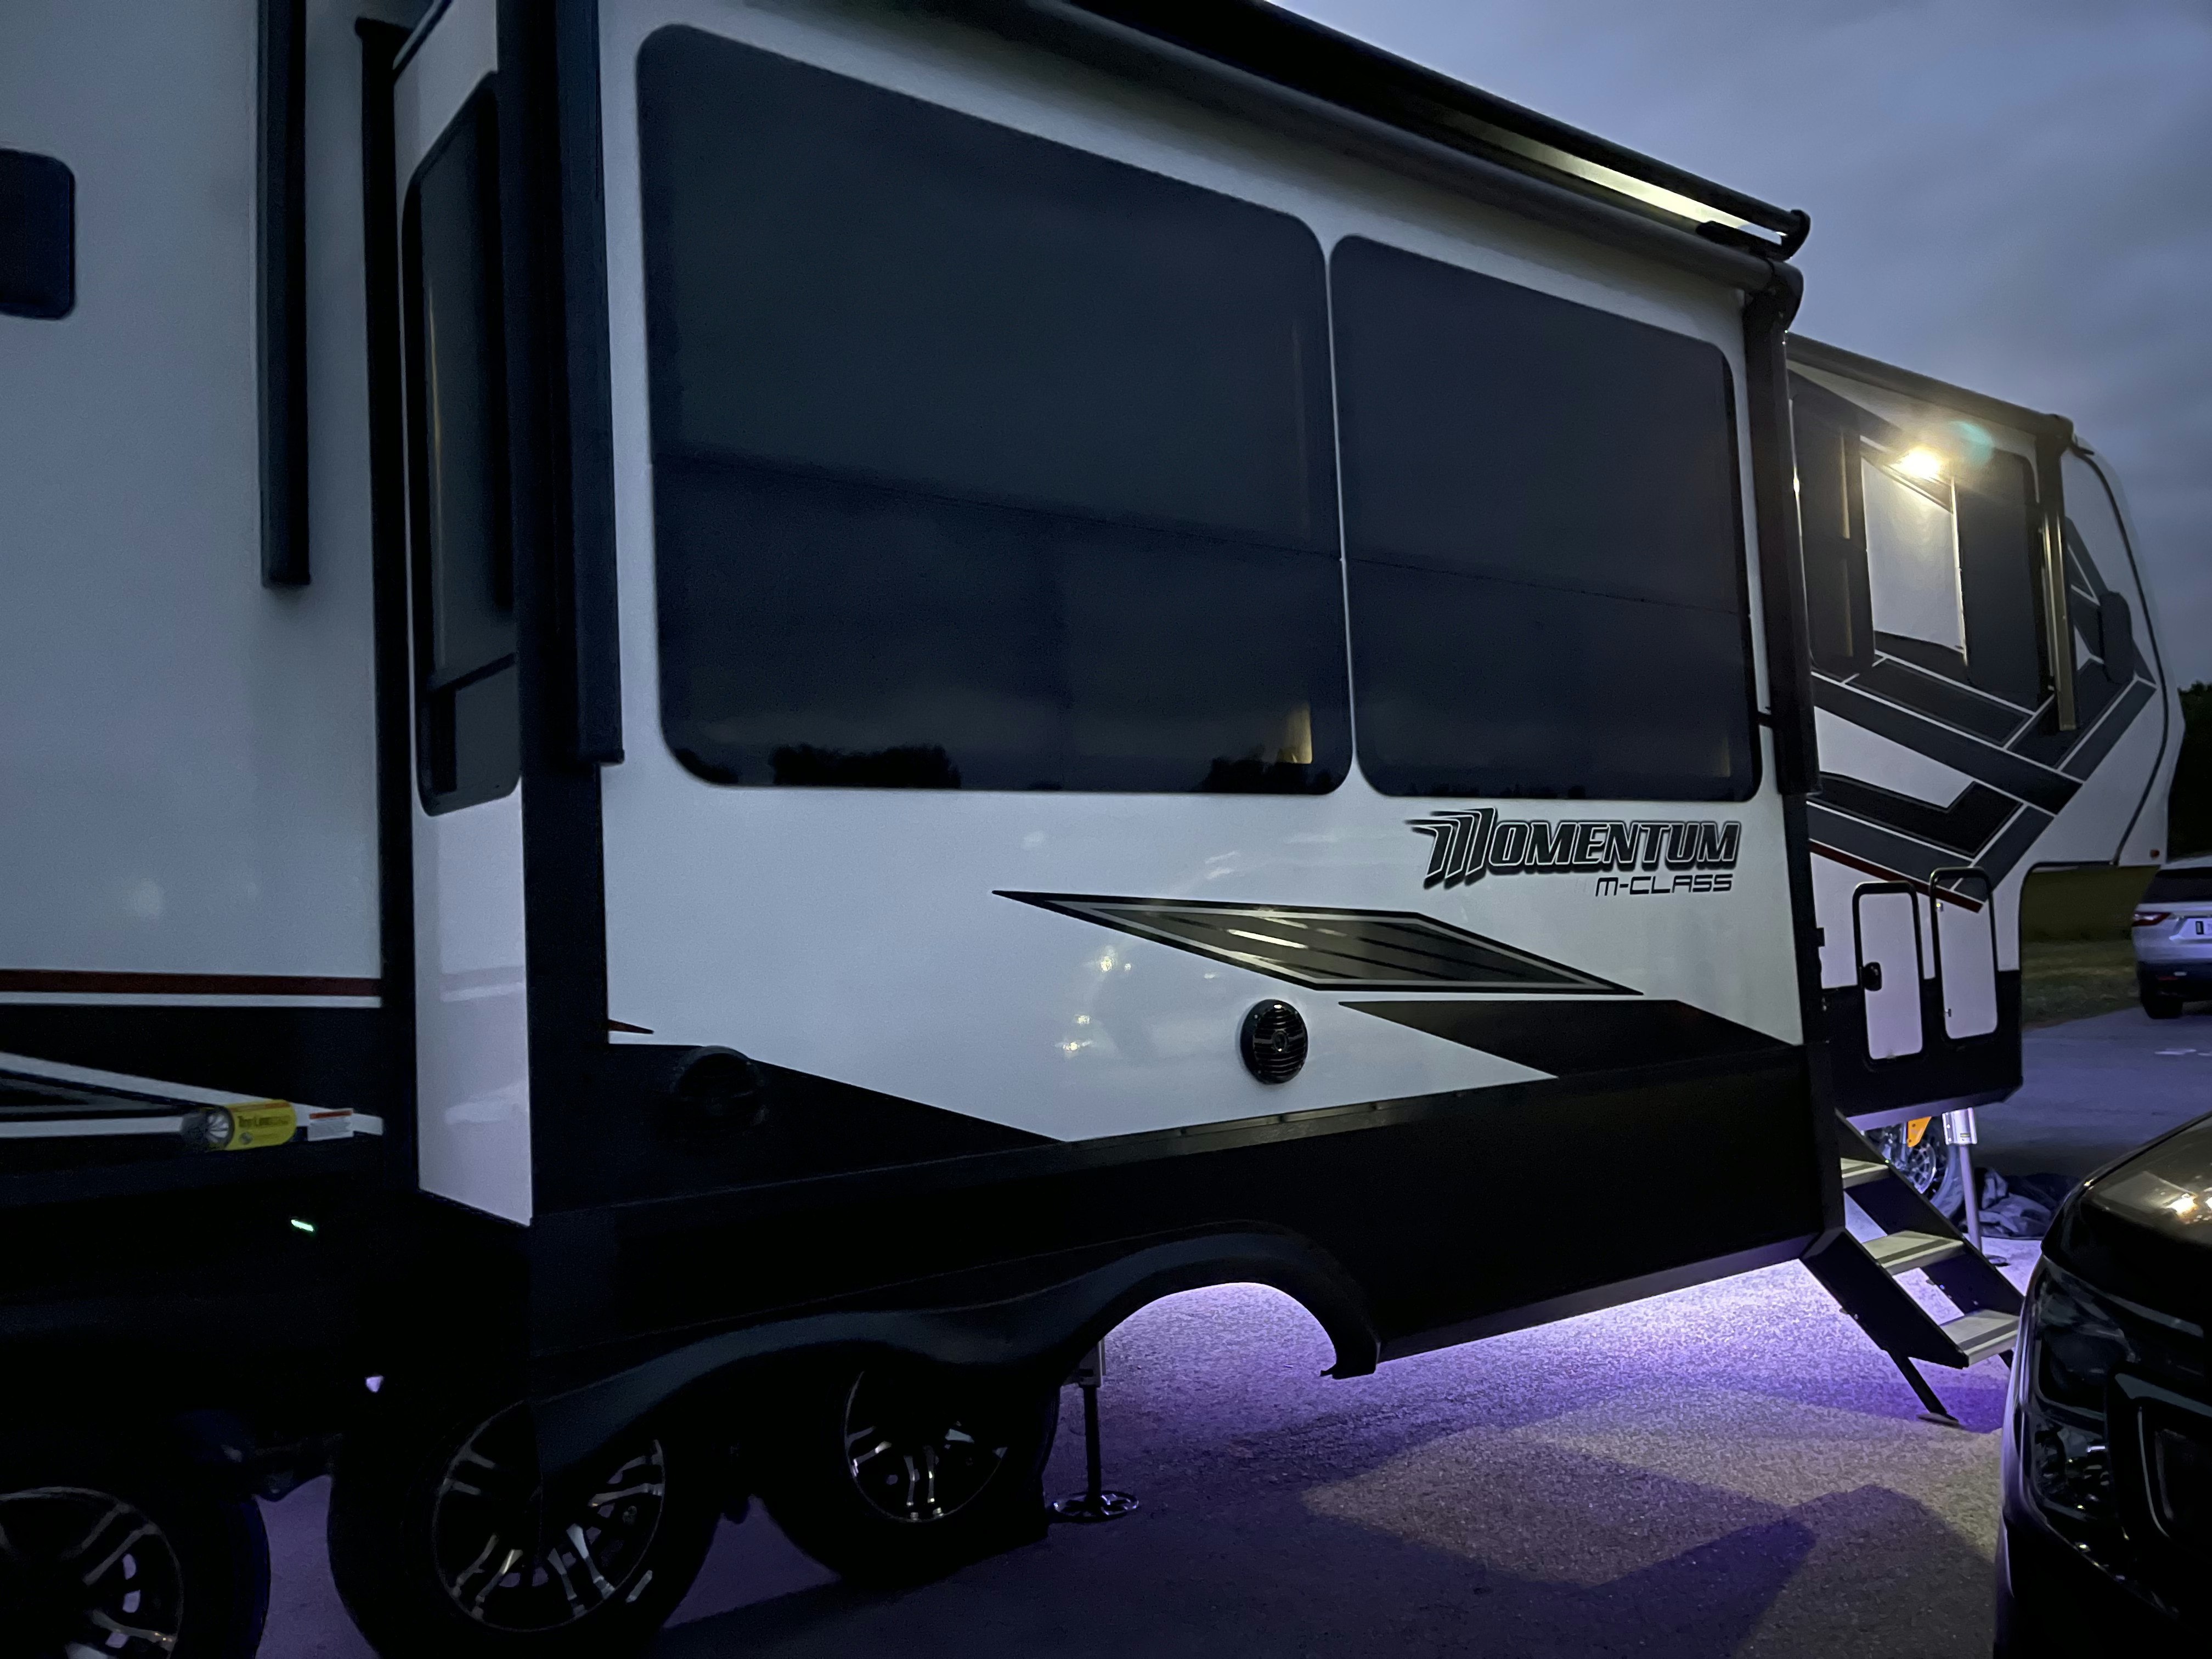
Outside Shots

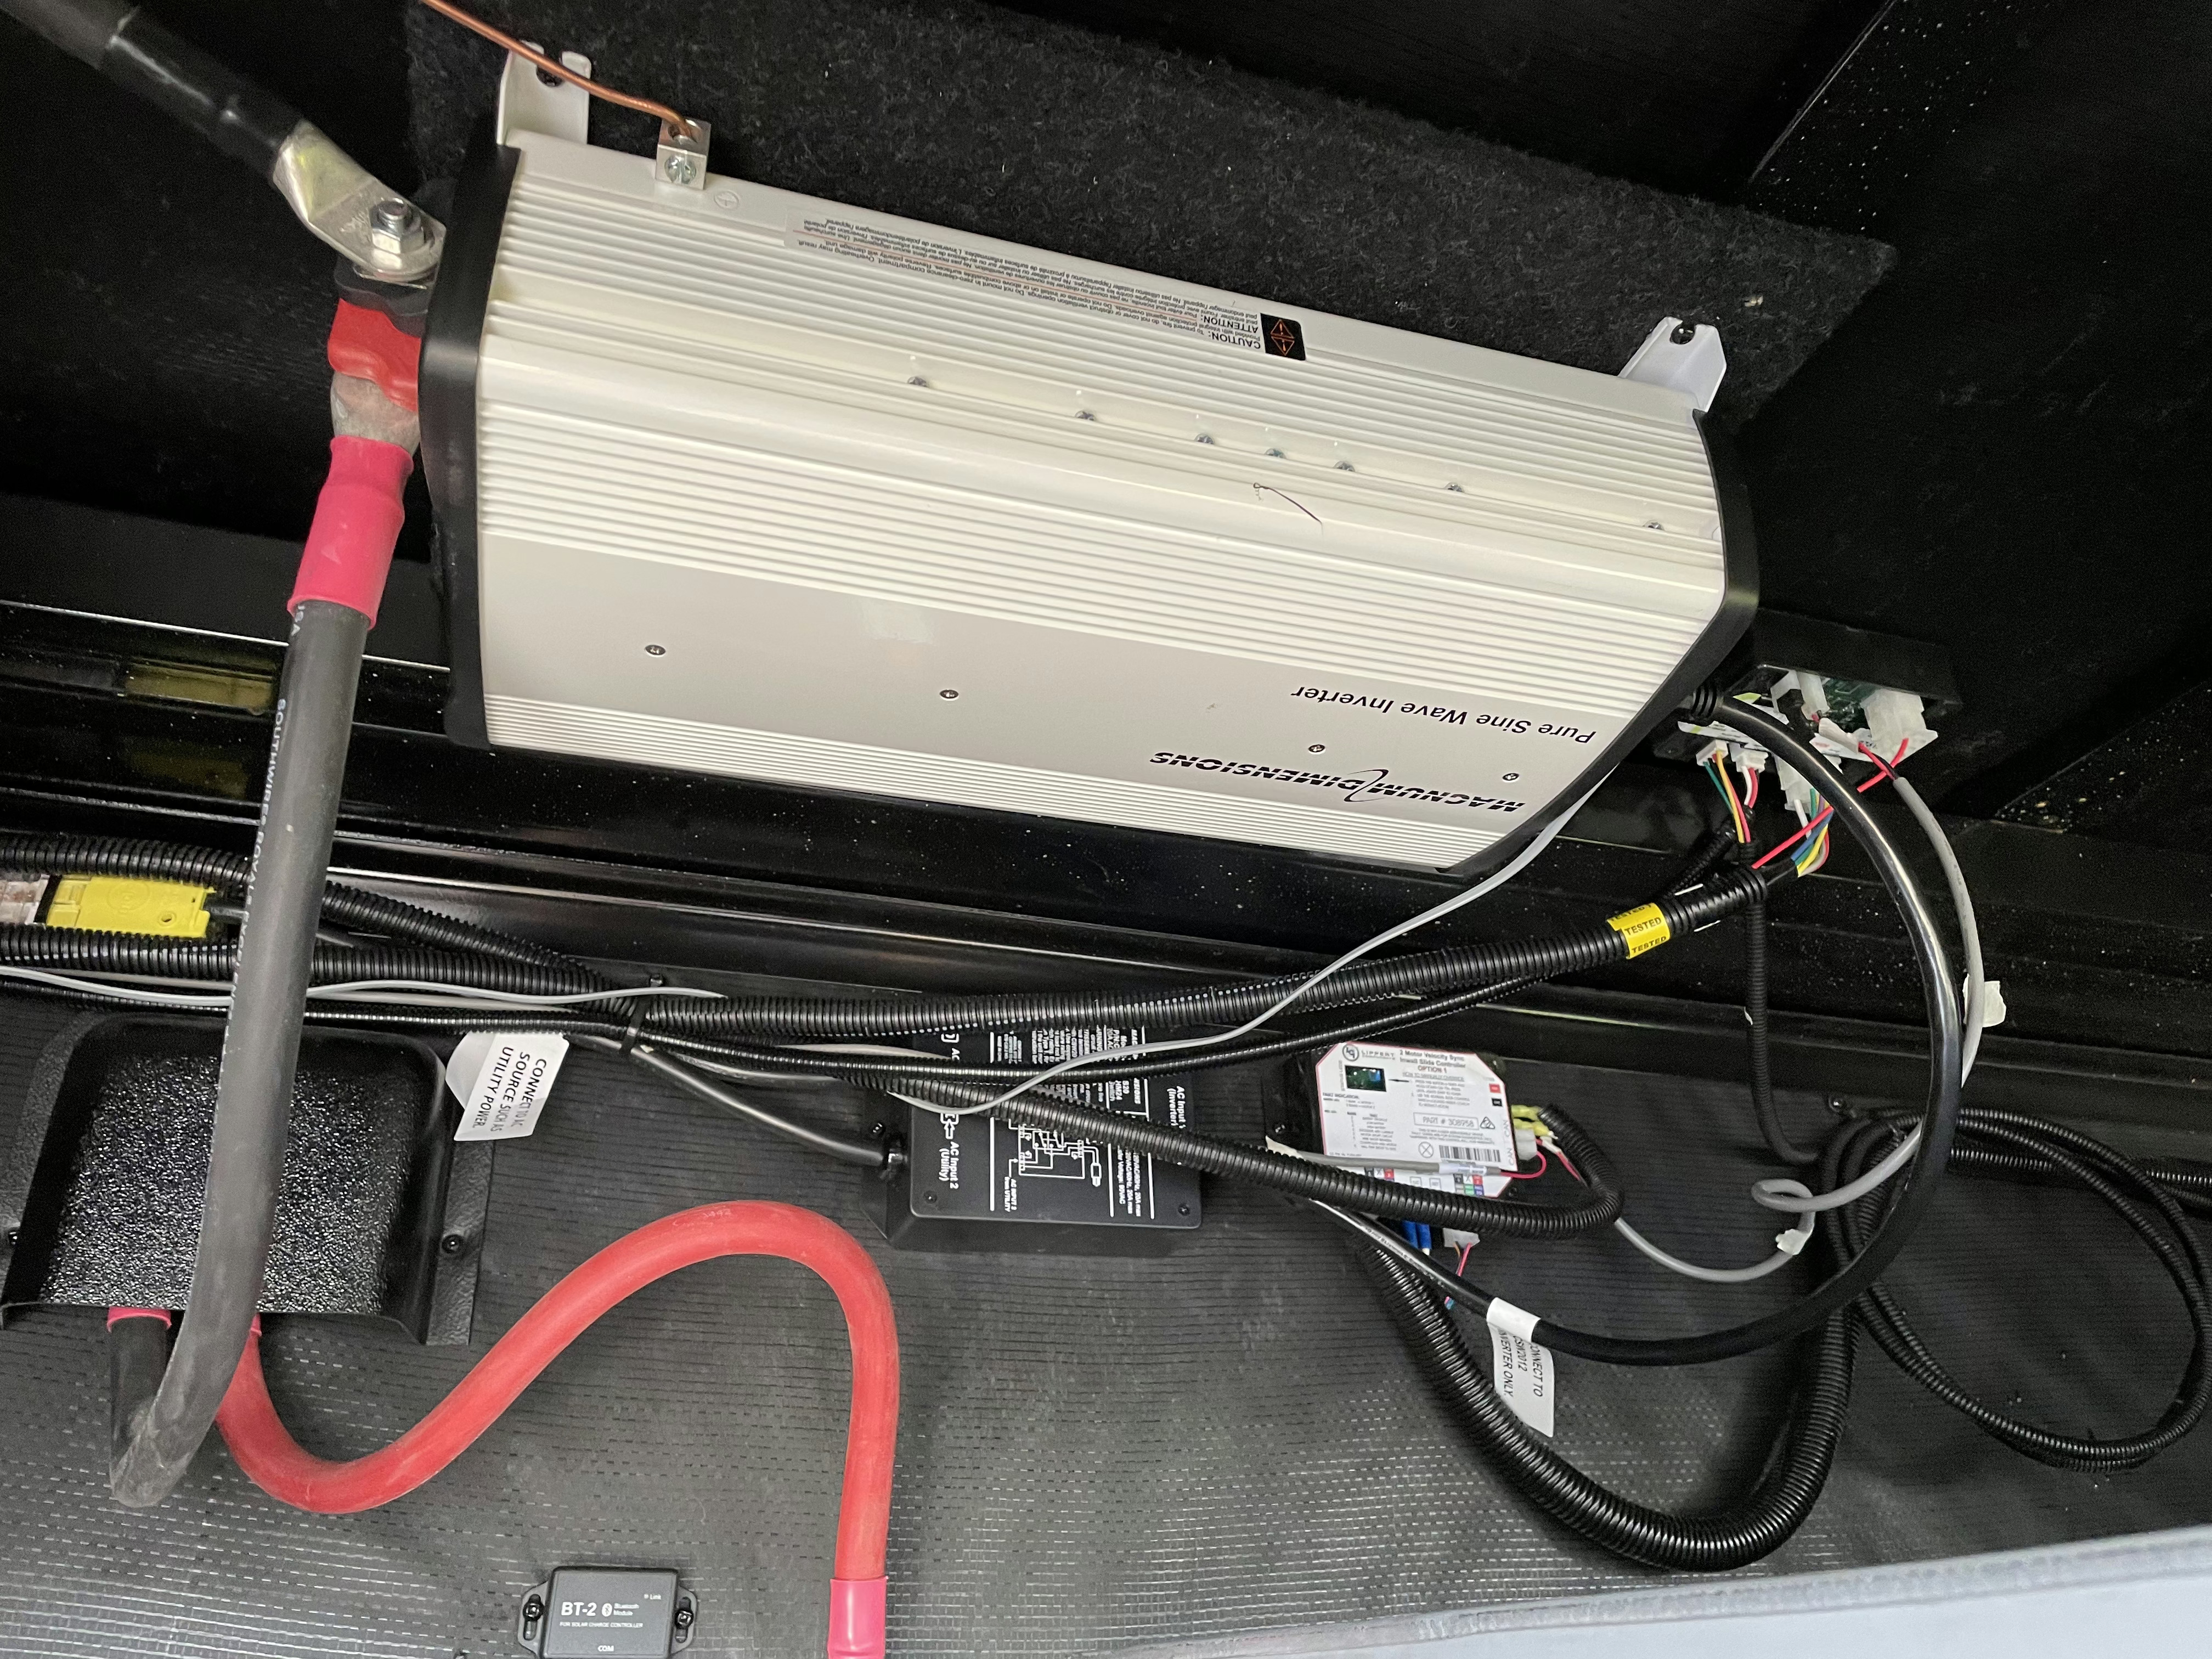
CSW 1012 2000 Watt 12V DC Pure Sine Inverter
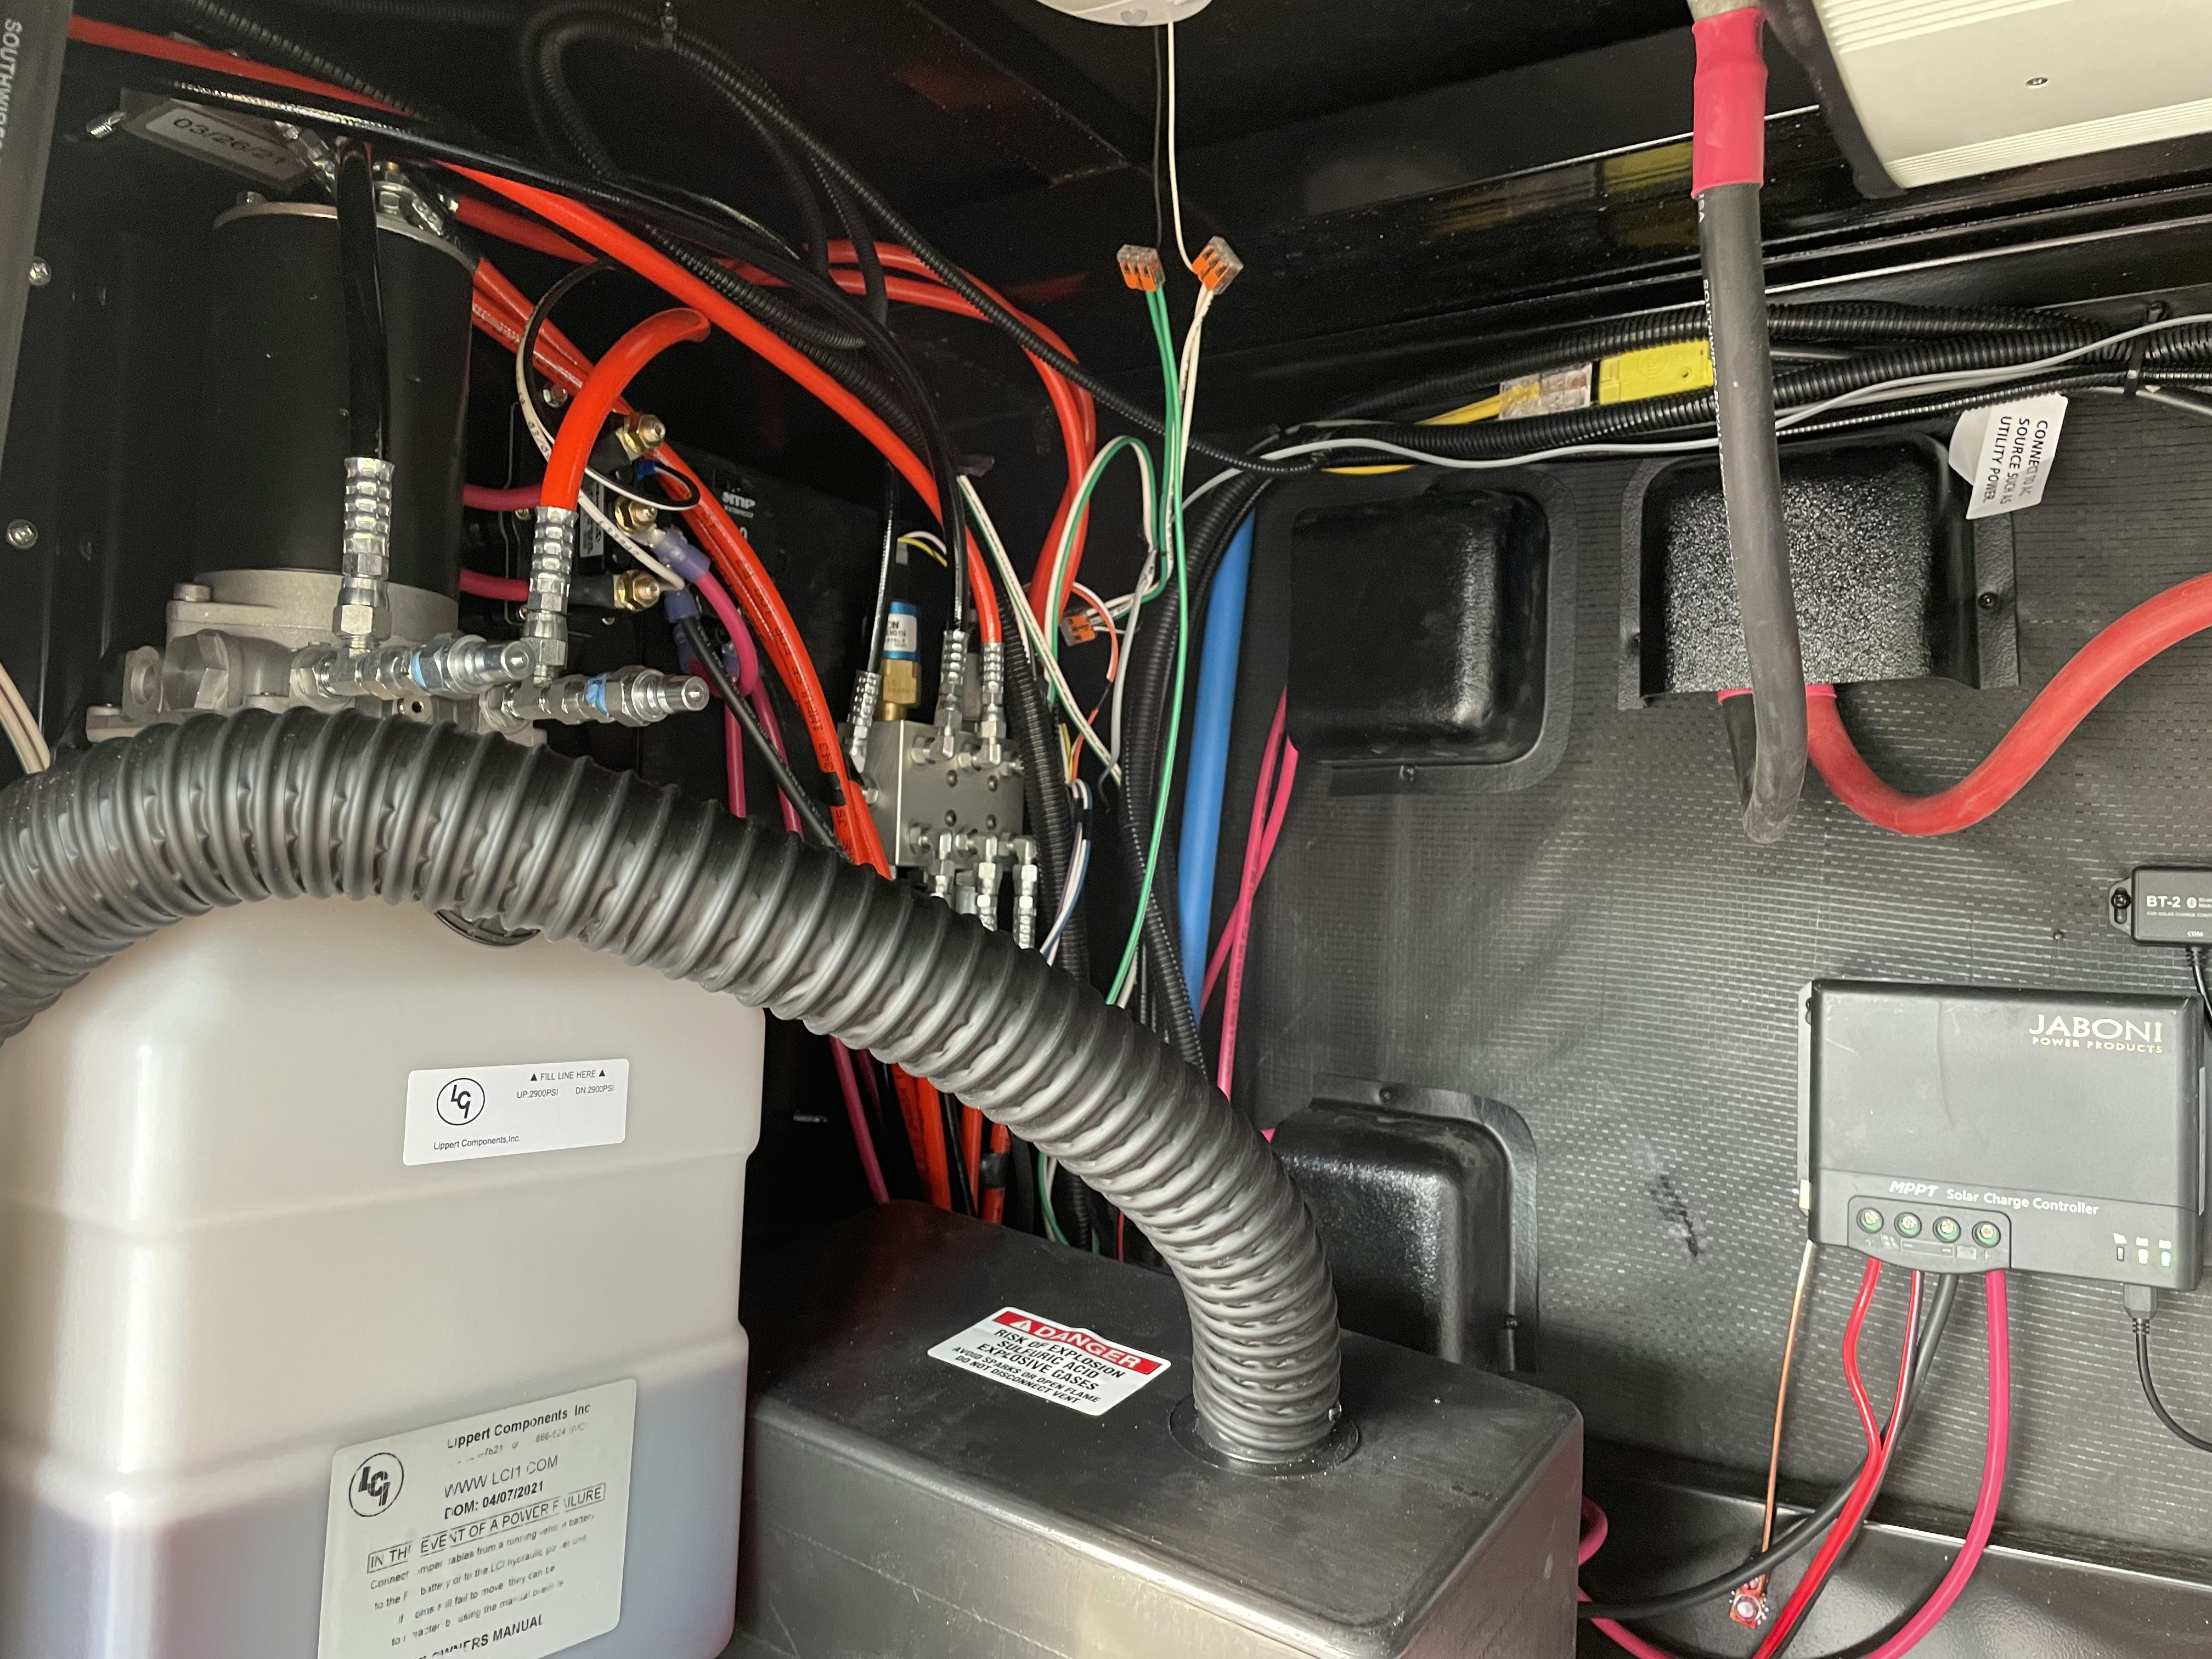
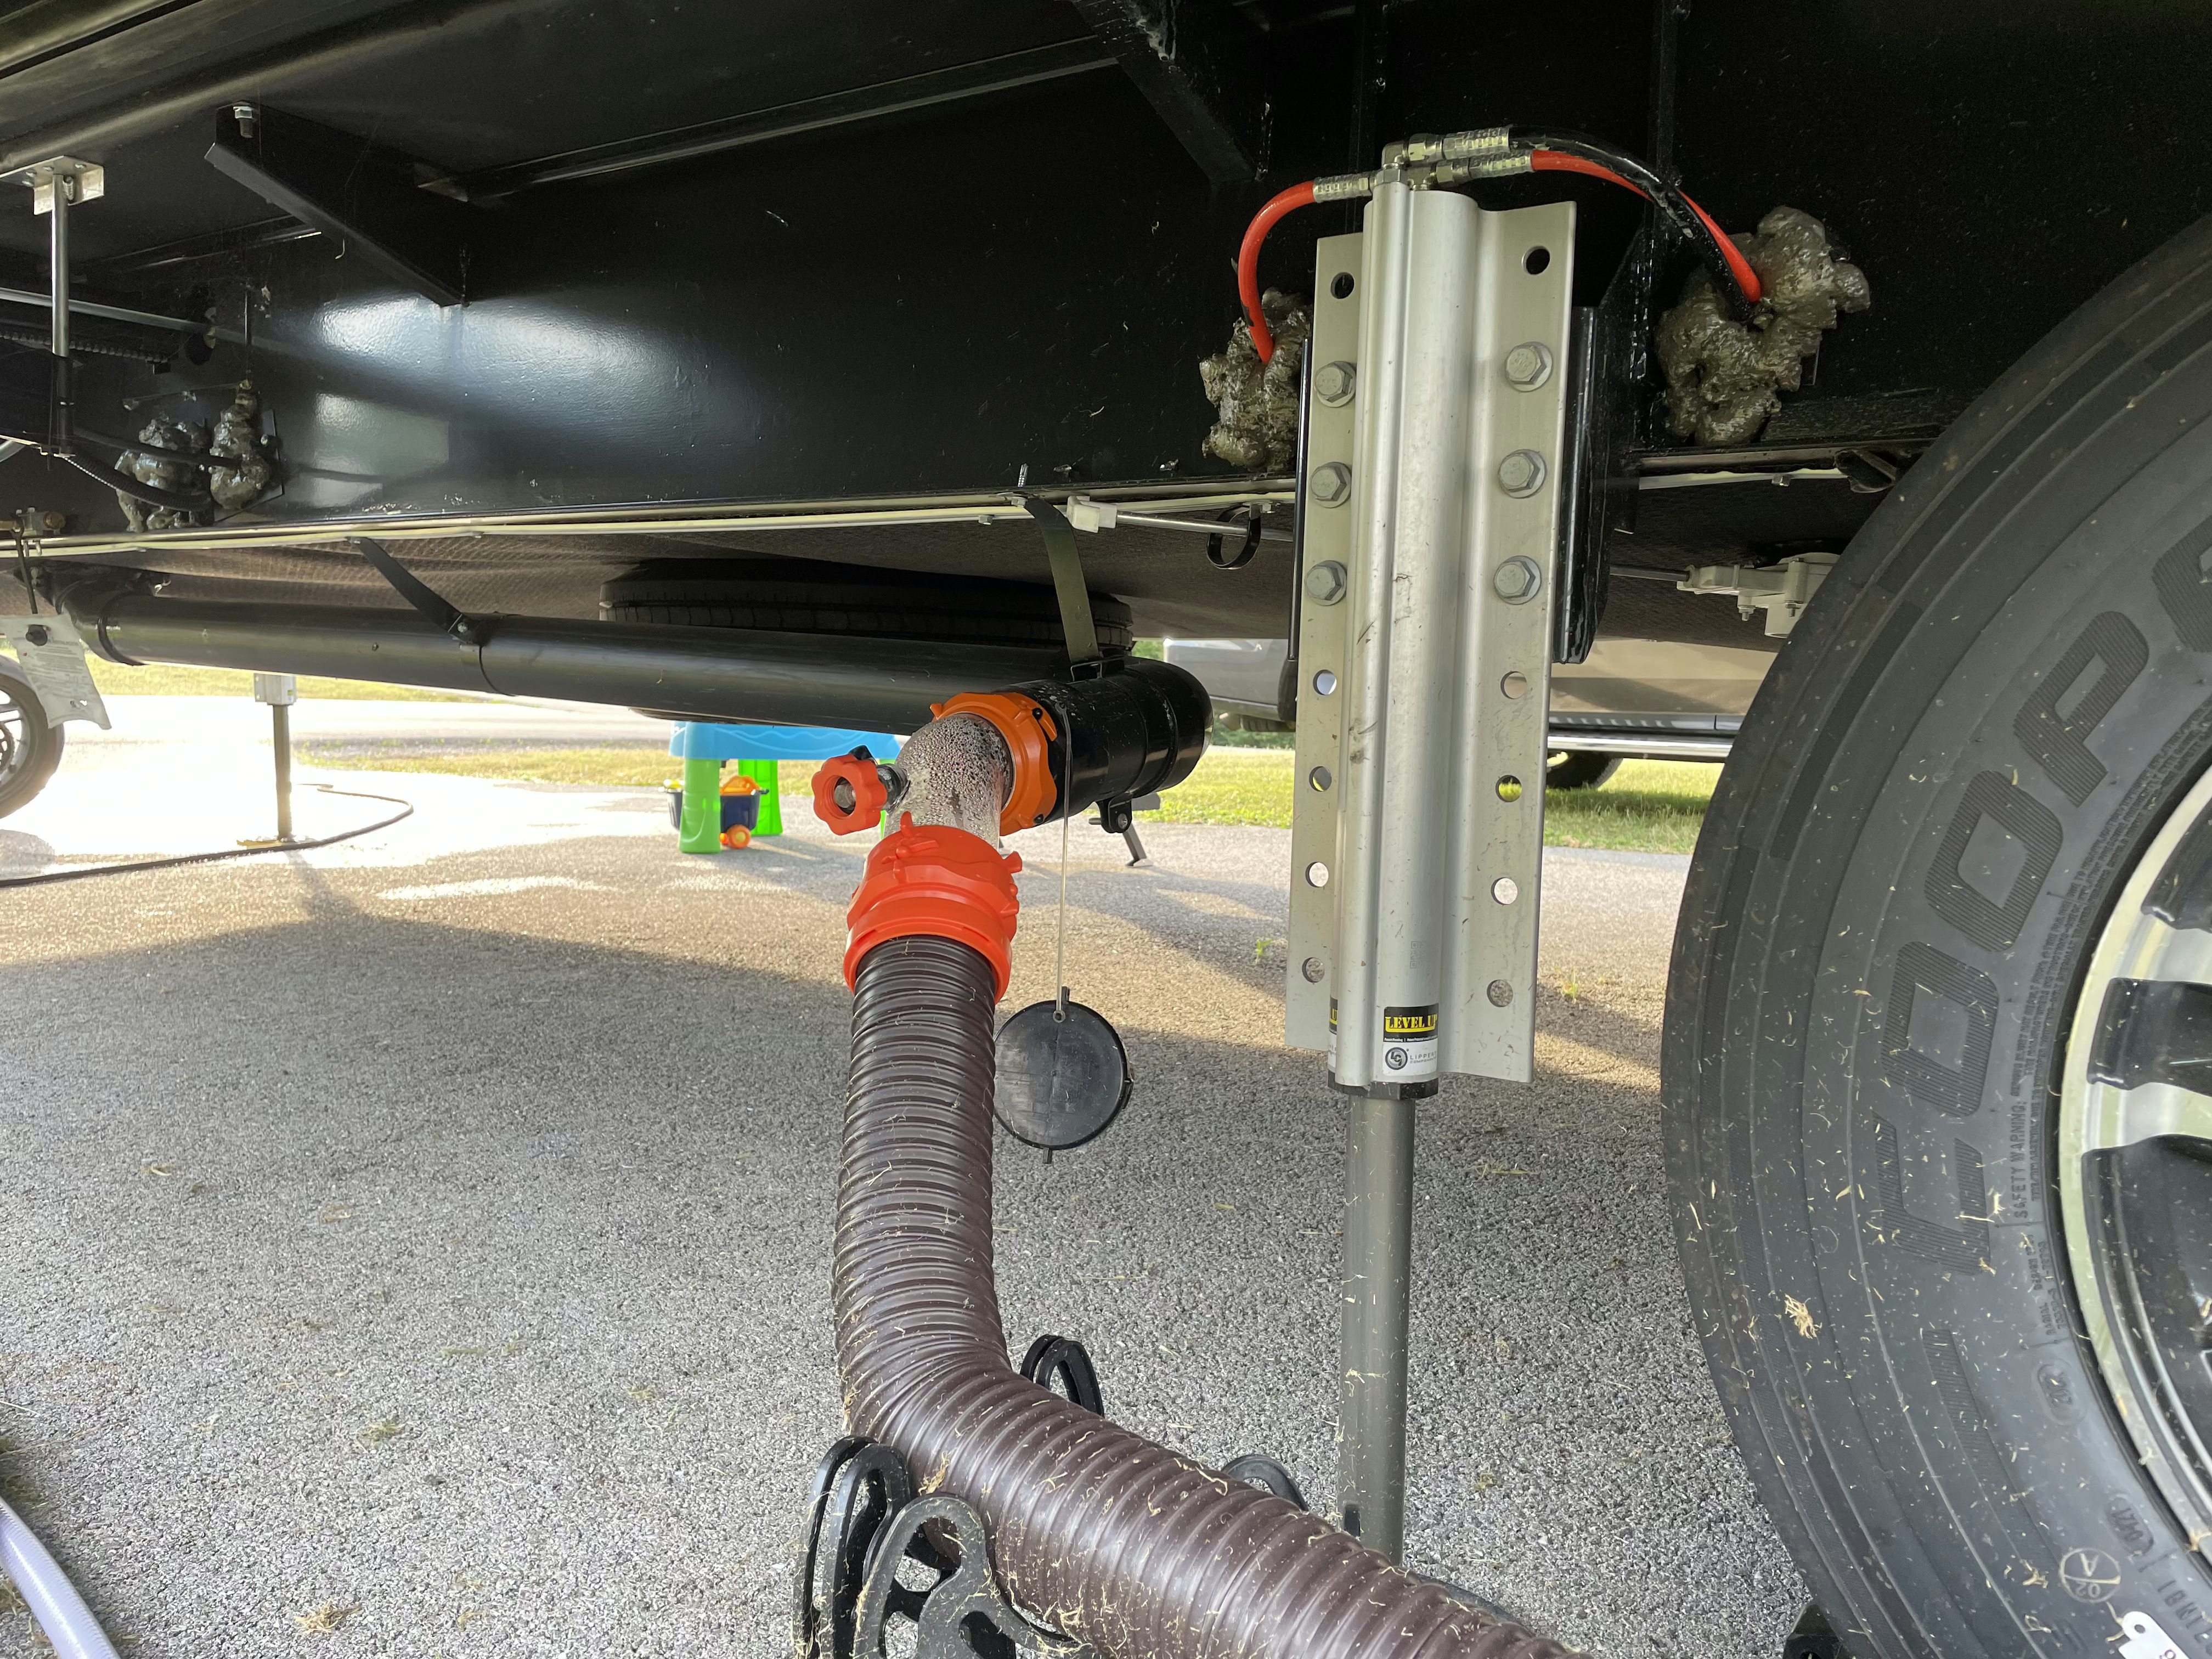
Hydraulics
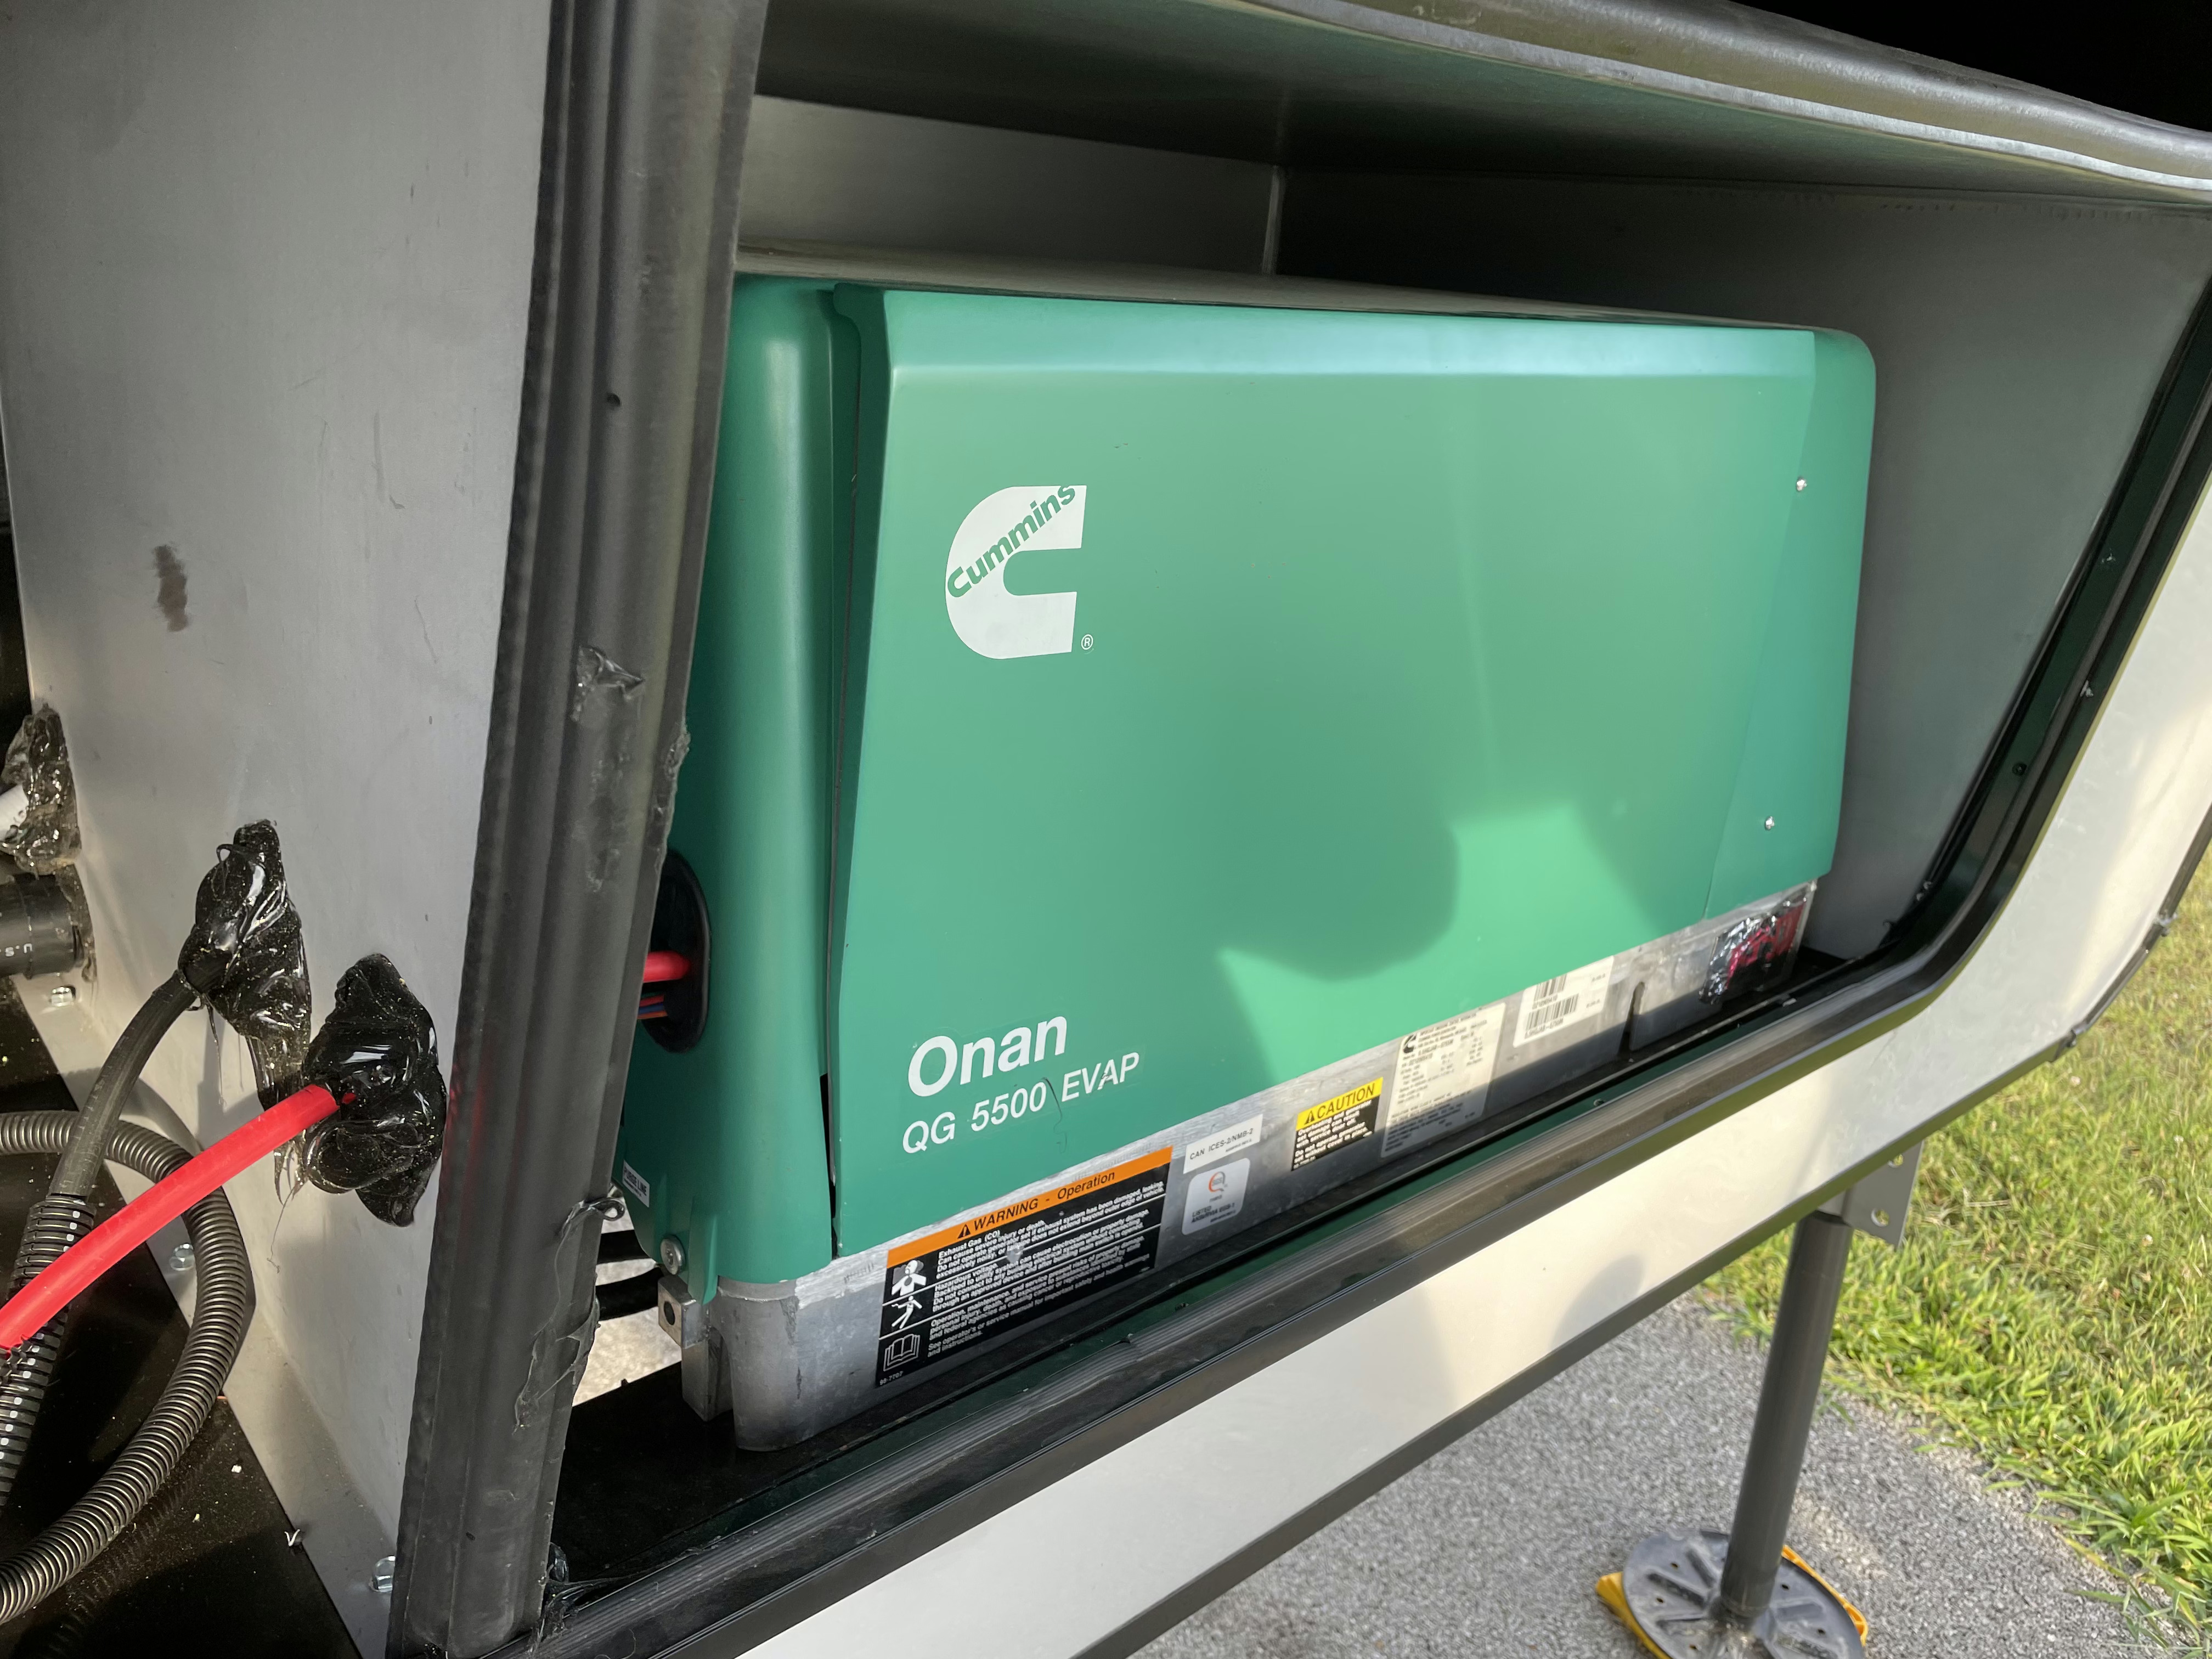
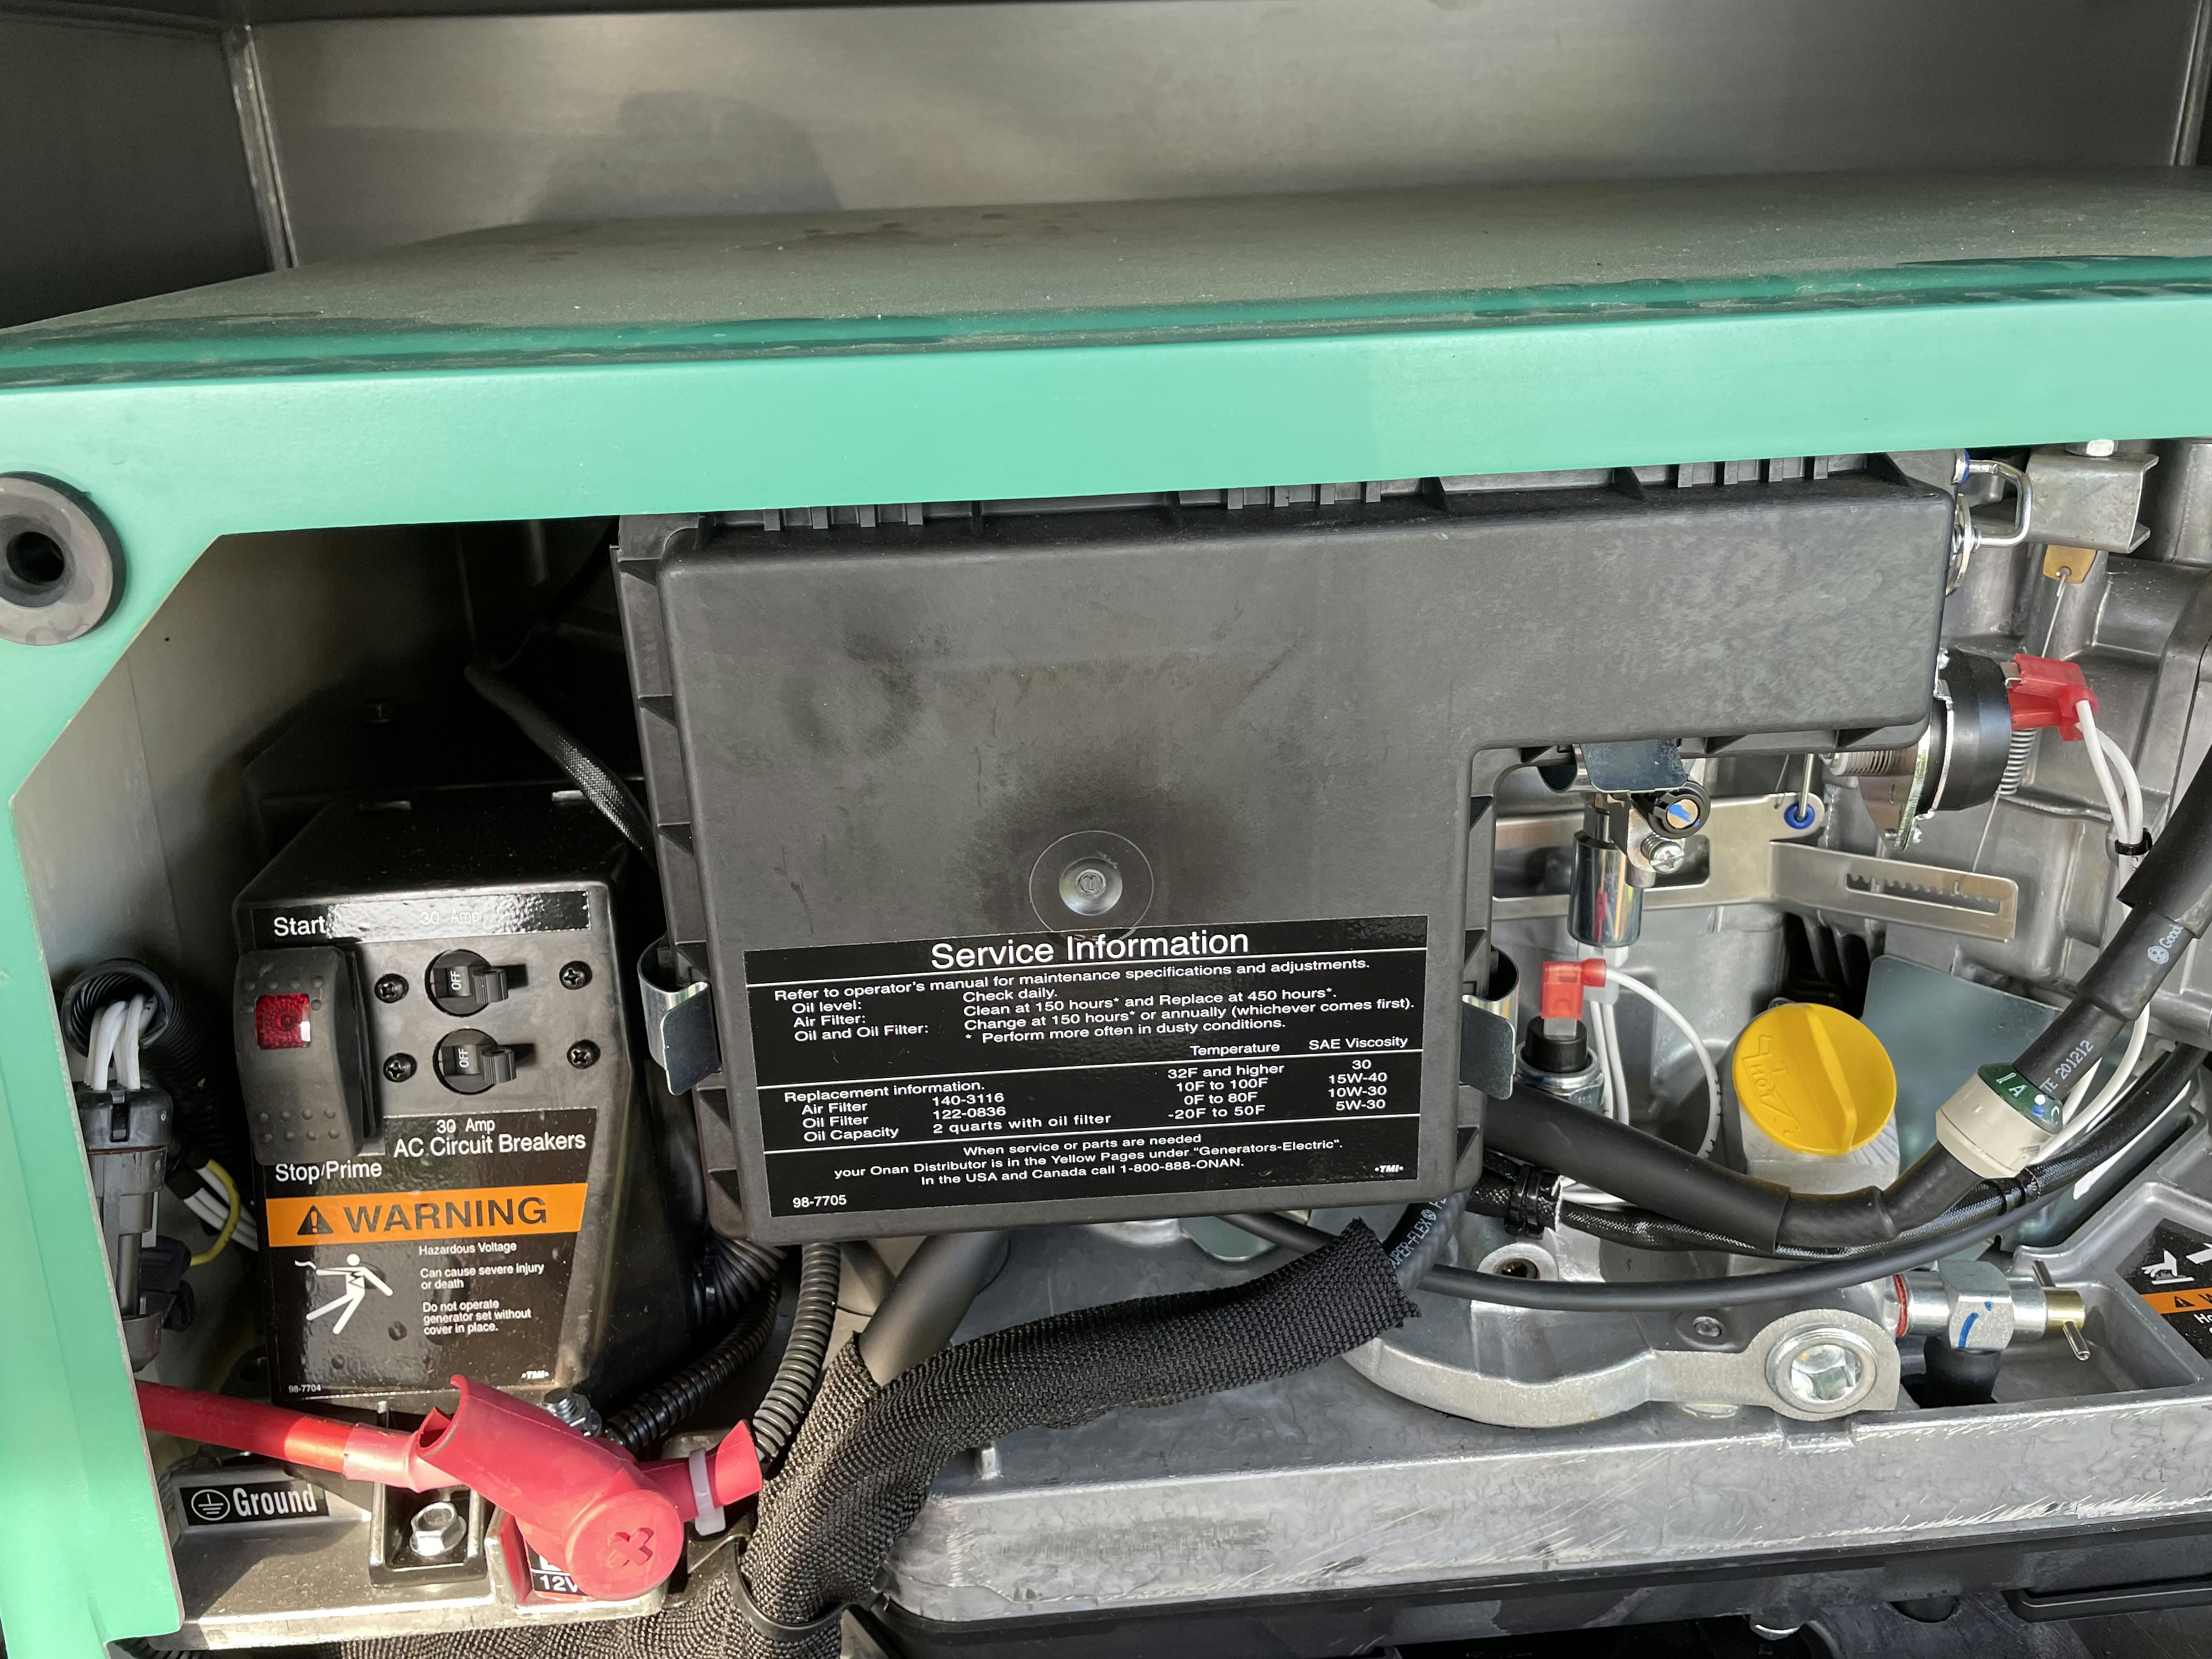
Cummins 45 AMP generator
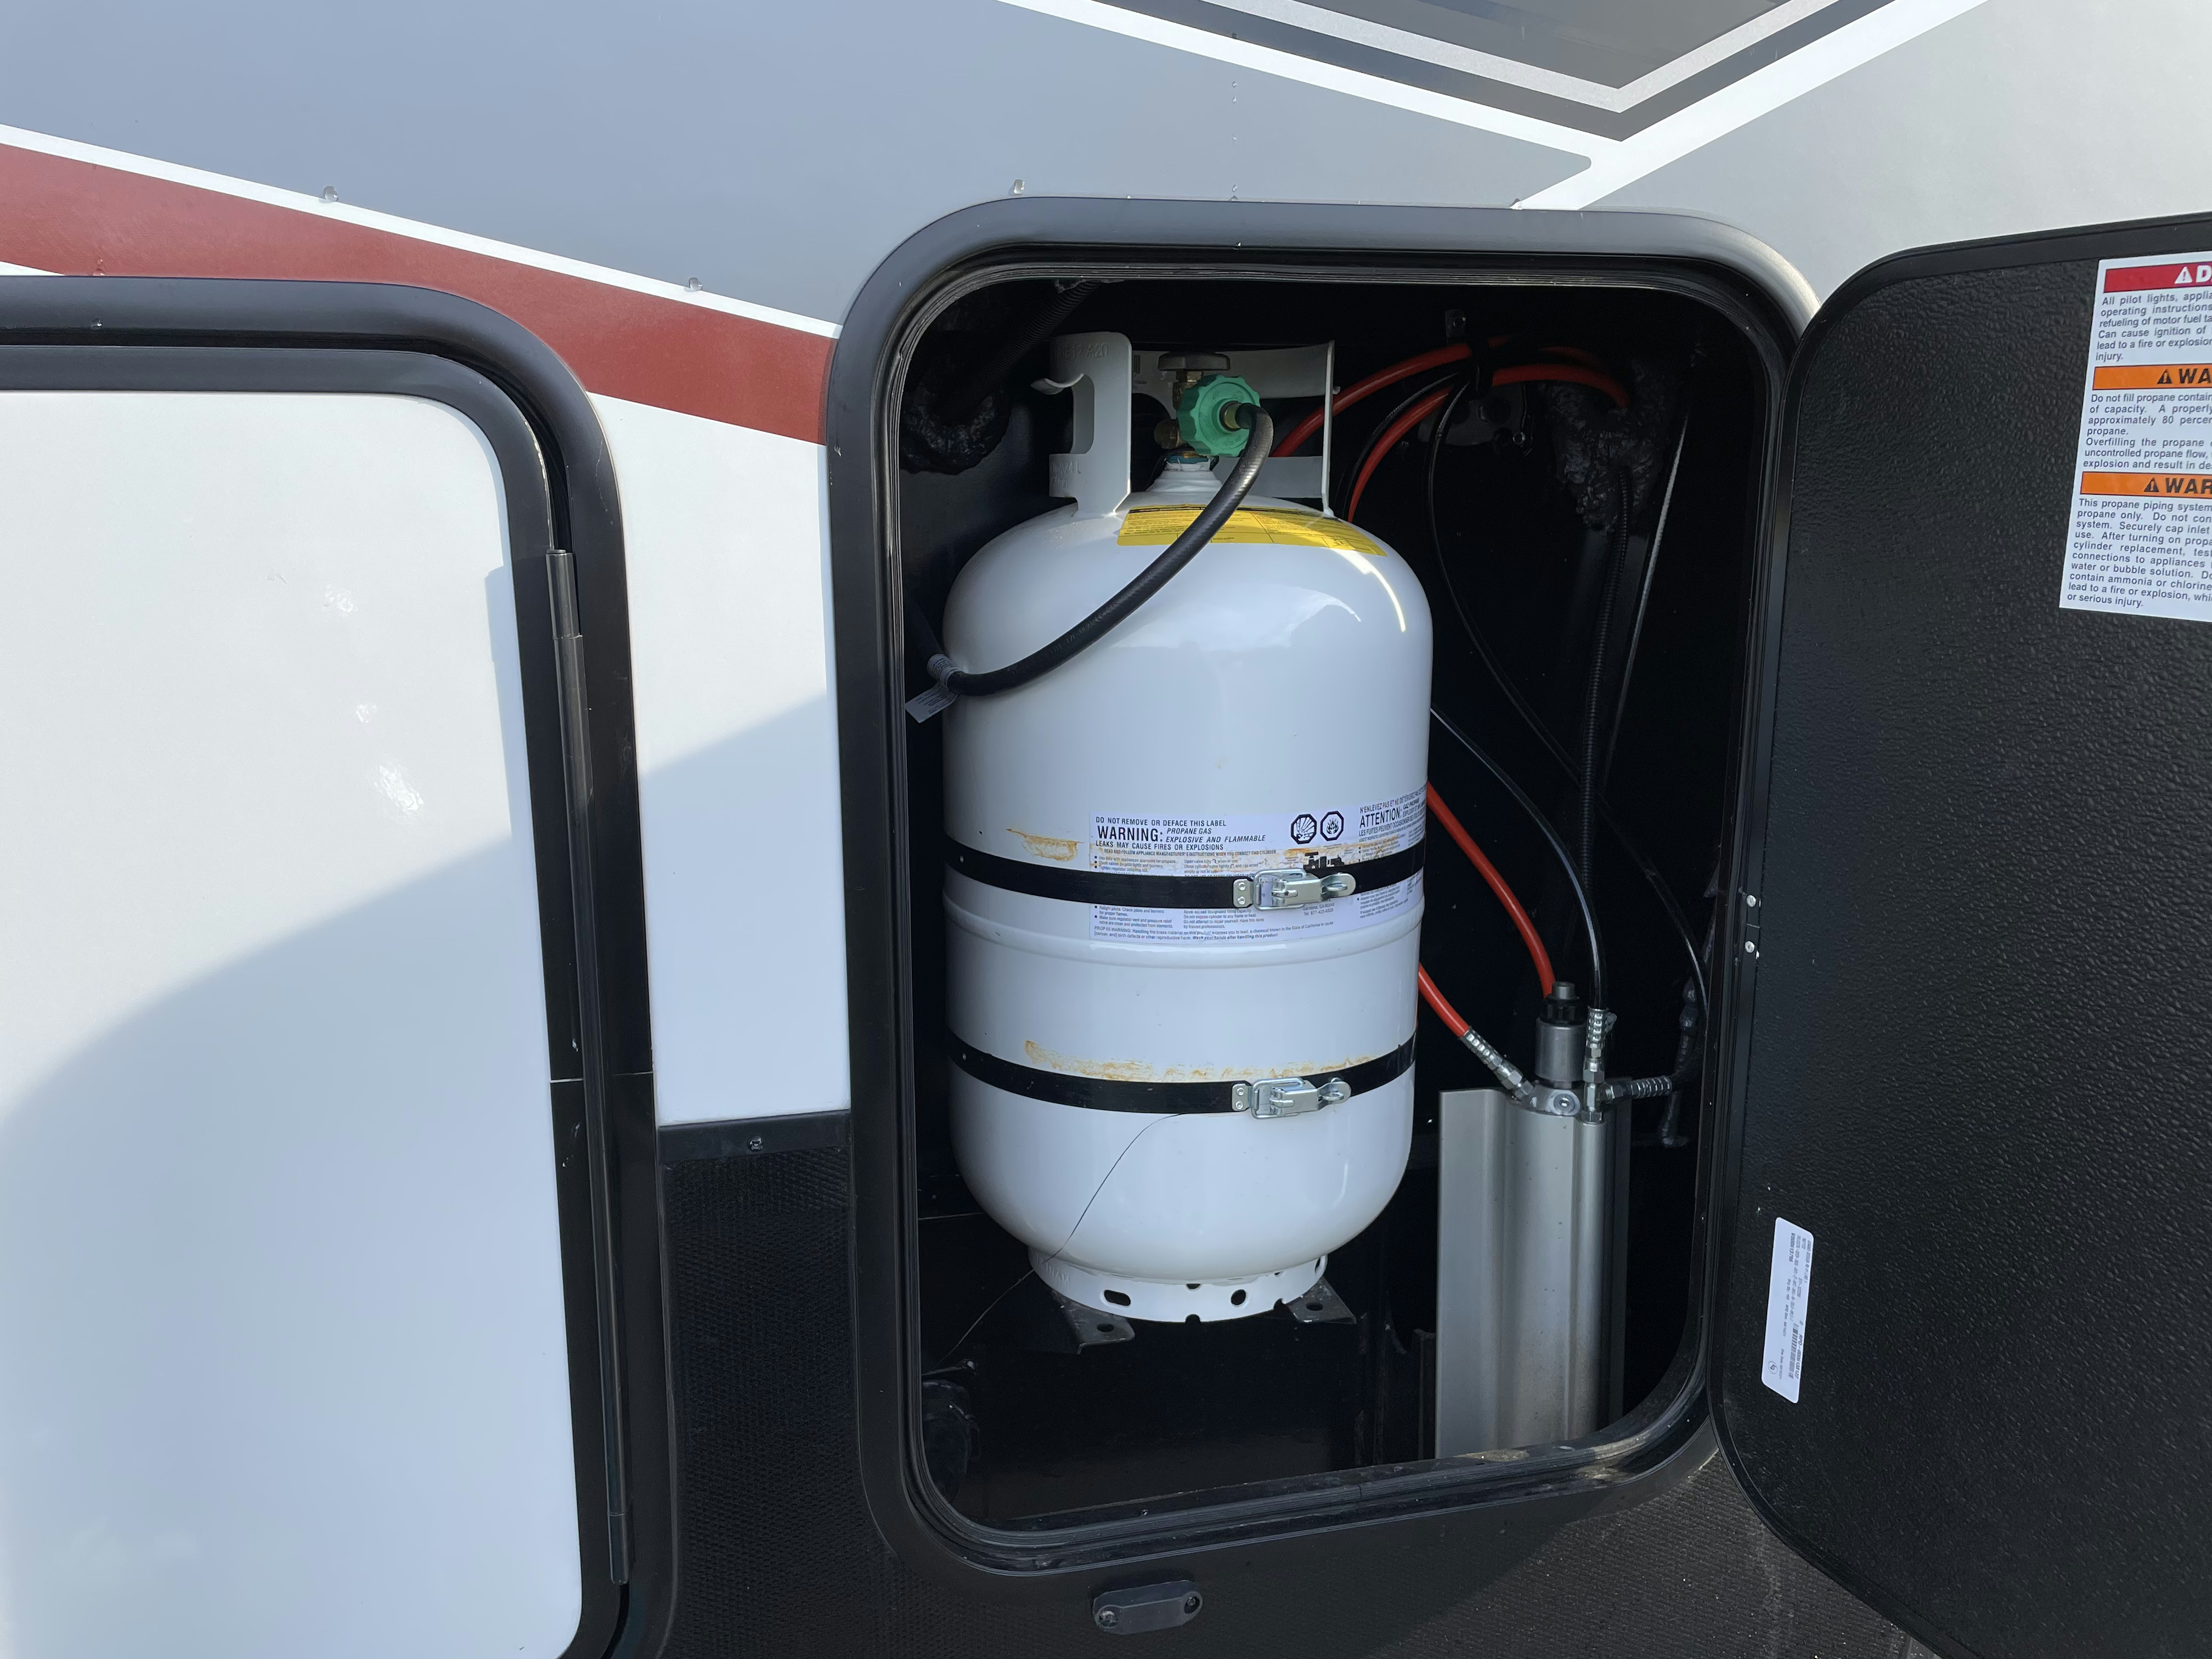
The propane storage pictured here is mirrored on the other side of the rig as well. There are two tanks total.
This is probably the smallest basement I’ve ever seen on any rig however, the floor plan and everything else was just too good so we’ll have to live with it.
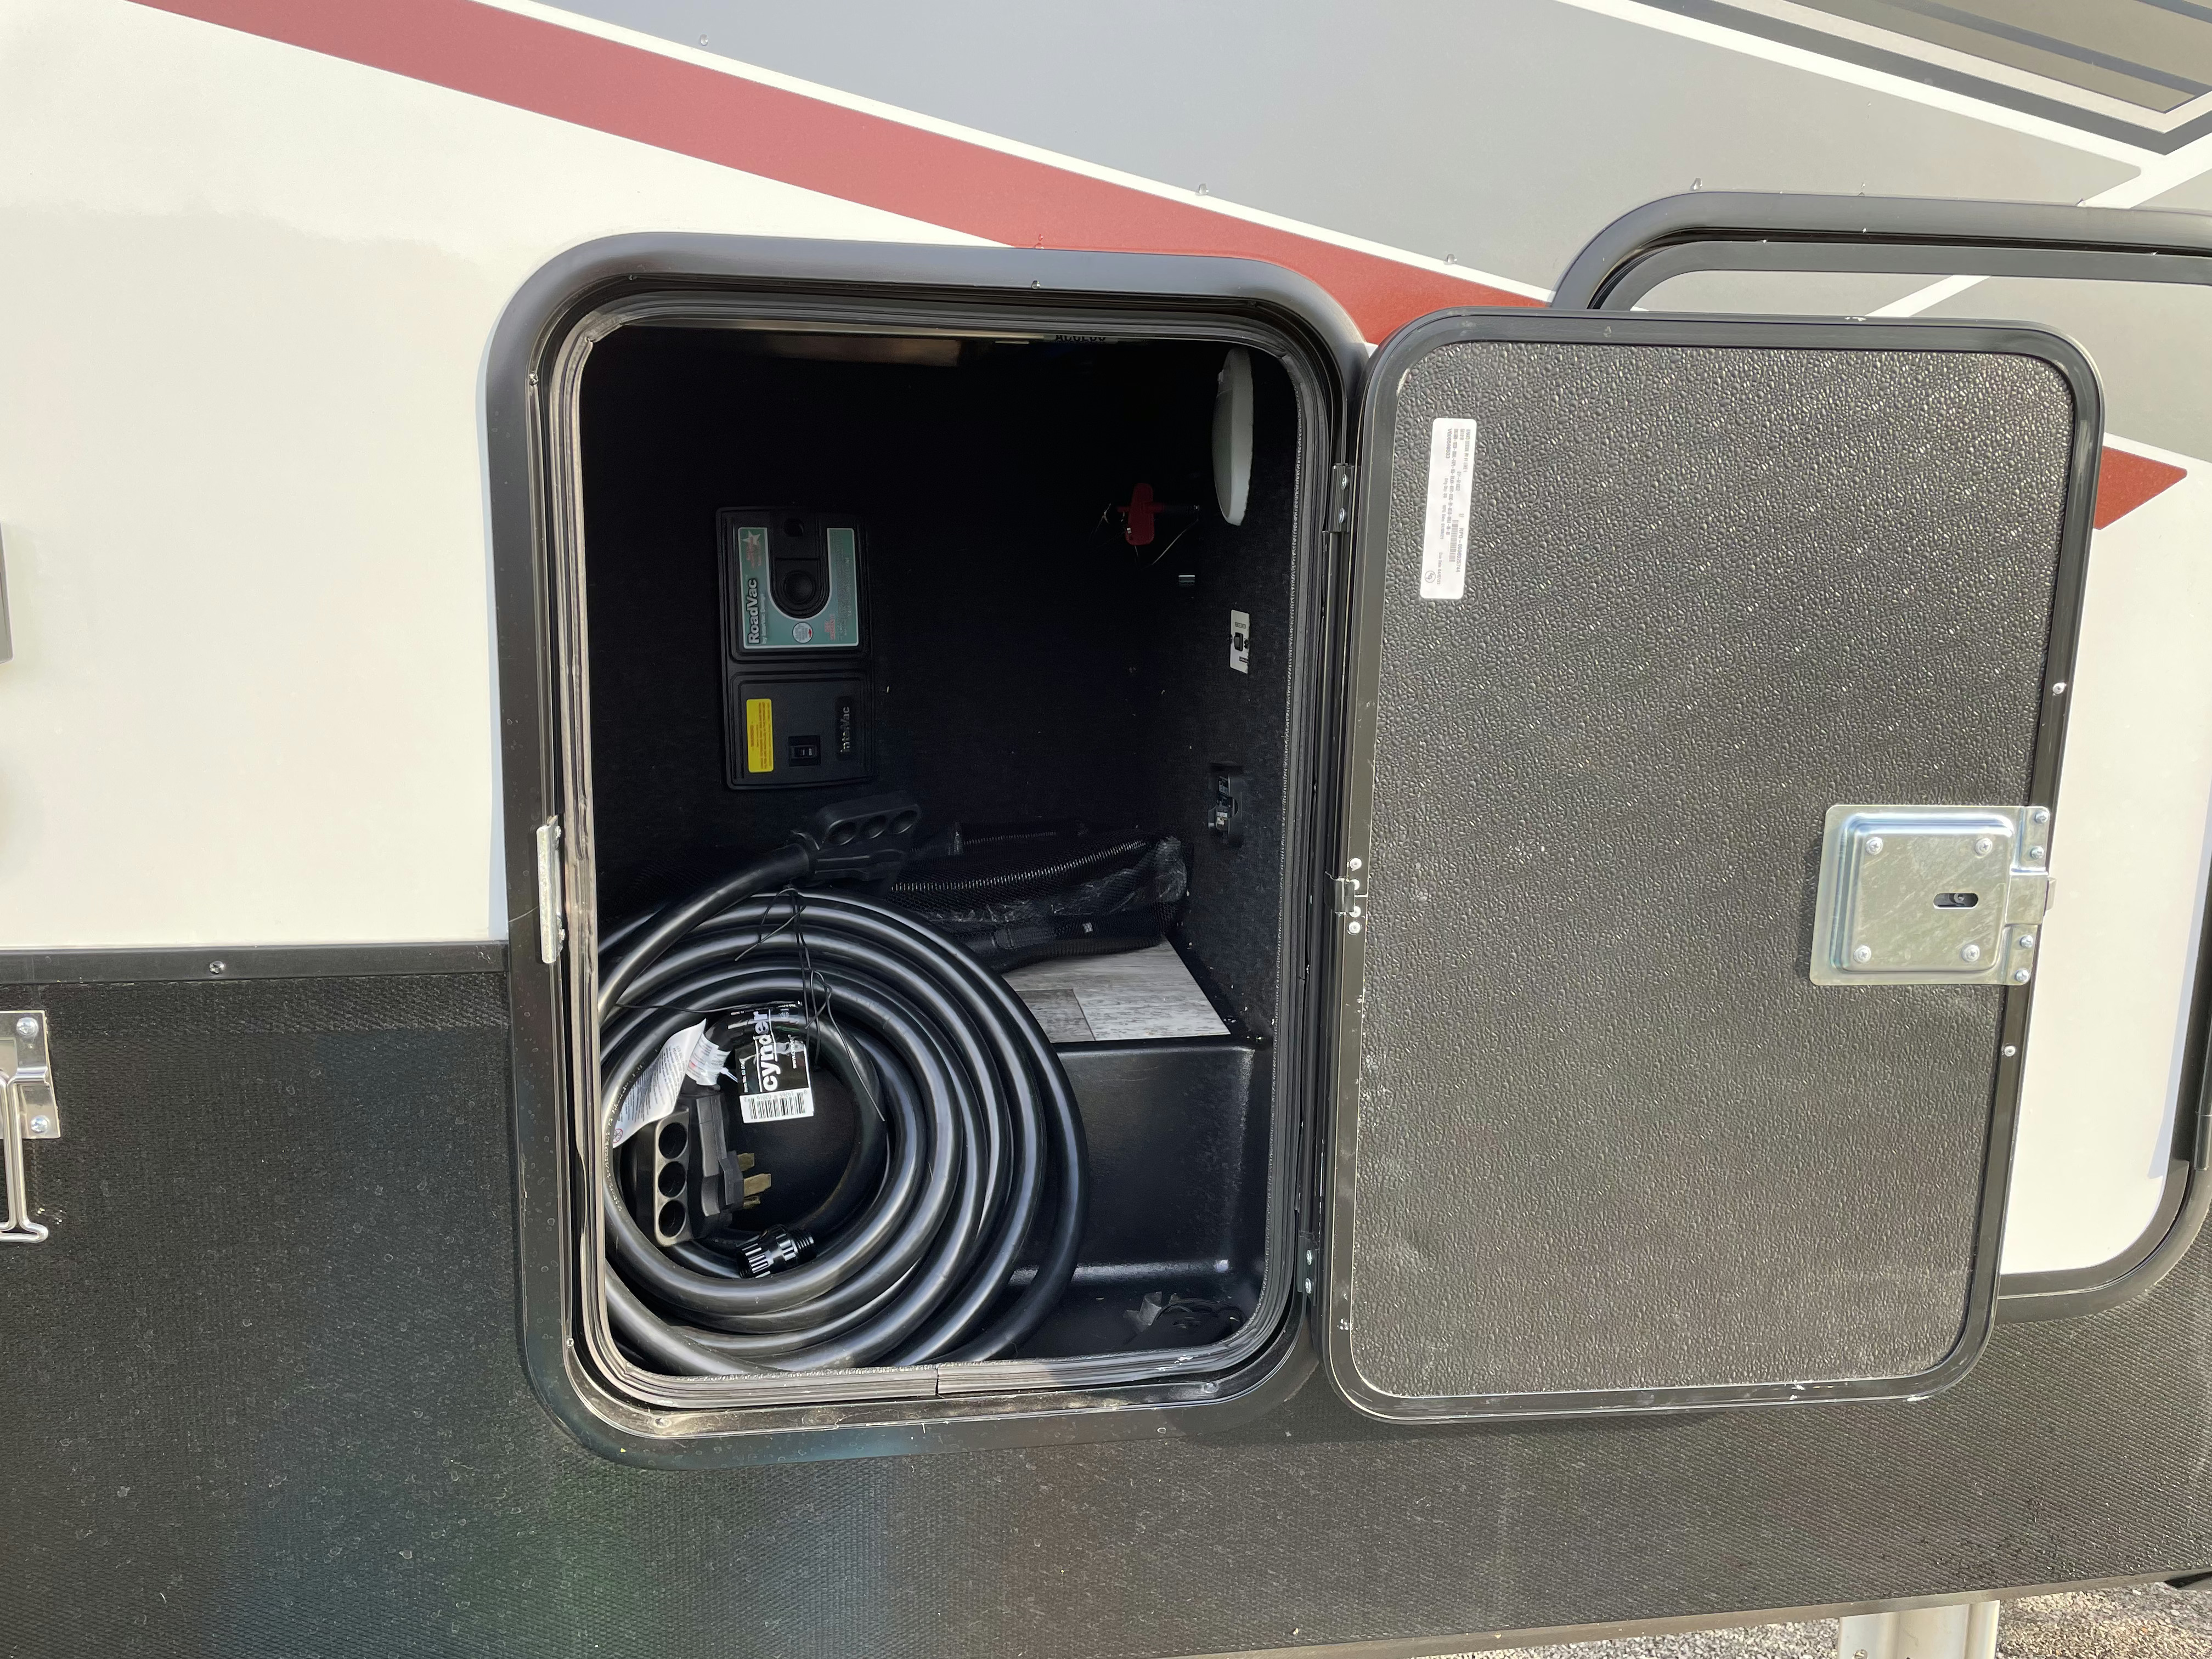
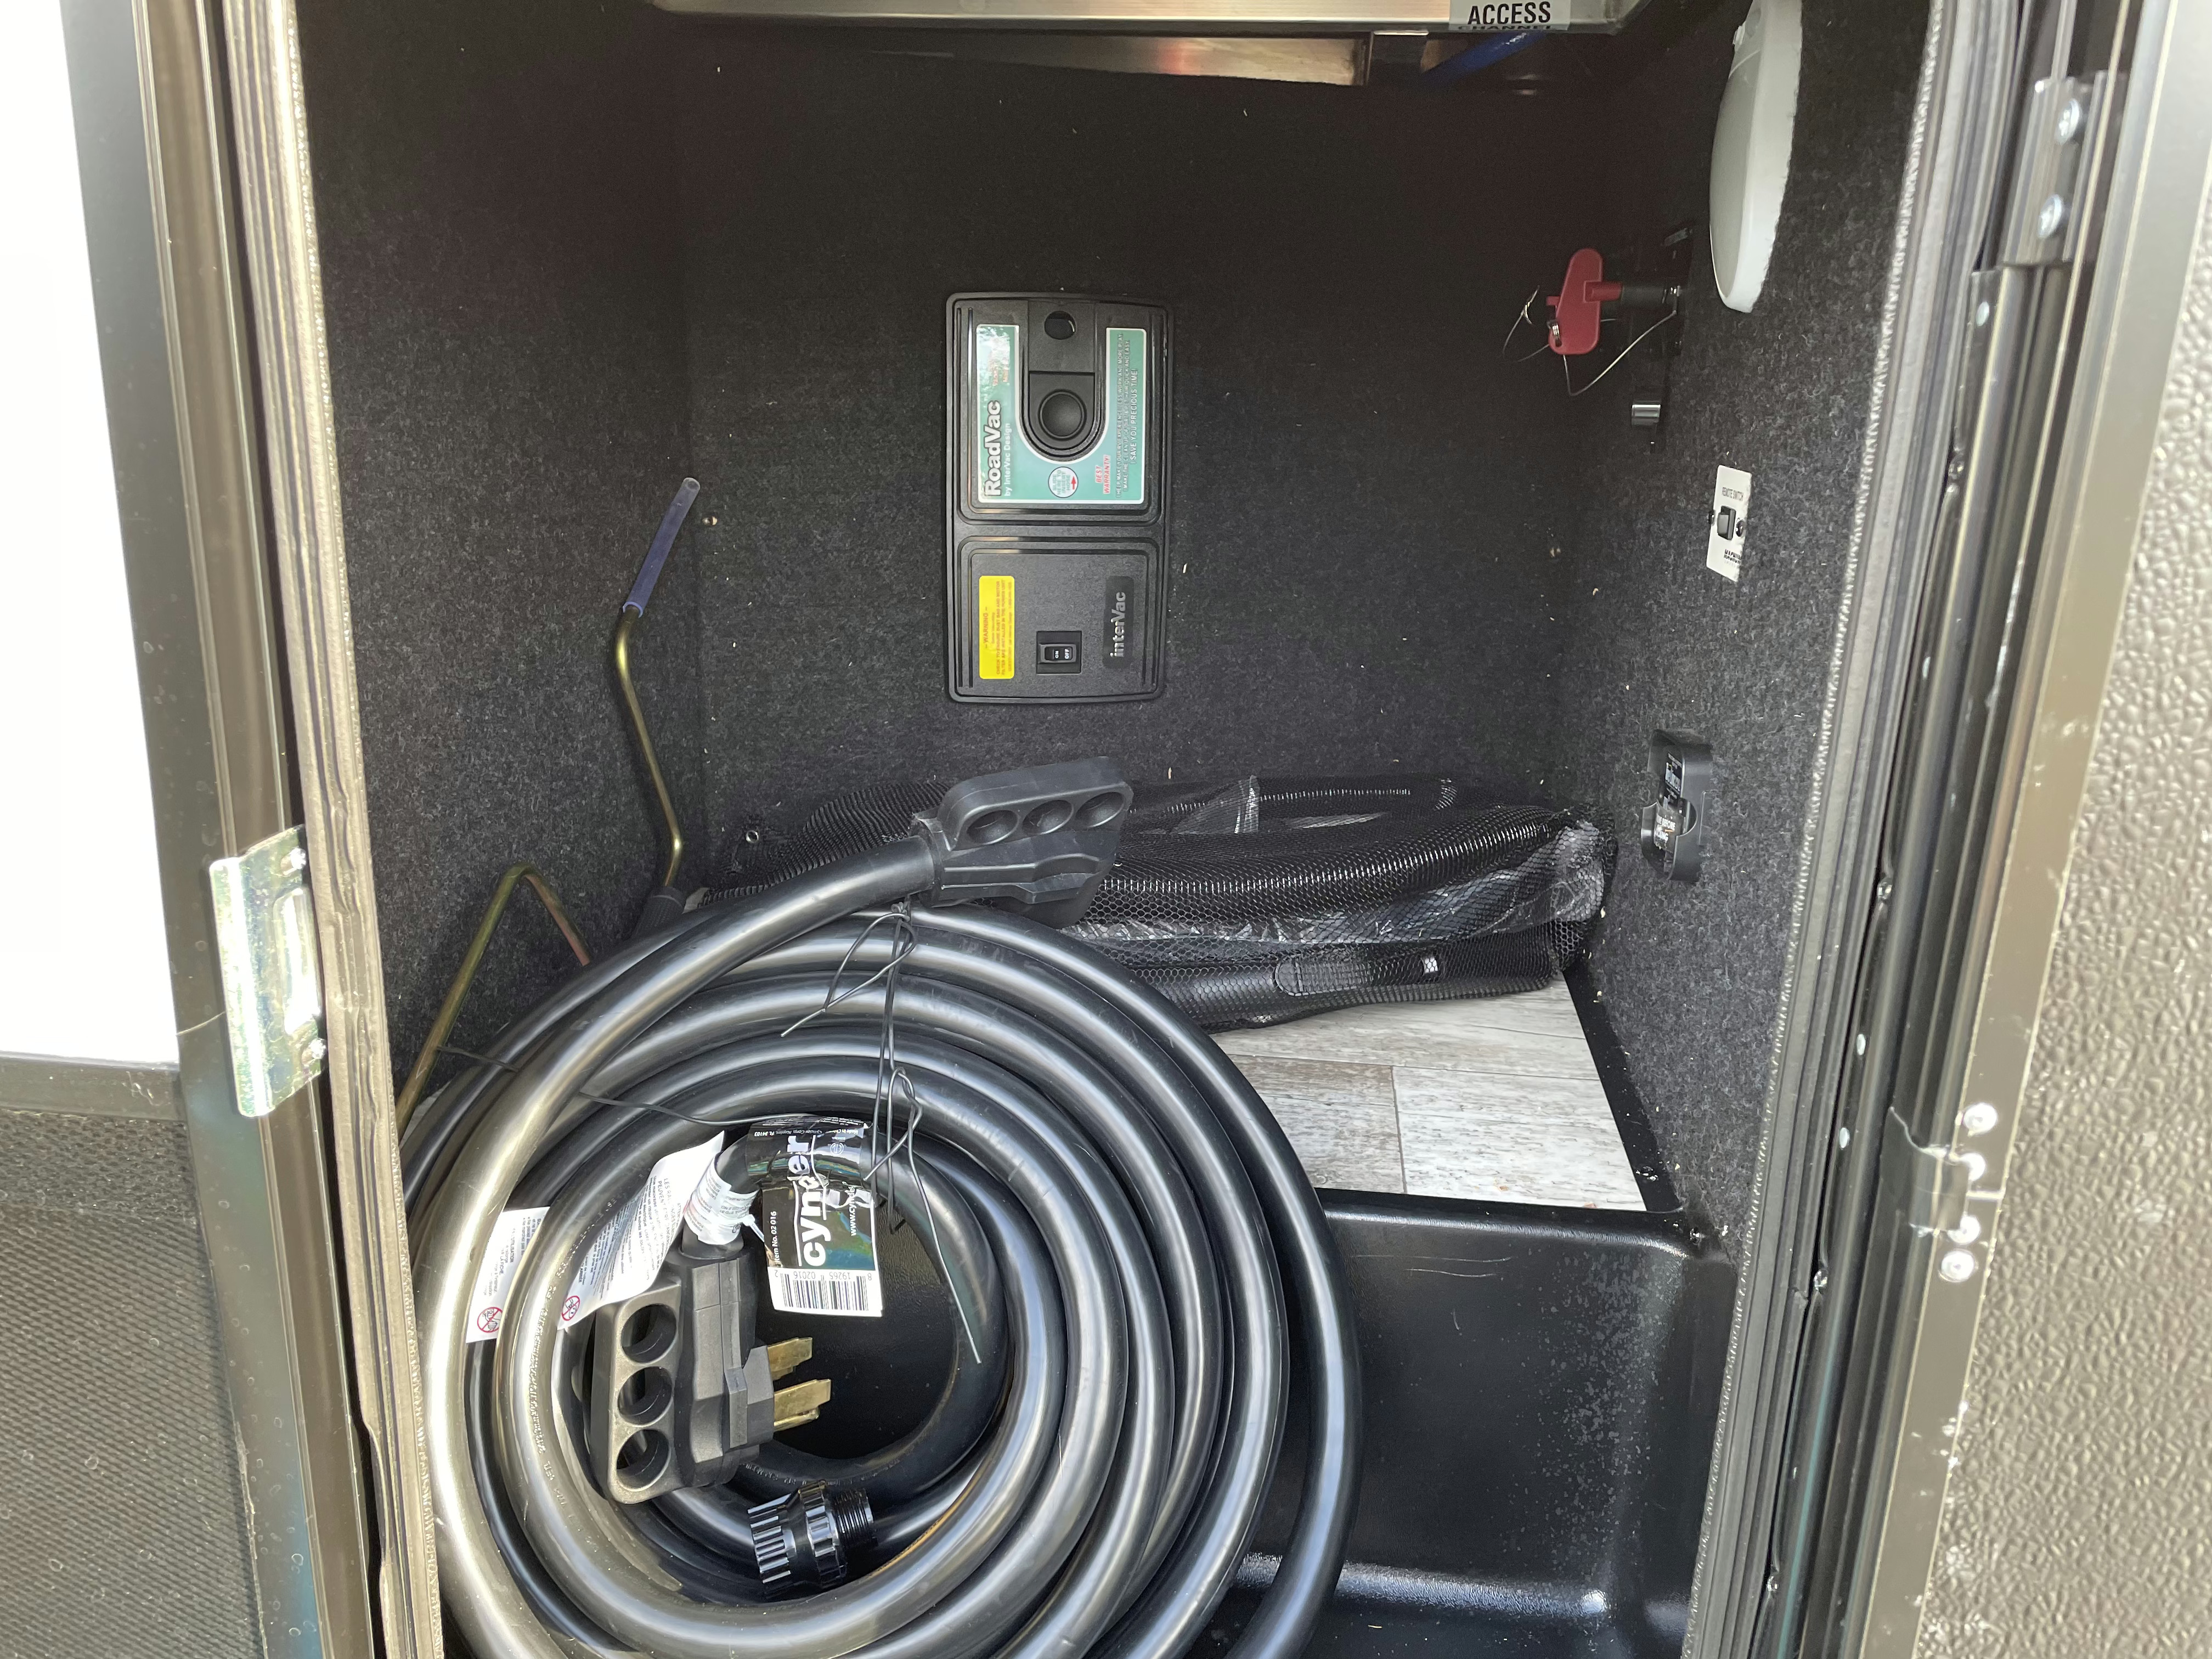
Here you’ll see the battery disconnects for the solar and vacuum control.

These are outside outlets and water access.

These are the speakers which you may recall seeing the housing for in the seating mod photos.

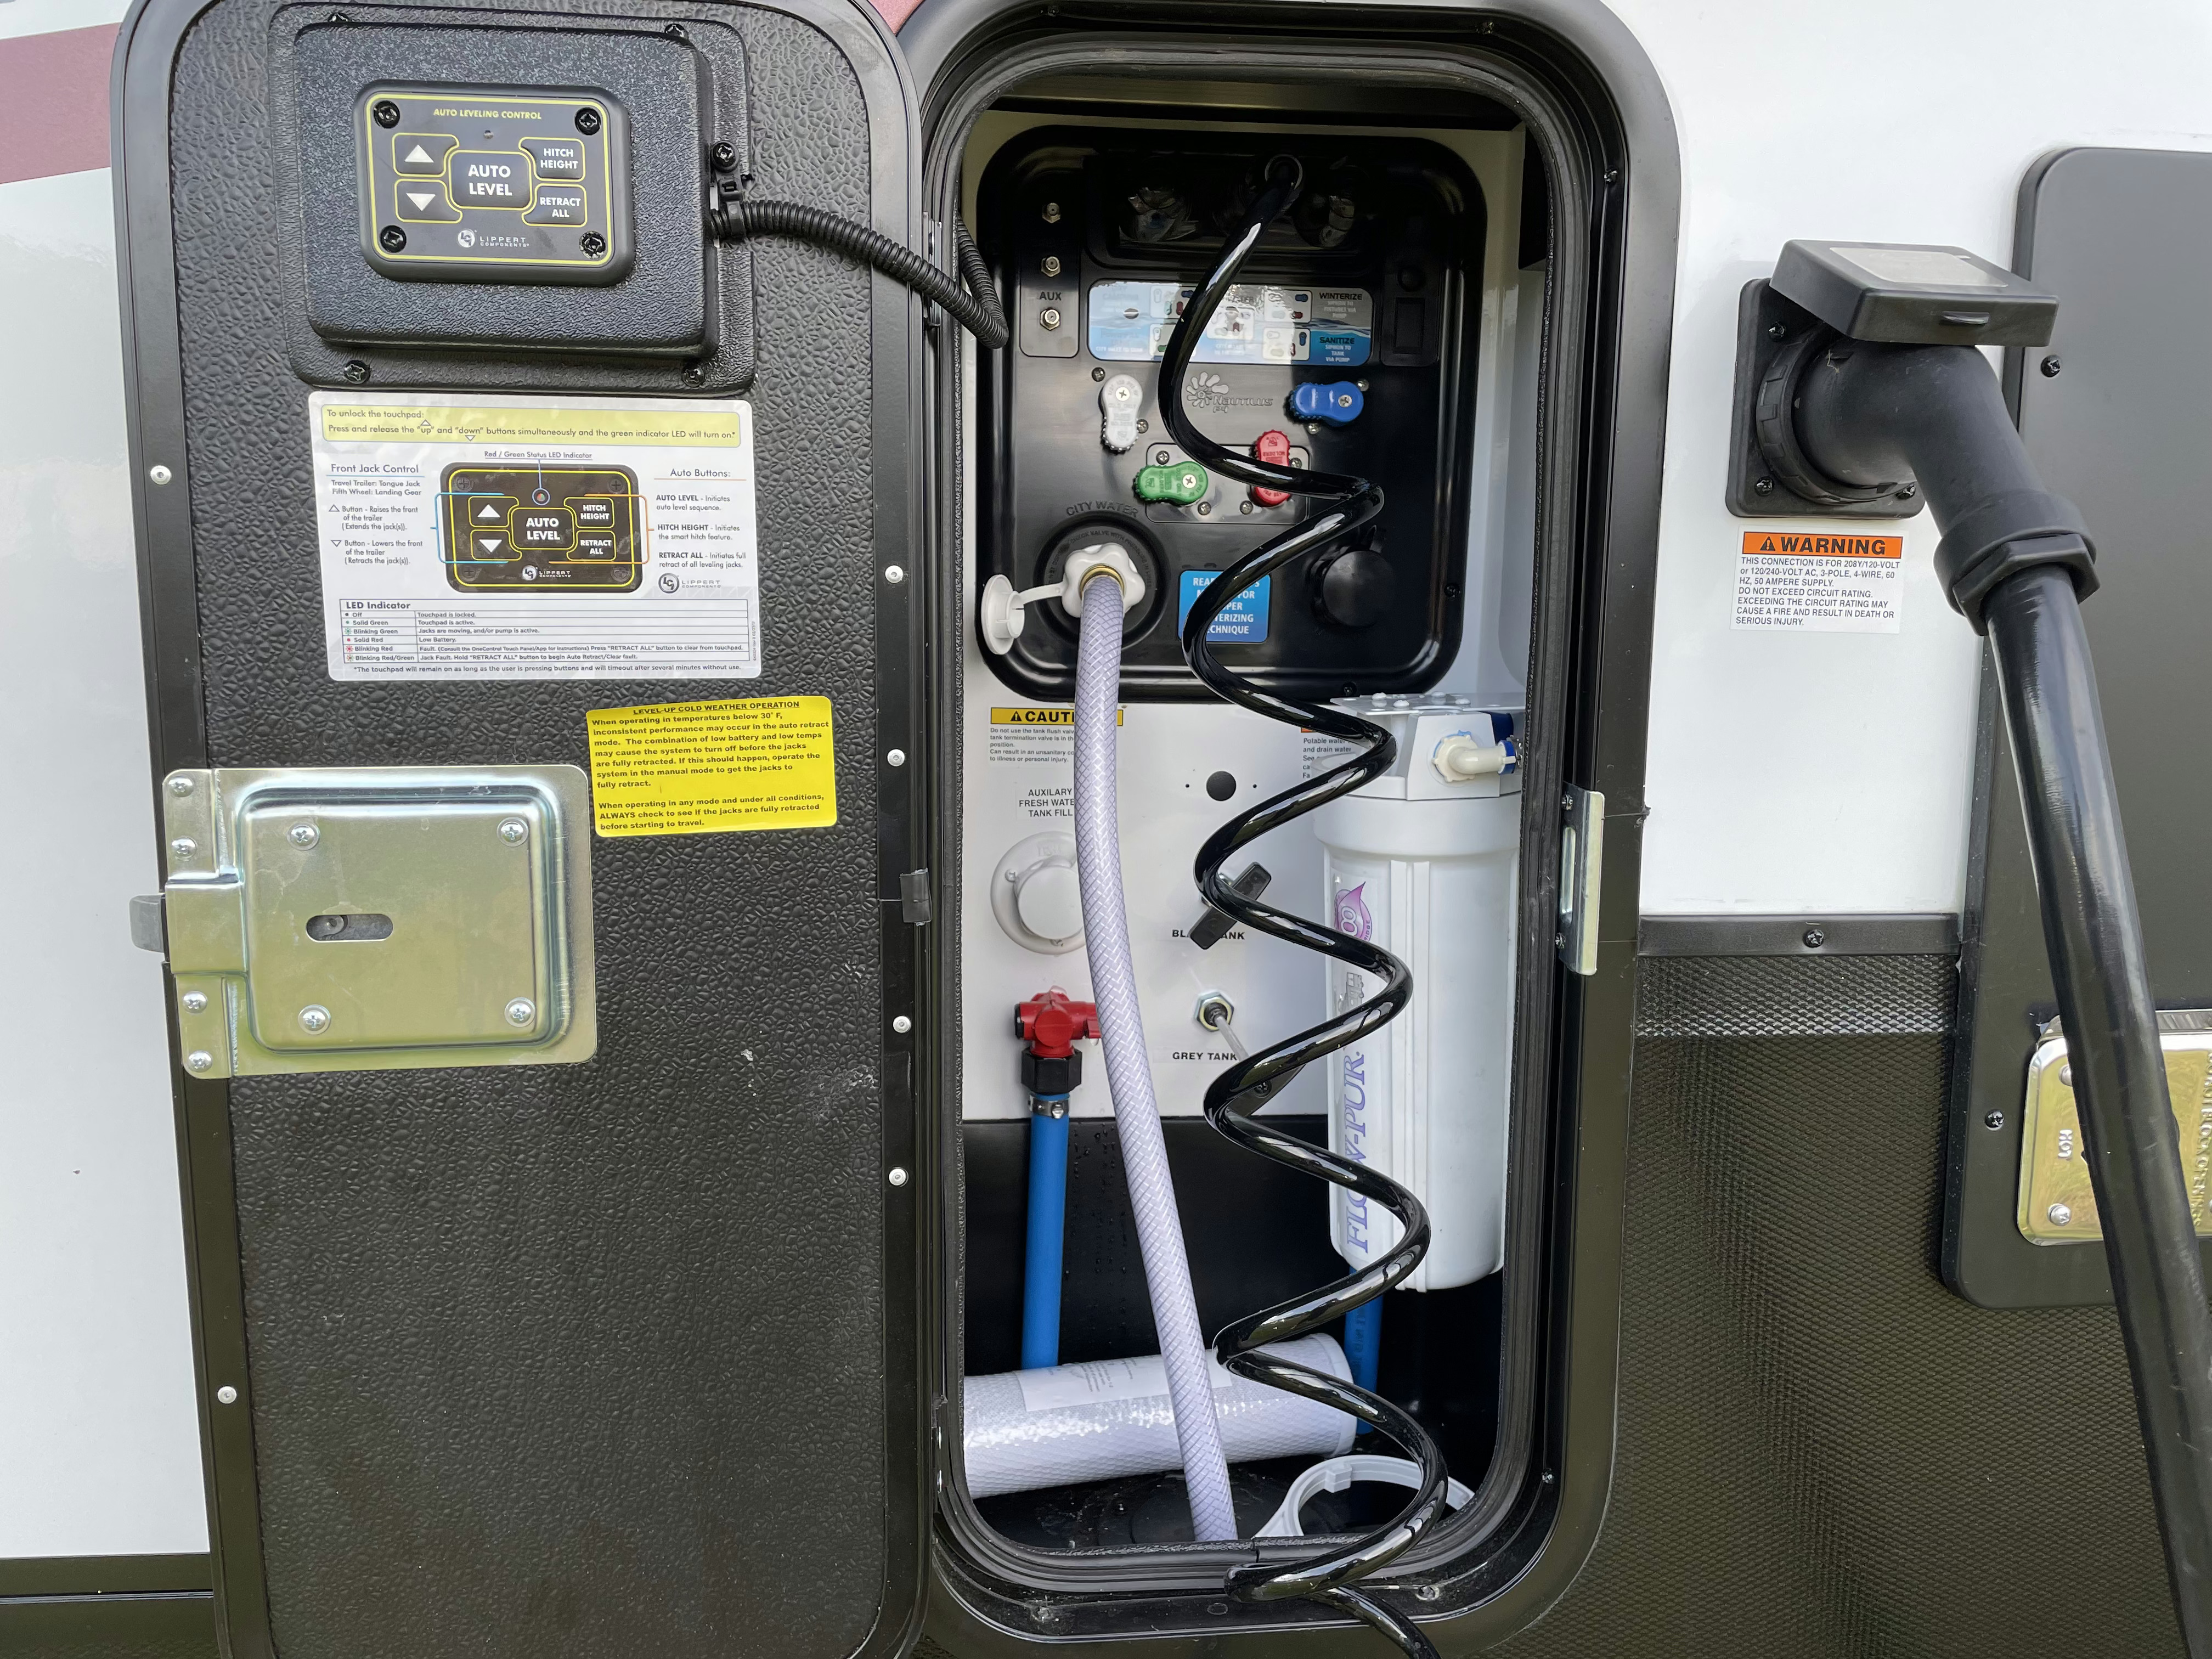
This control panel is the configuration for water hookups, gray and black tank valves, black tank flush, water filter, water pump switch, leveling controls, and outside hot and cold water hose for spraying down people and pets.
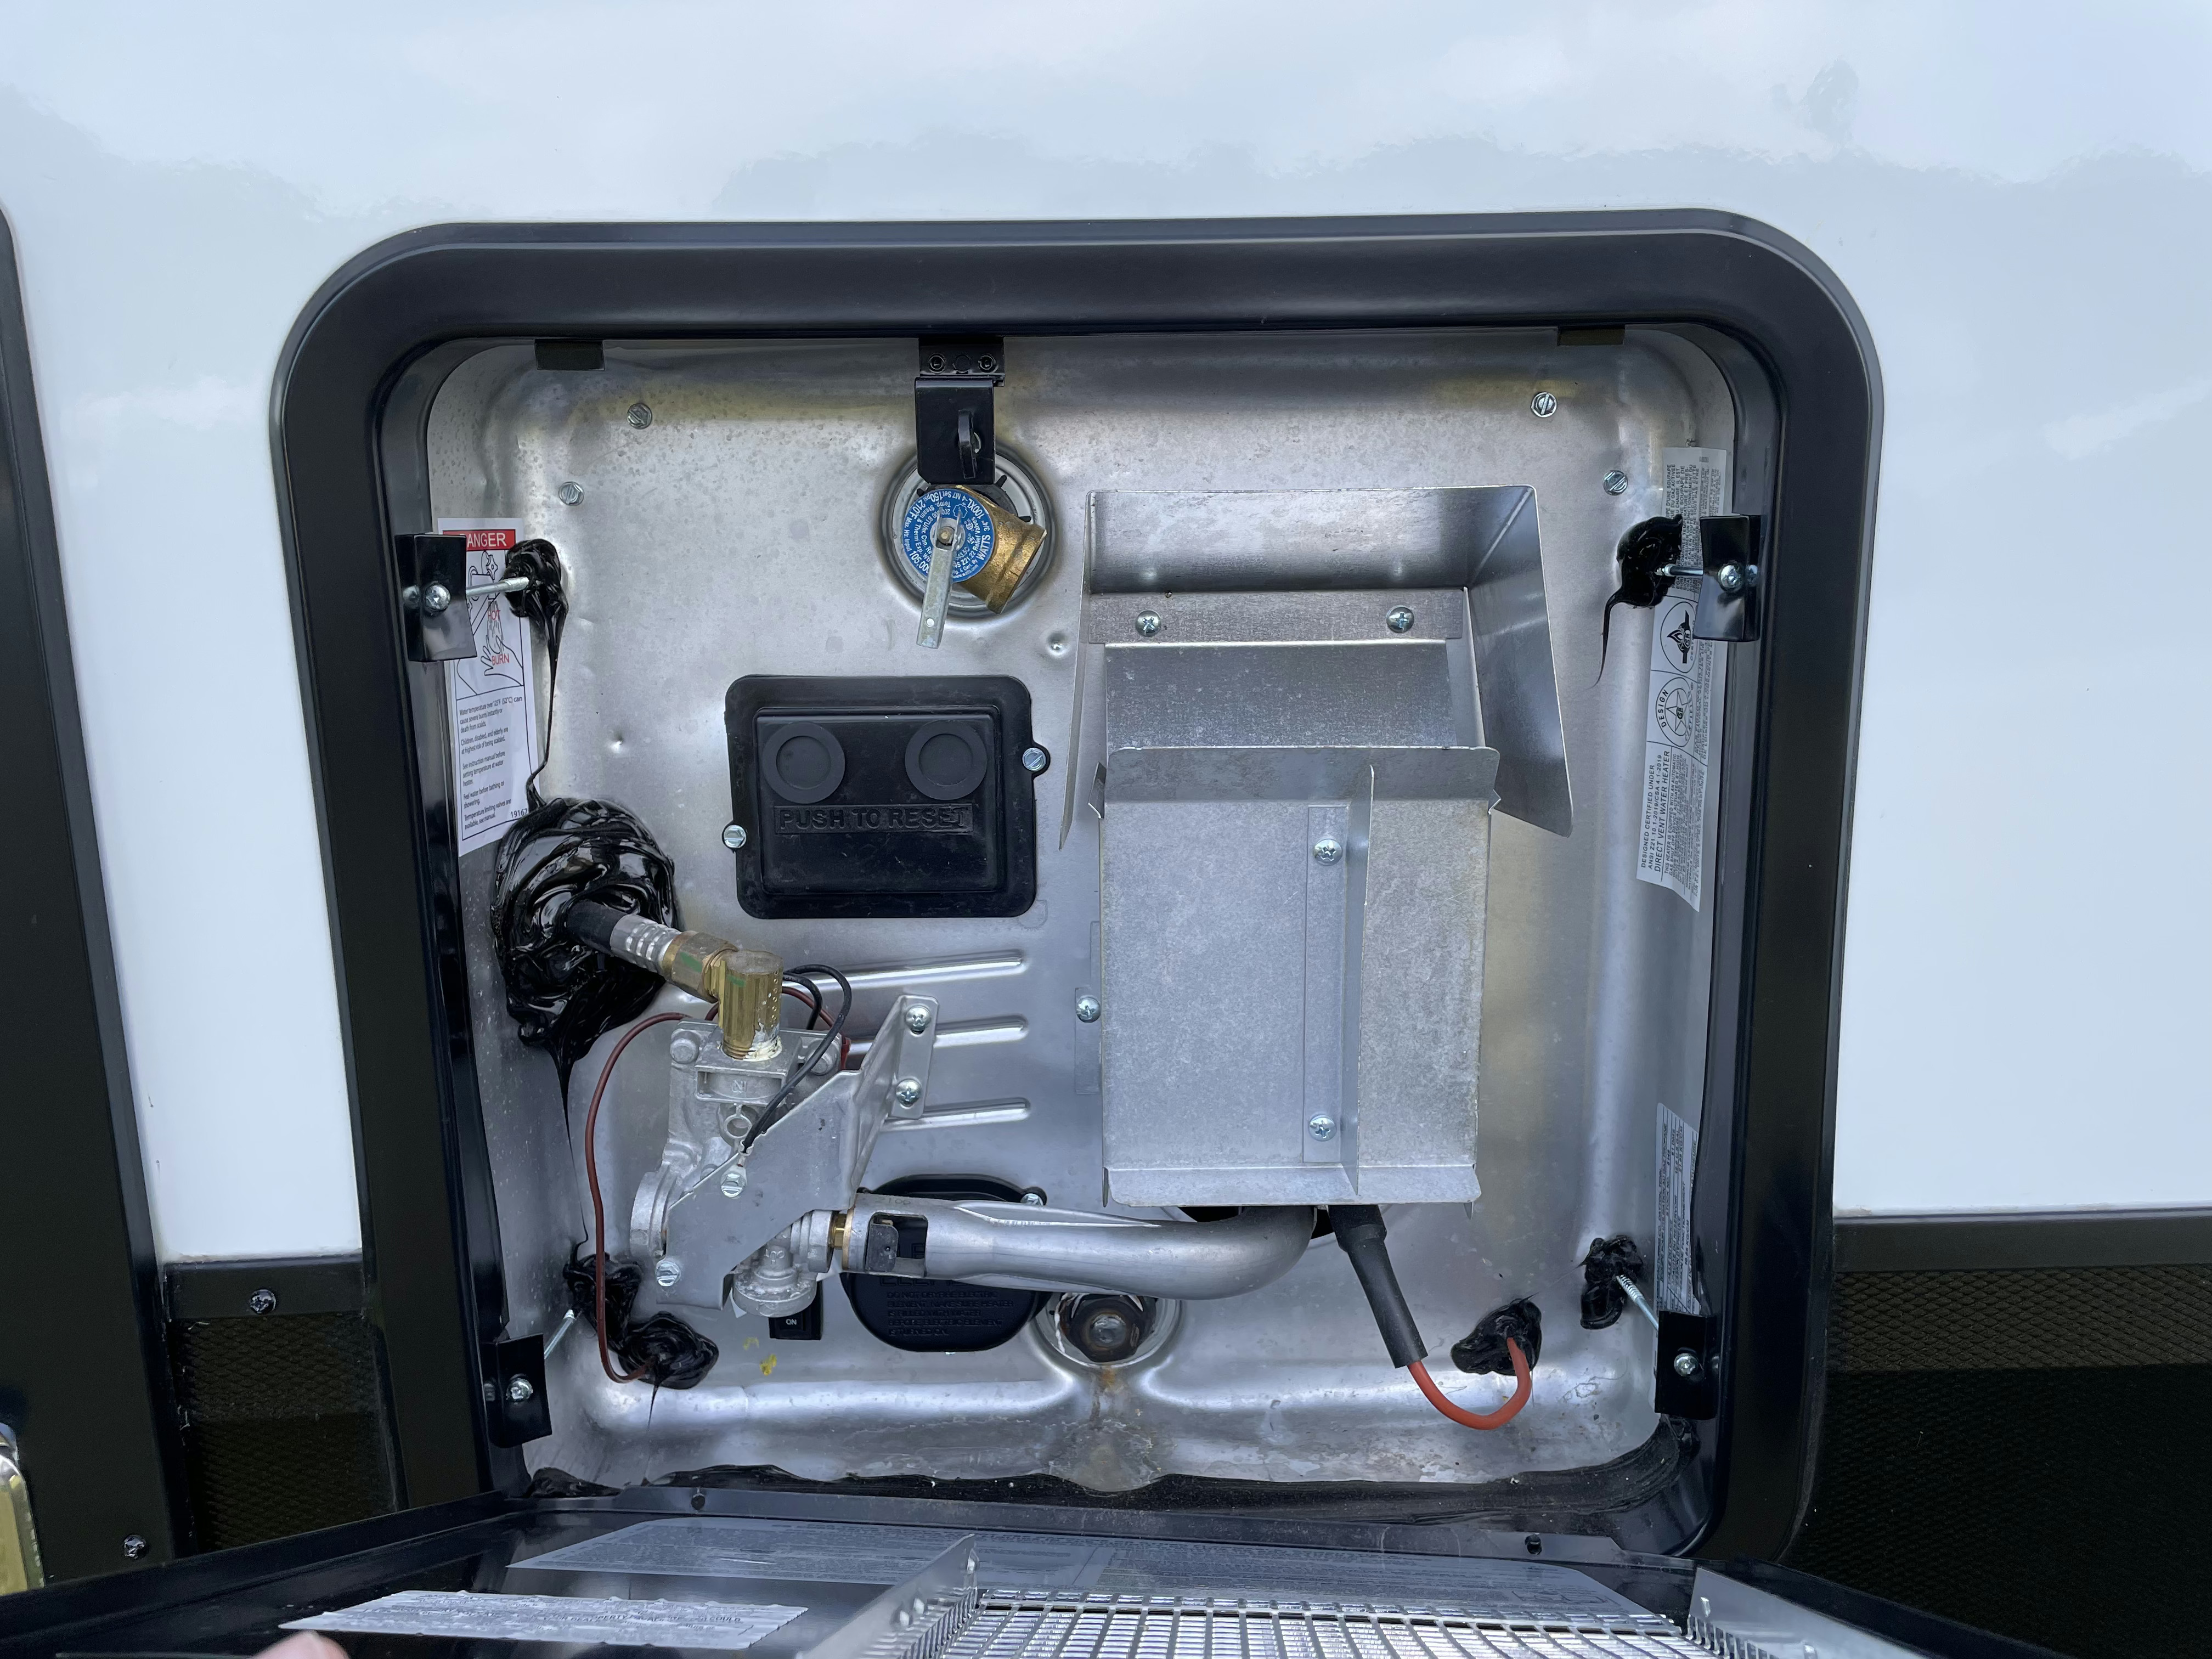
Outside panel to various bits for the fridge that I have yet to learn about.
Here is the dump for the gray tank and black tank at the front of the rig. Both flow out through this pipe so you’d do well to dump the blank tank, flush the black tank with the flush hose, seal the black tank, and then dump the gray tank to flush any missing bits out.
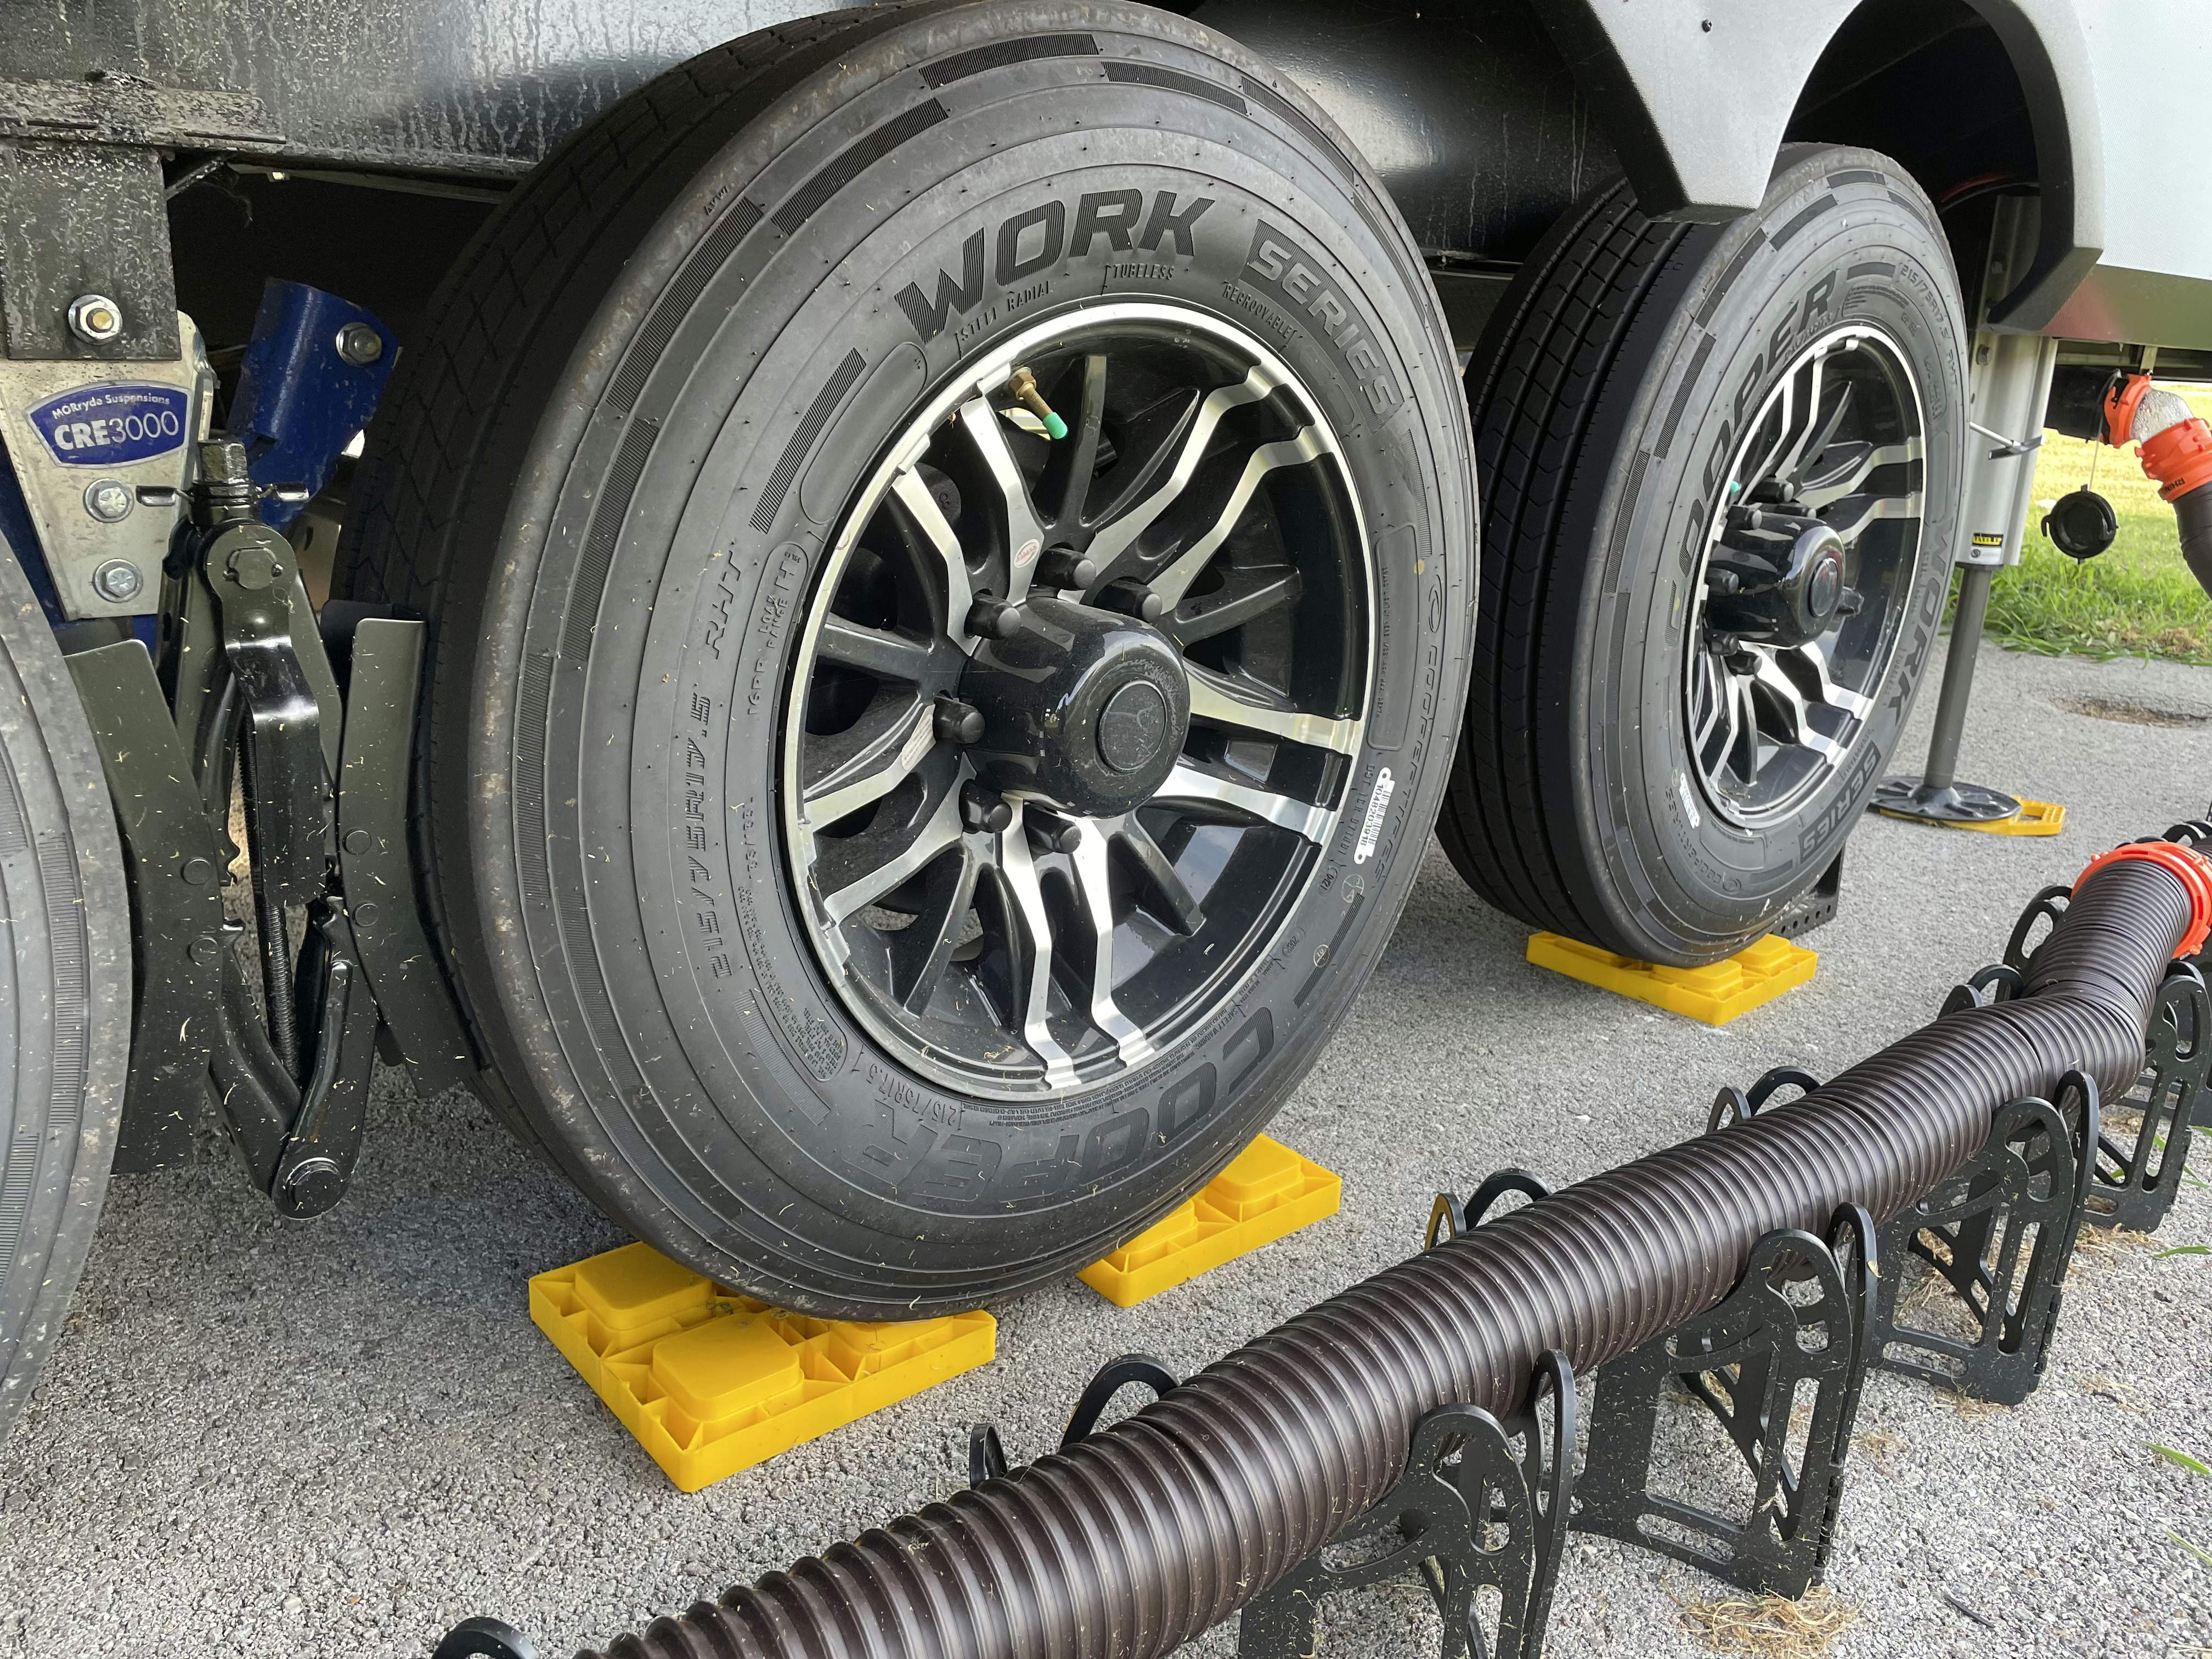
The x-chocks for keeping the tires from rolling down the street along with the leveling blocks we used to setup our rig.
This gray tank only dumps water from the washer dryer combo so we basically leave it open 24/7. If you get the optional garage bathroom however there will also be a black tank back here.

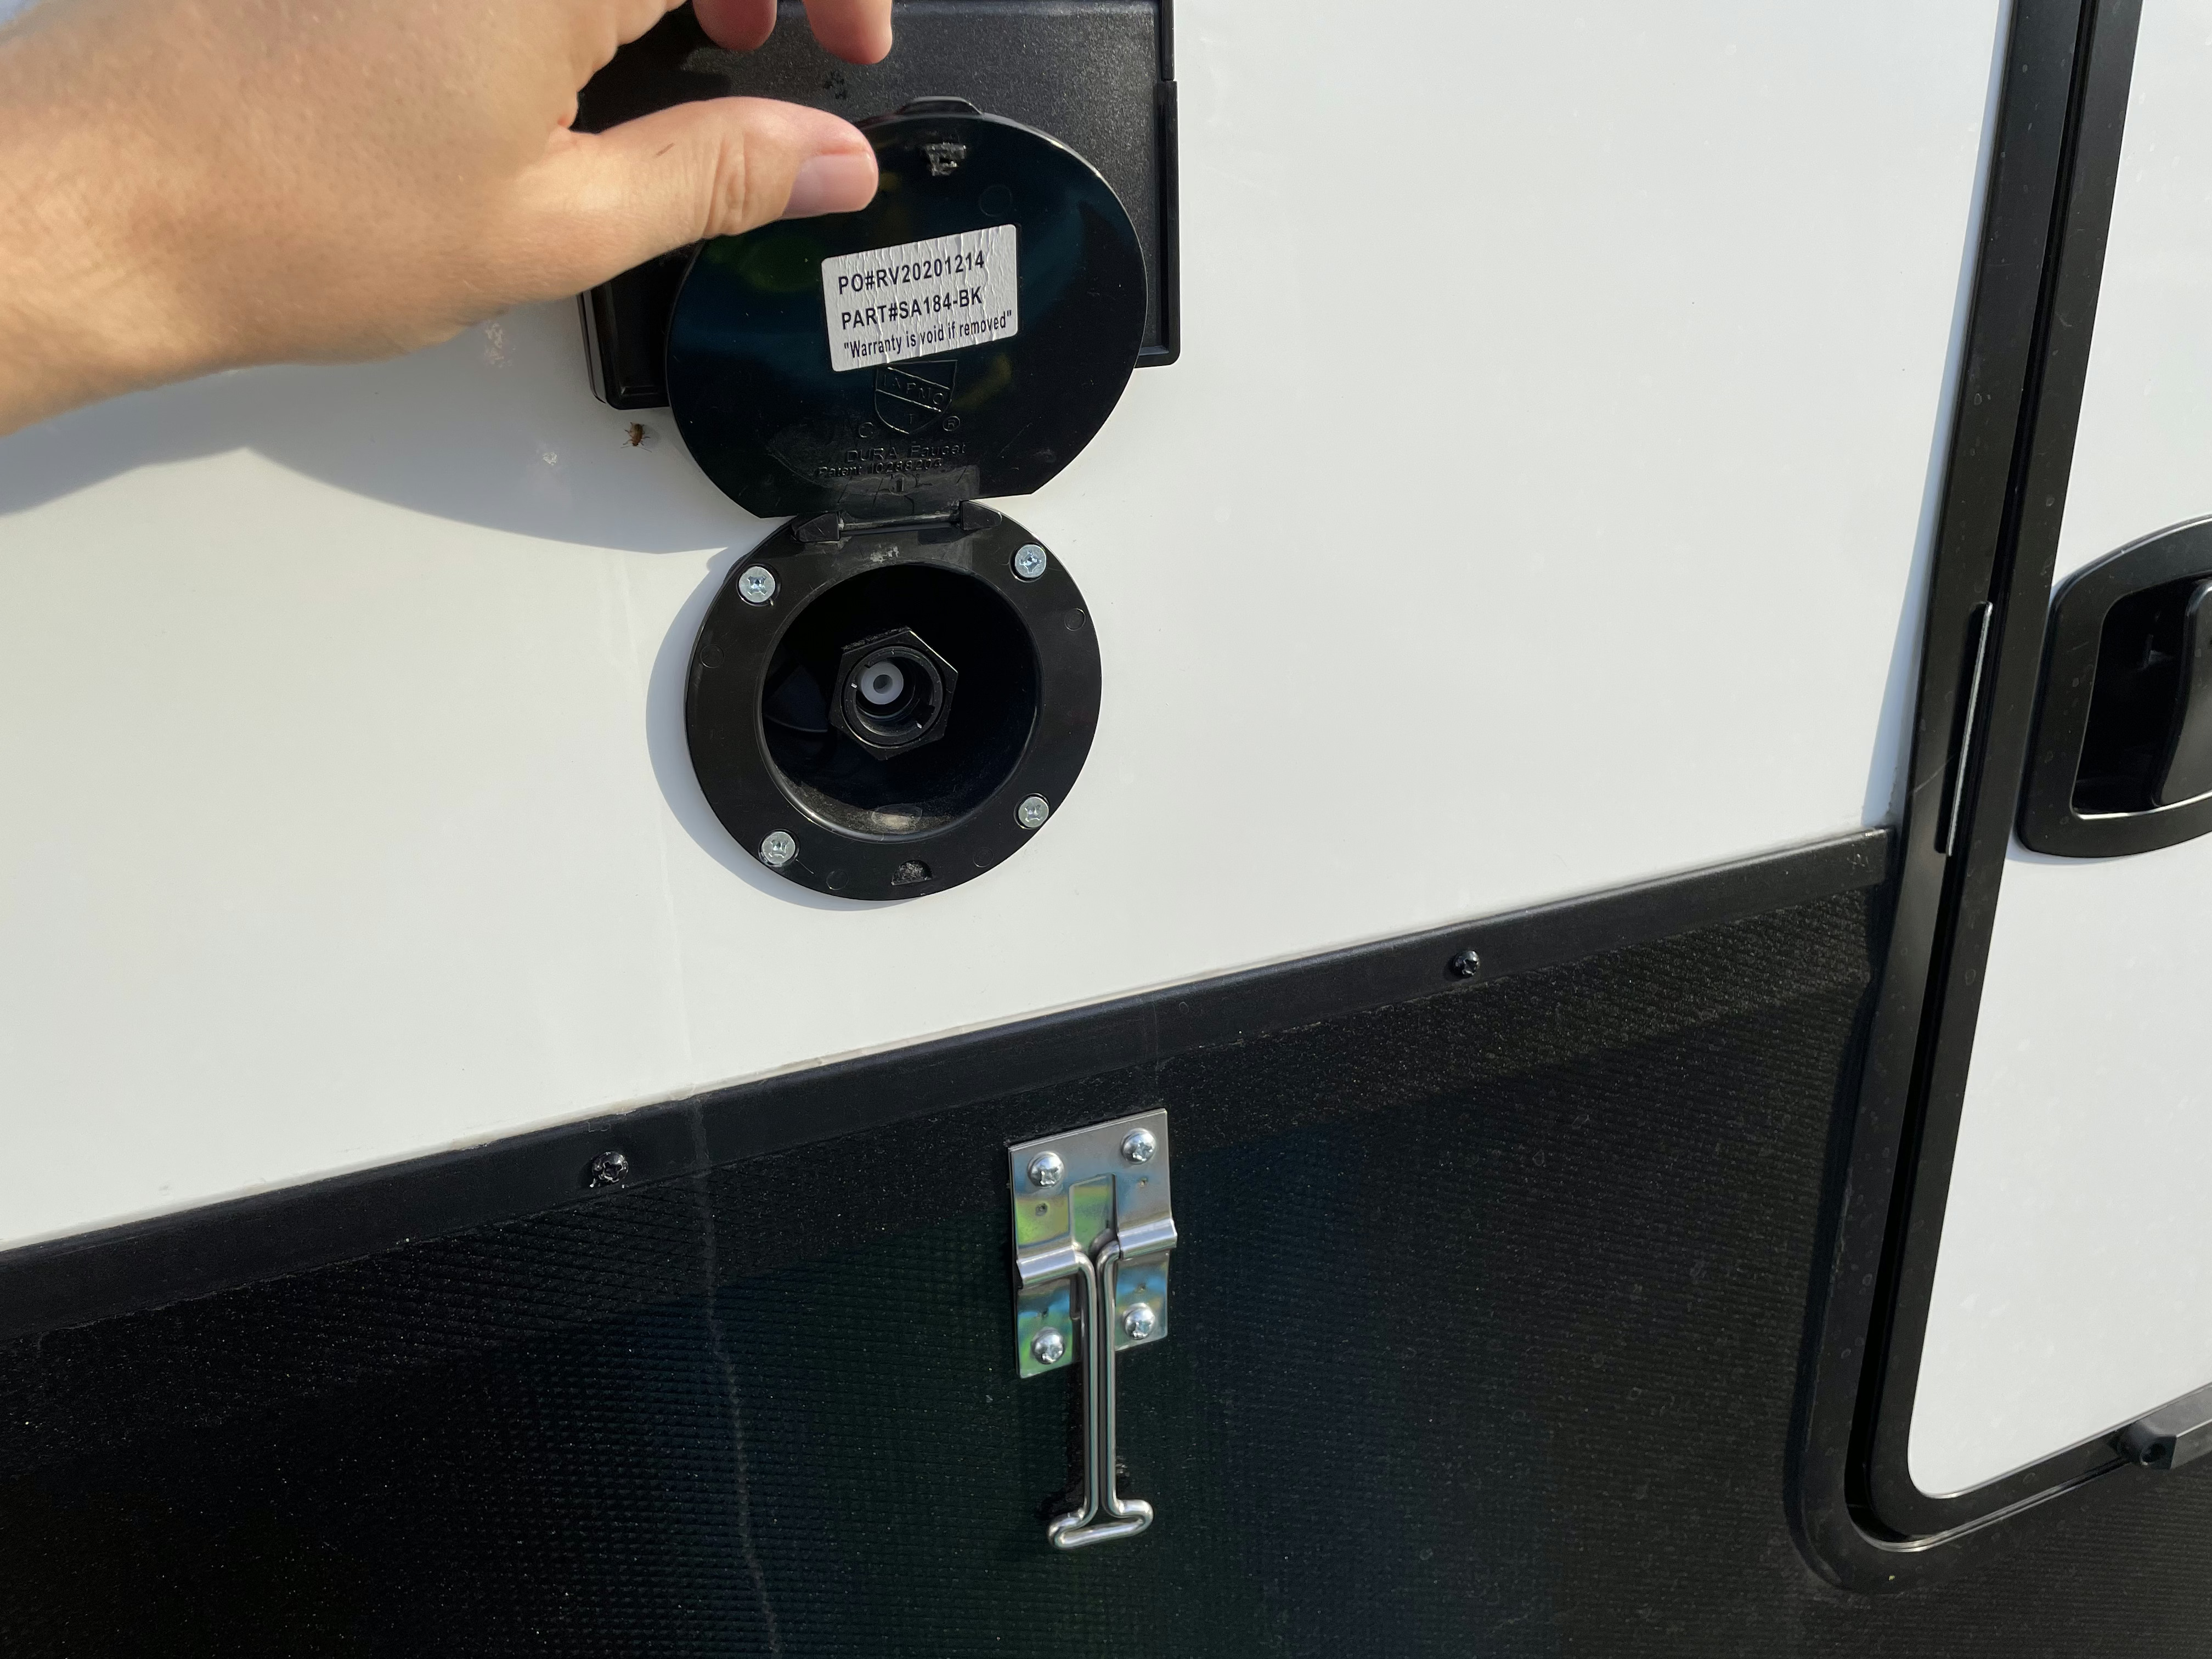
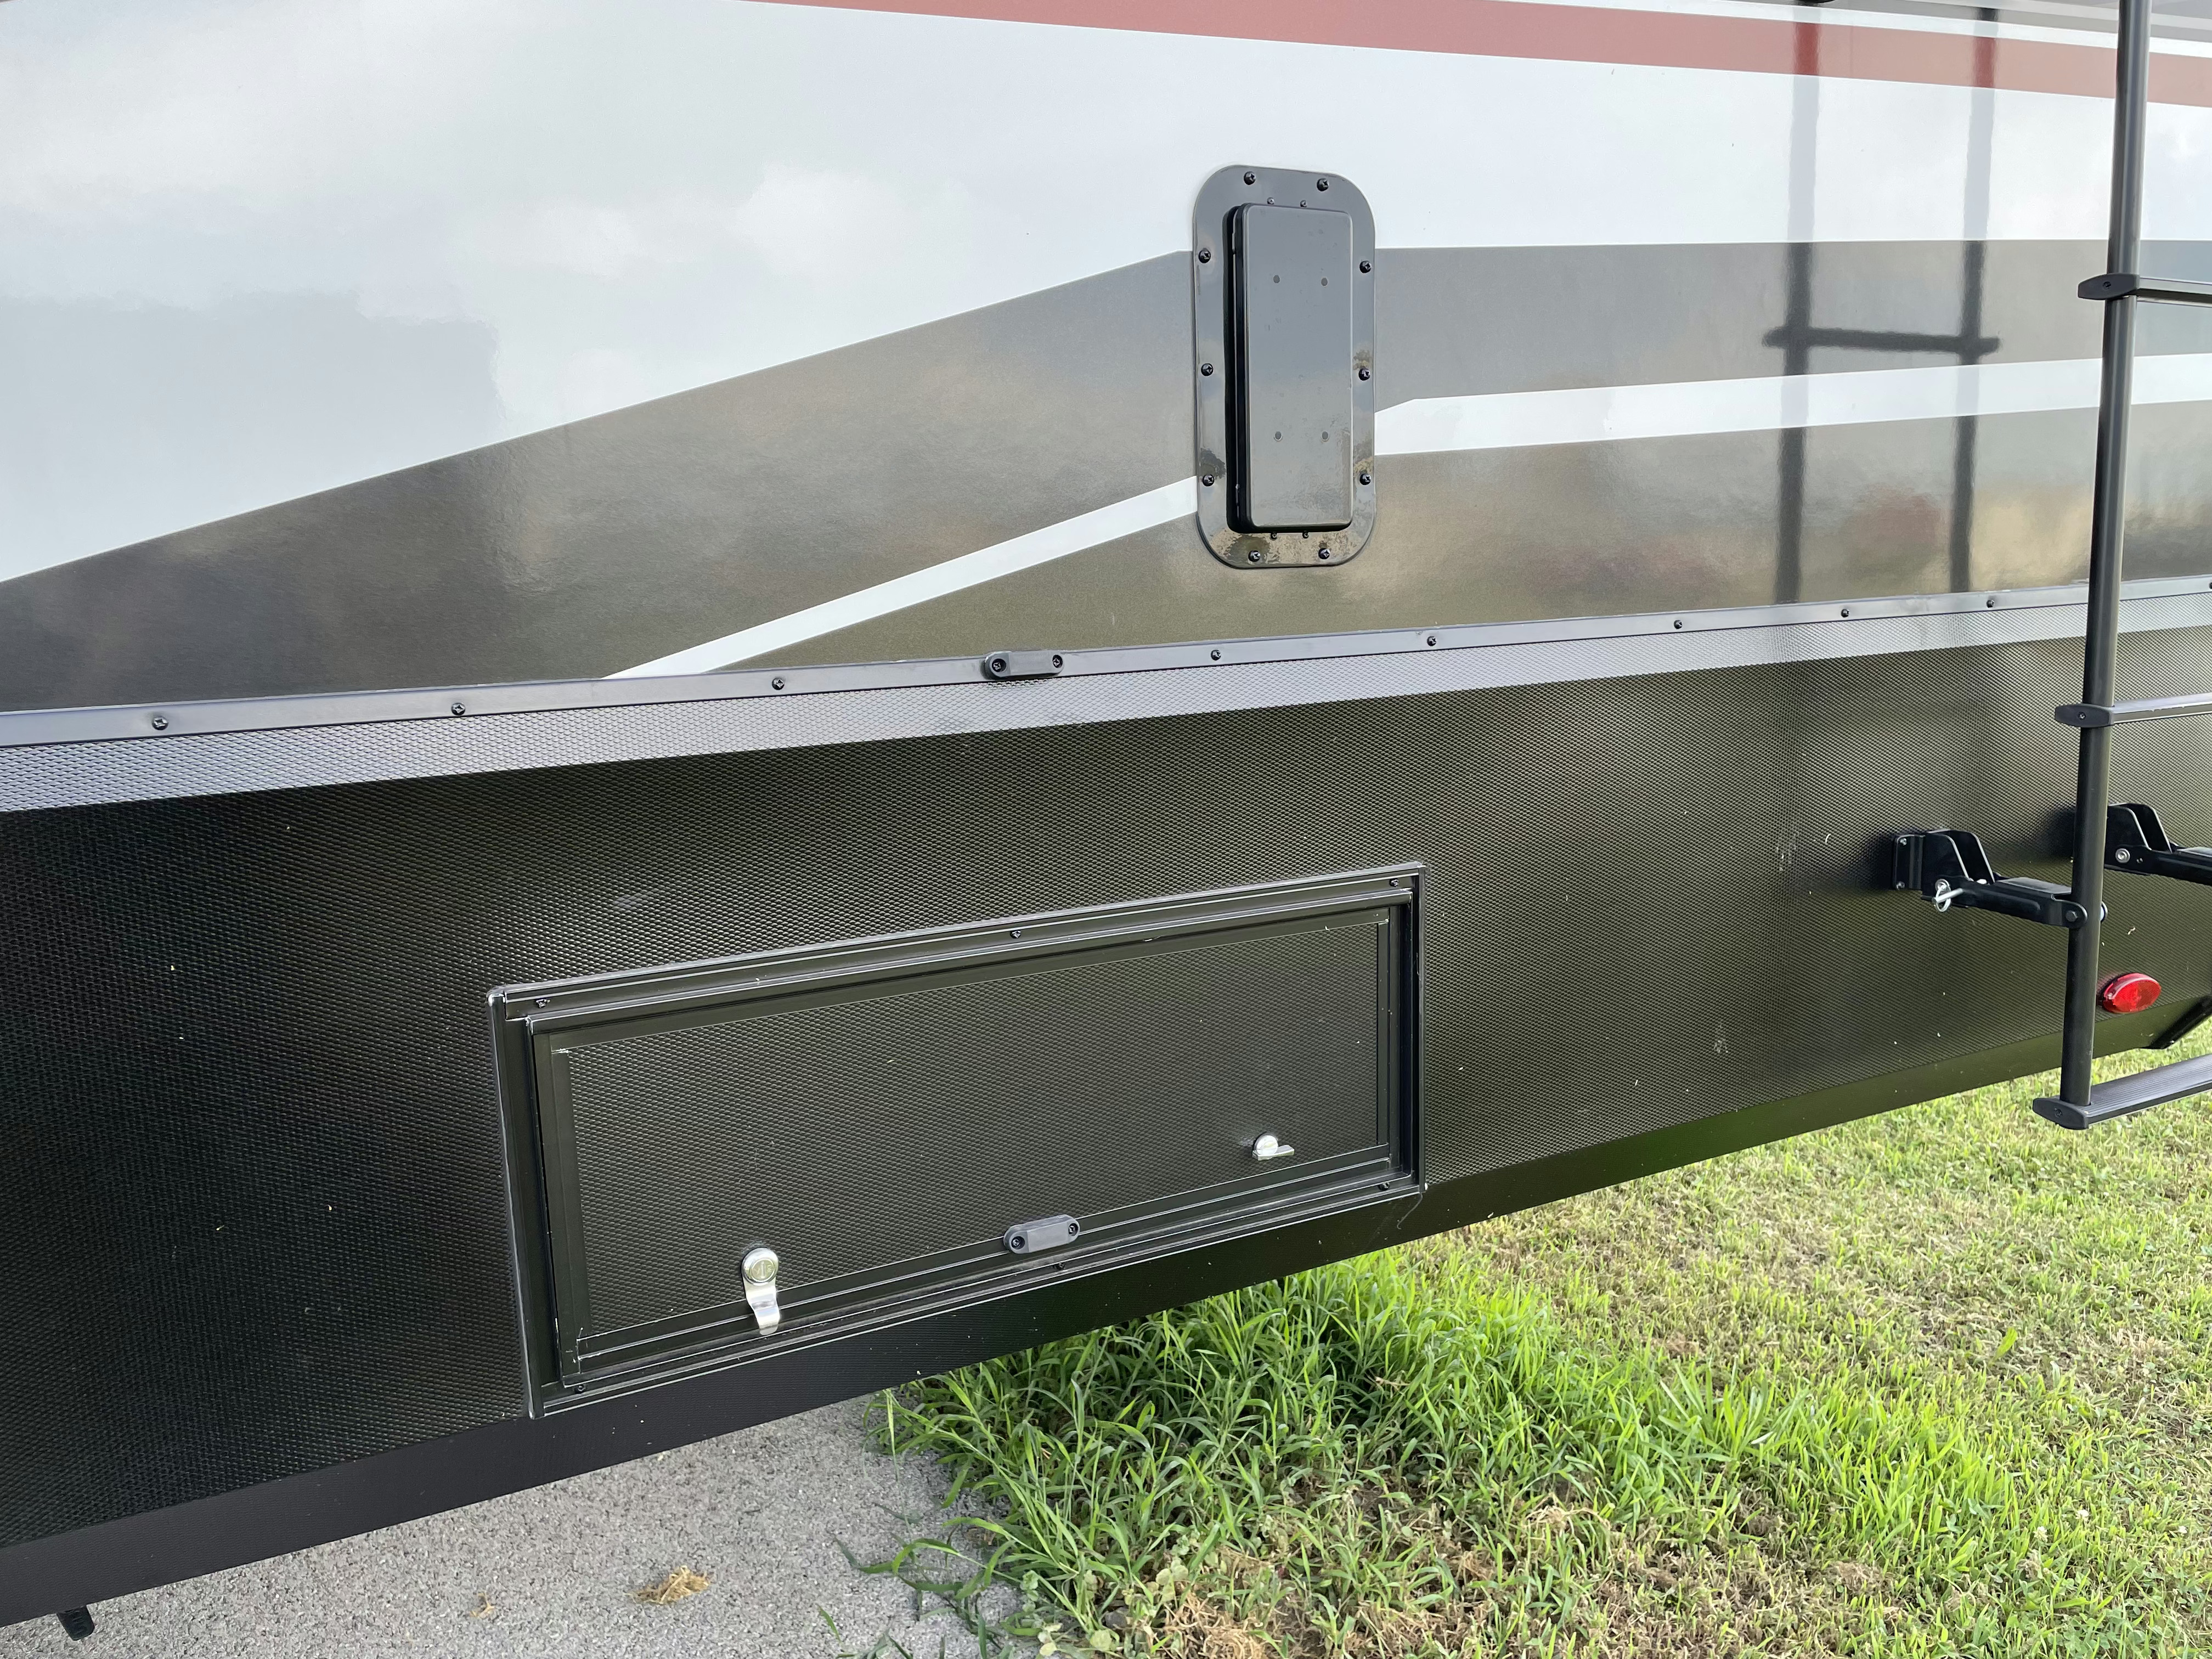
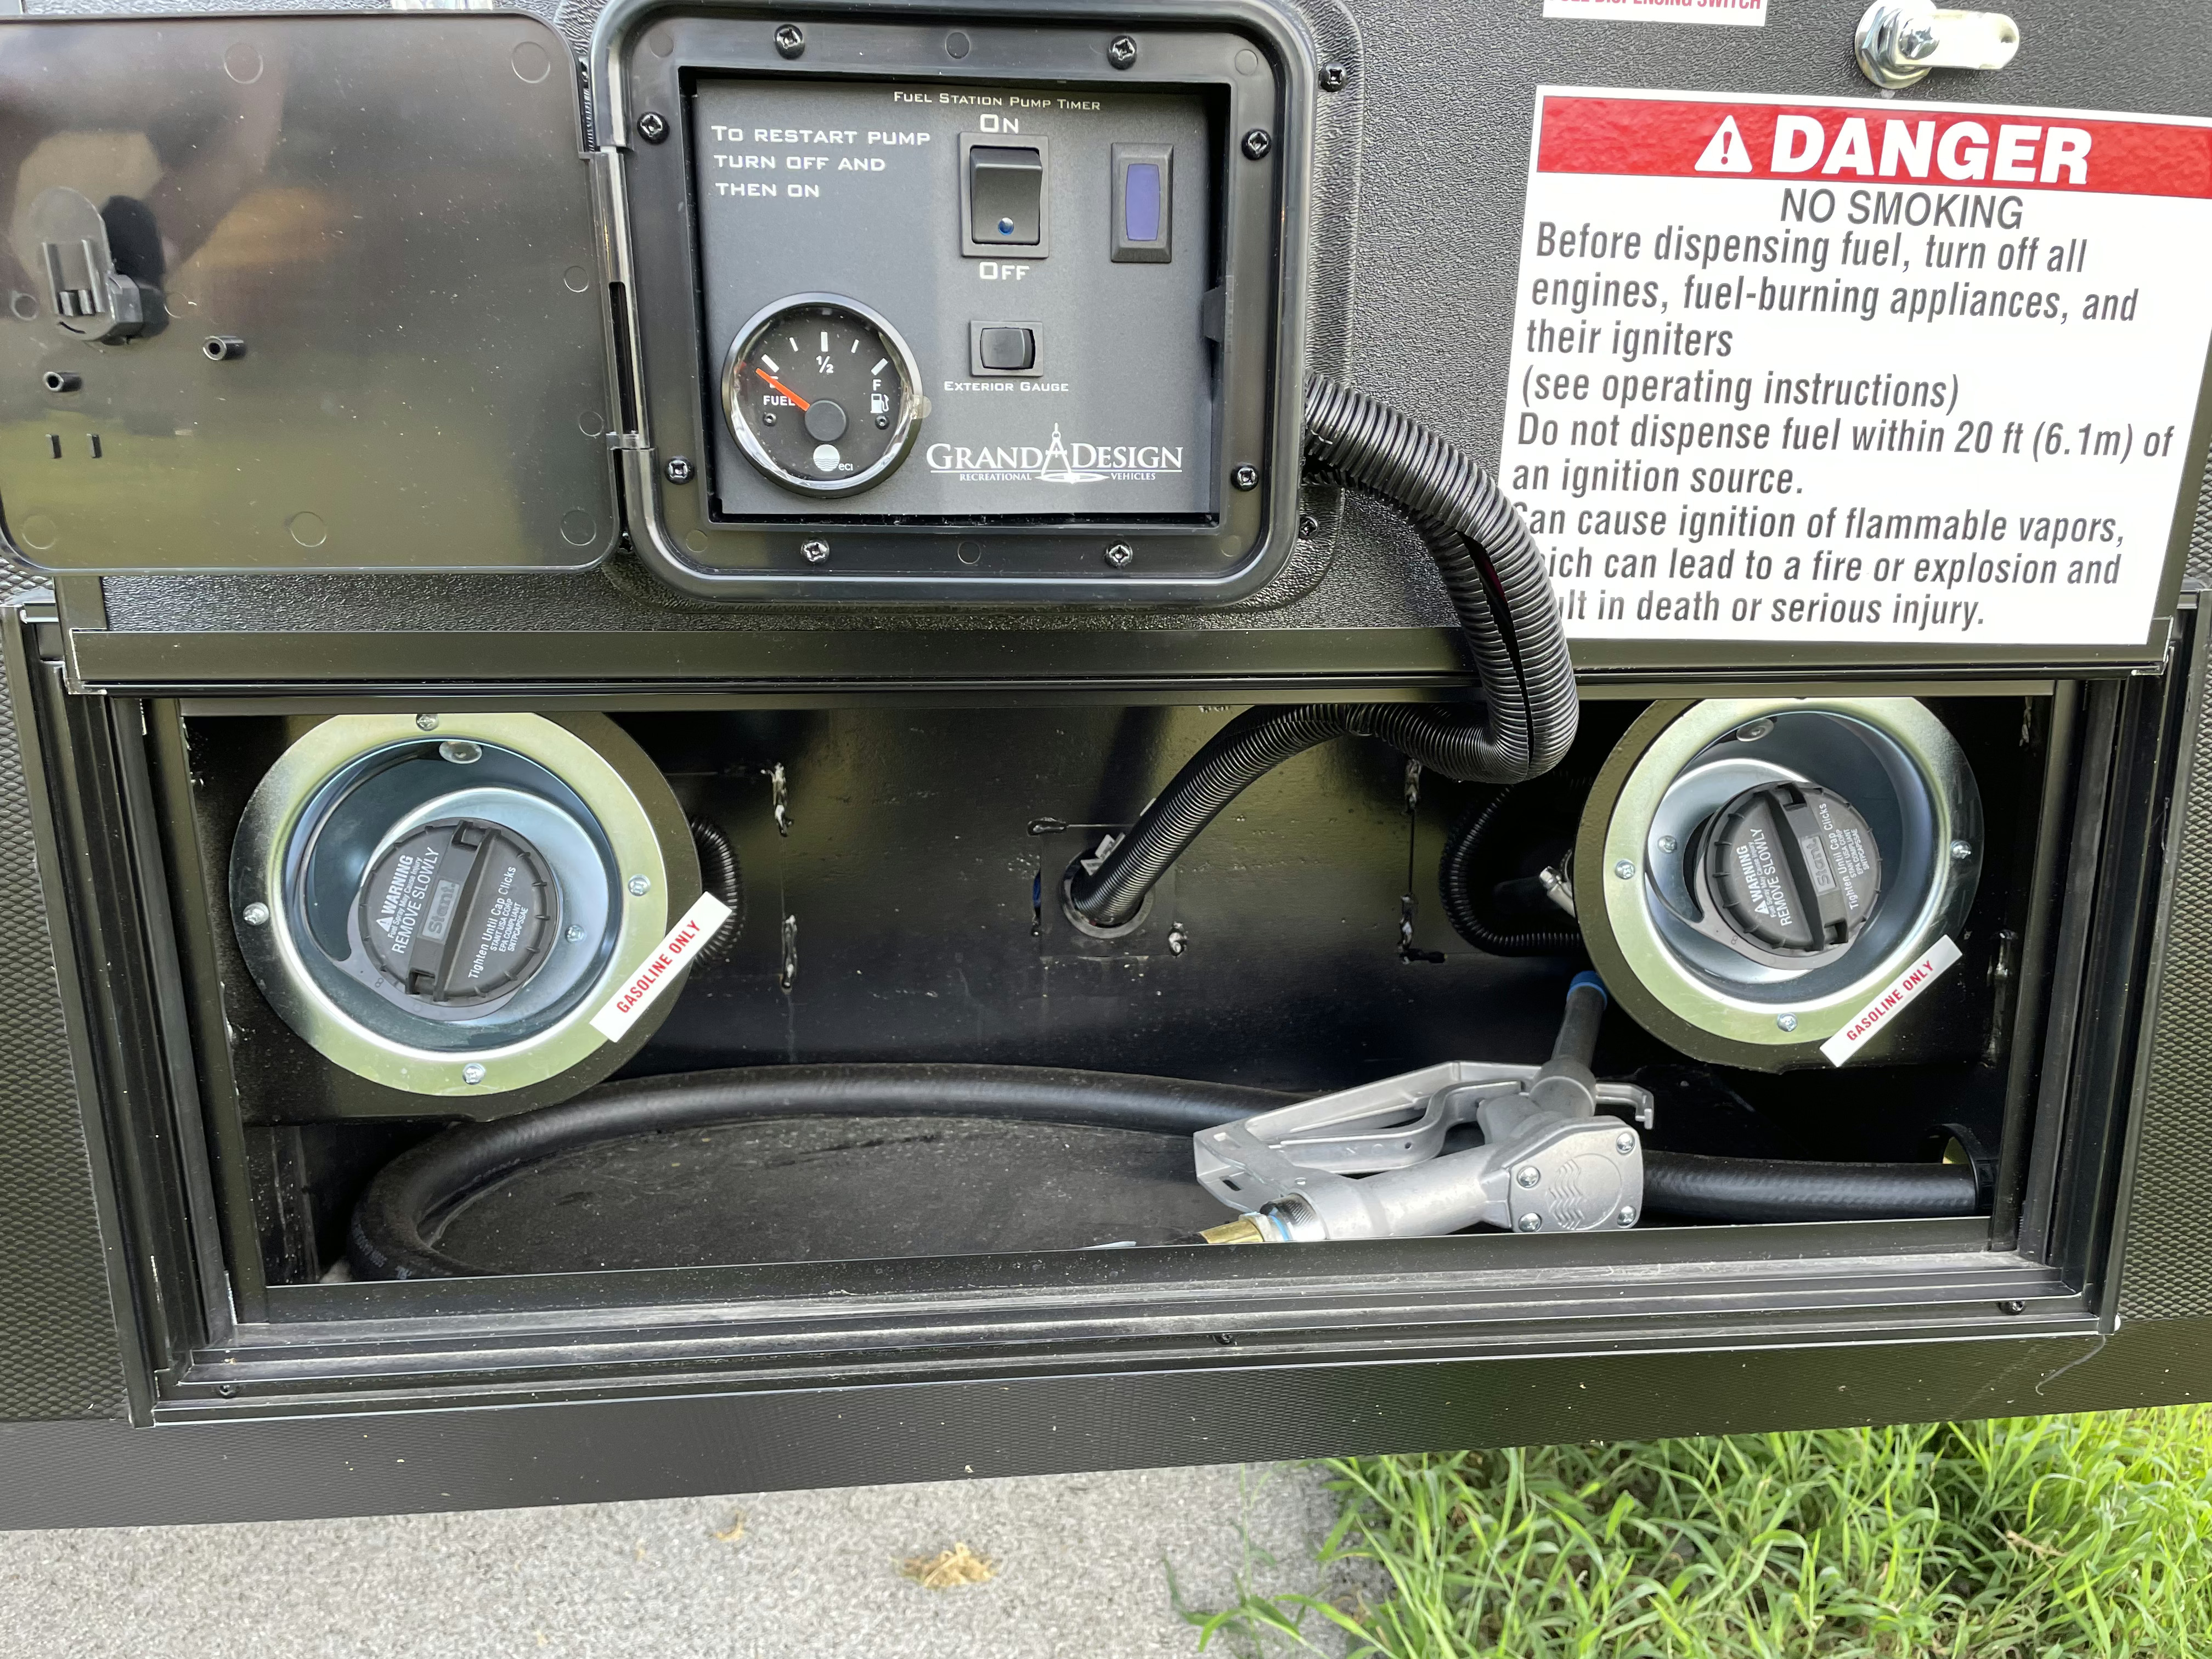
As this is a toy hauler you’ll find a gas tank fill station here towards the back.
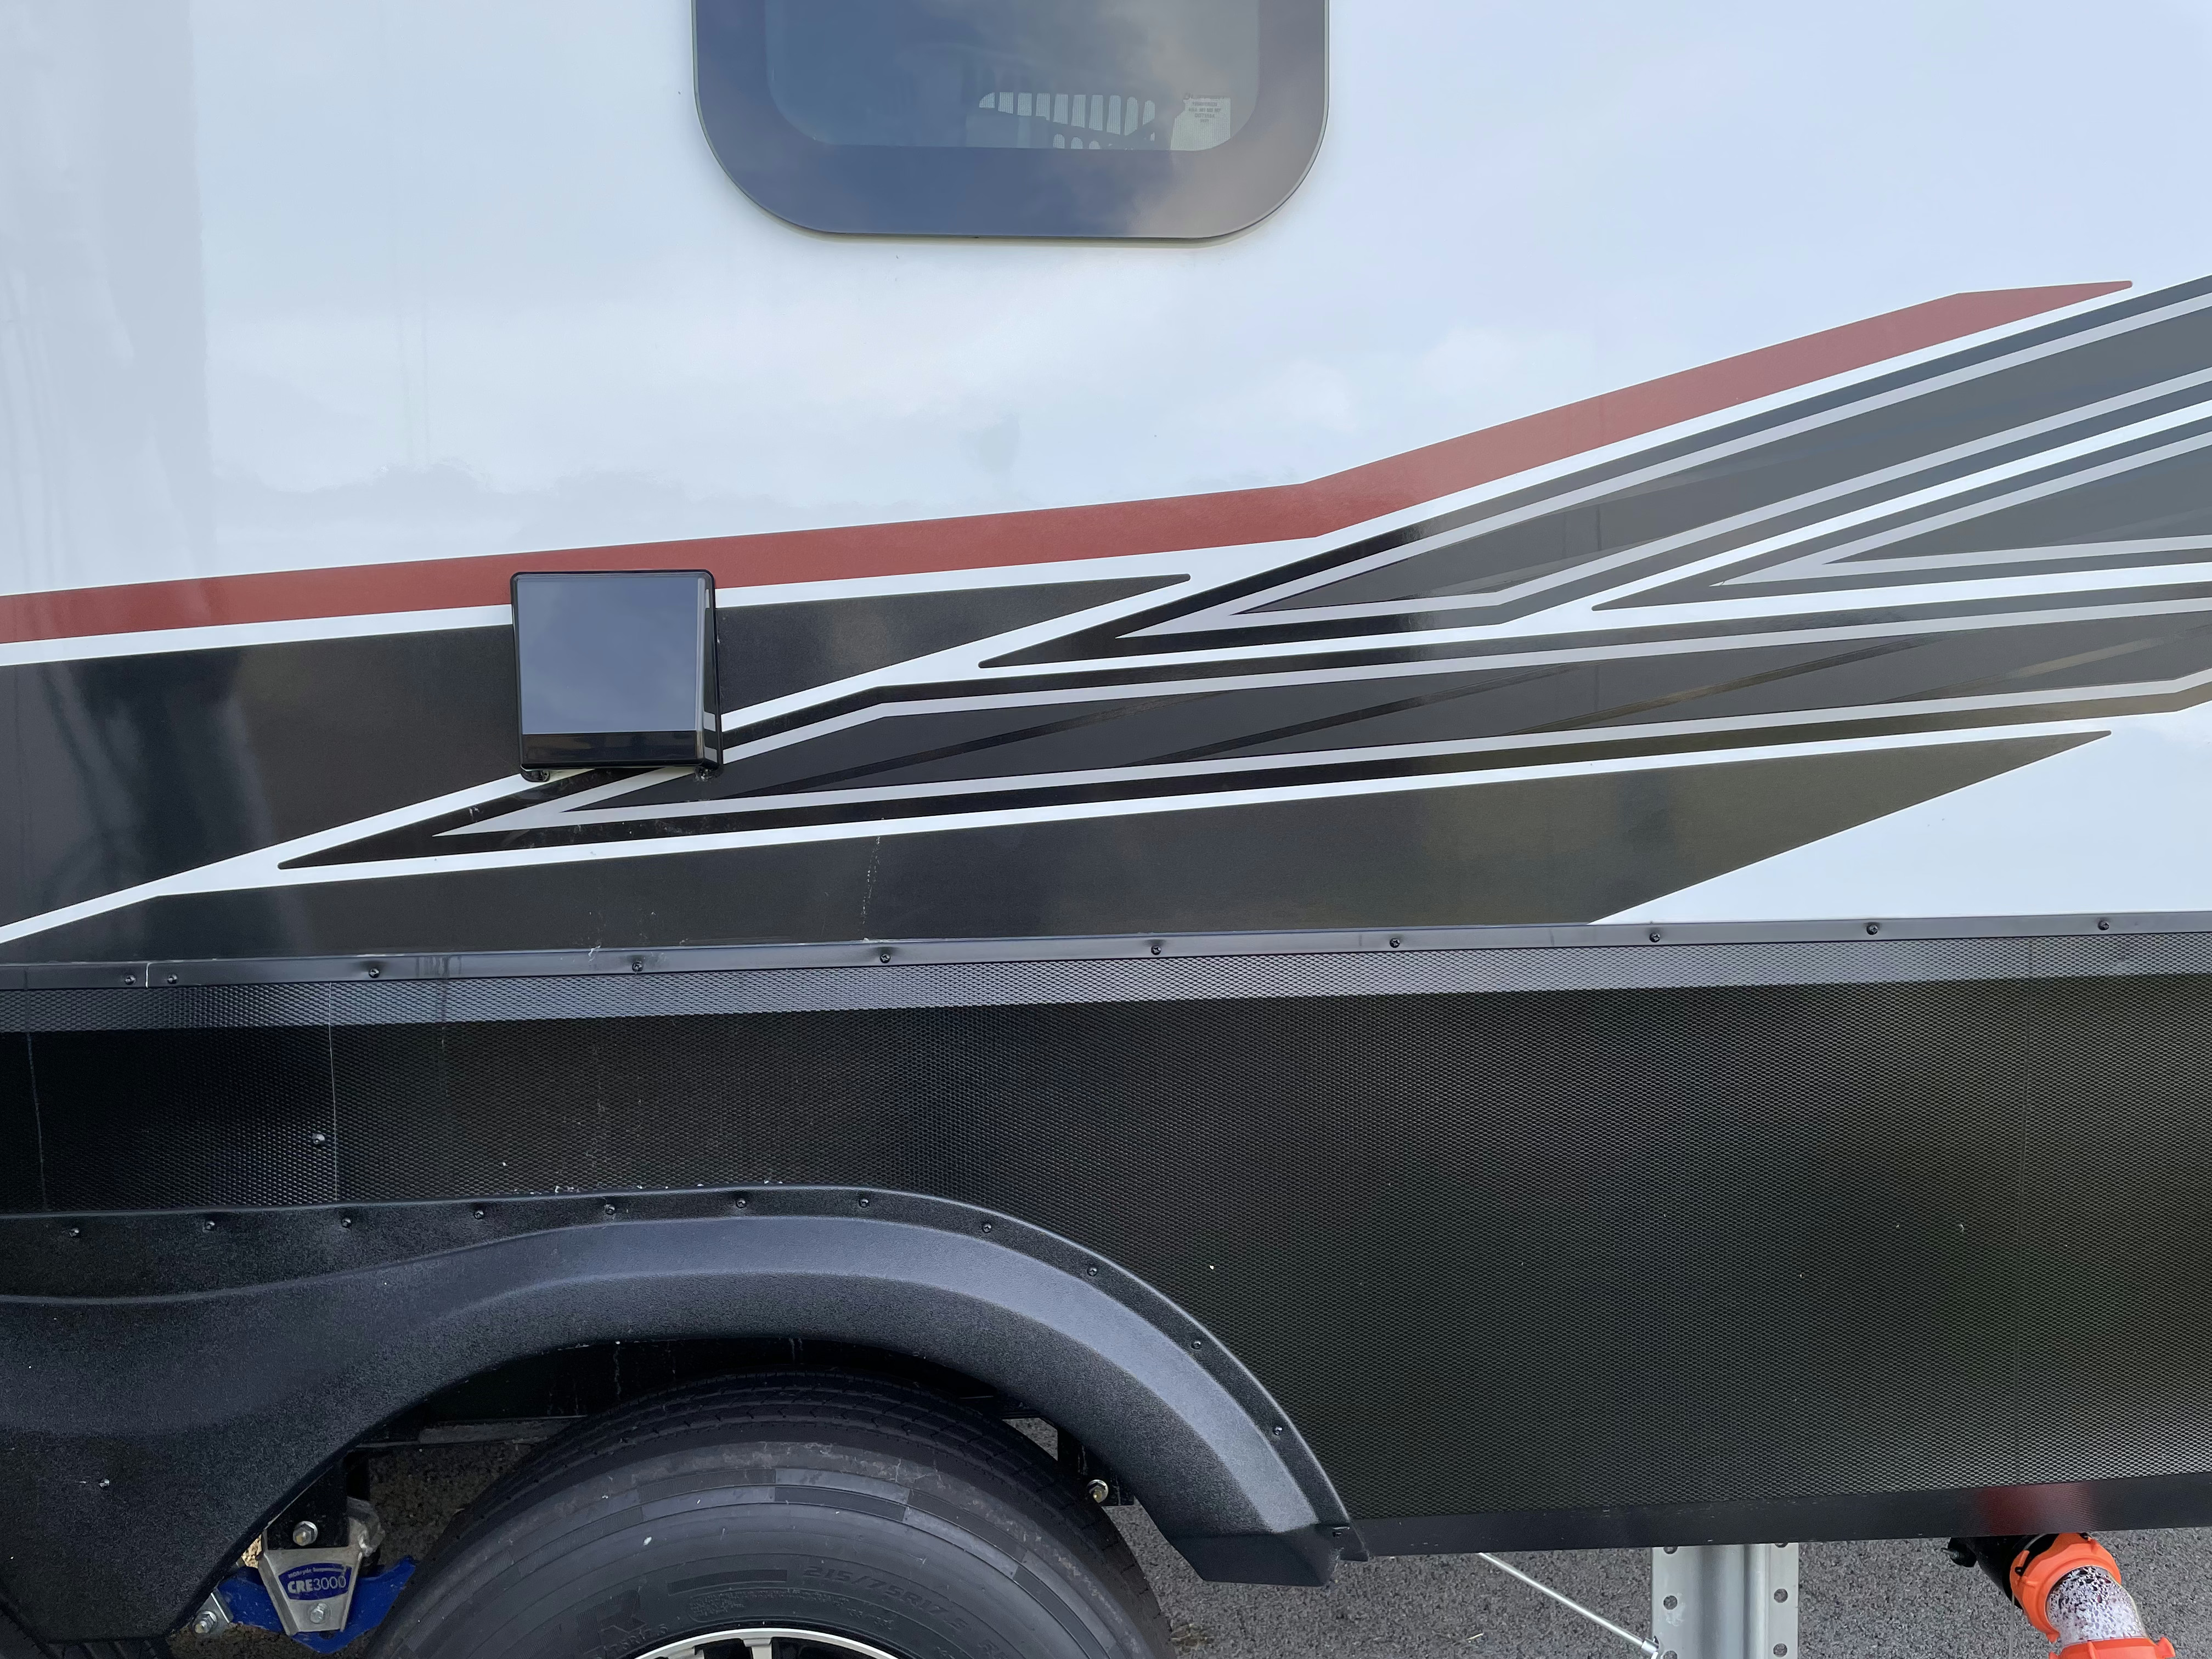
Grand Design prewires their rigs to fit furion backup cameras and I have to say installation was super easy. I just unscrewed the cover, plugged in the camera, and screwed the camera in where the cover was. No problems whatsoever.

This is where the dryer vents out of the rig.
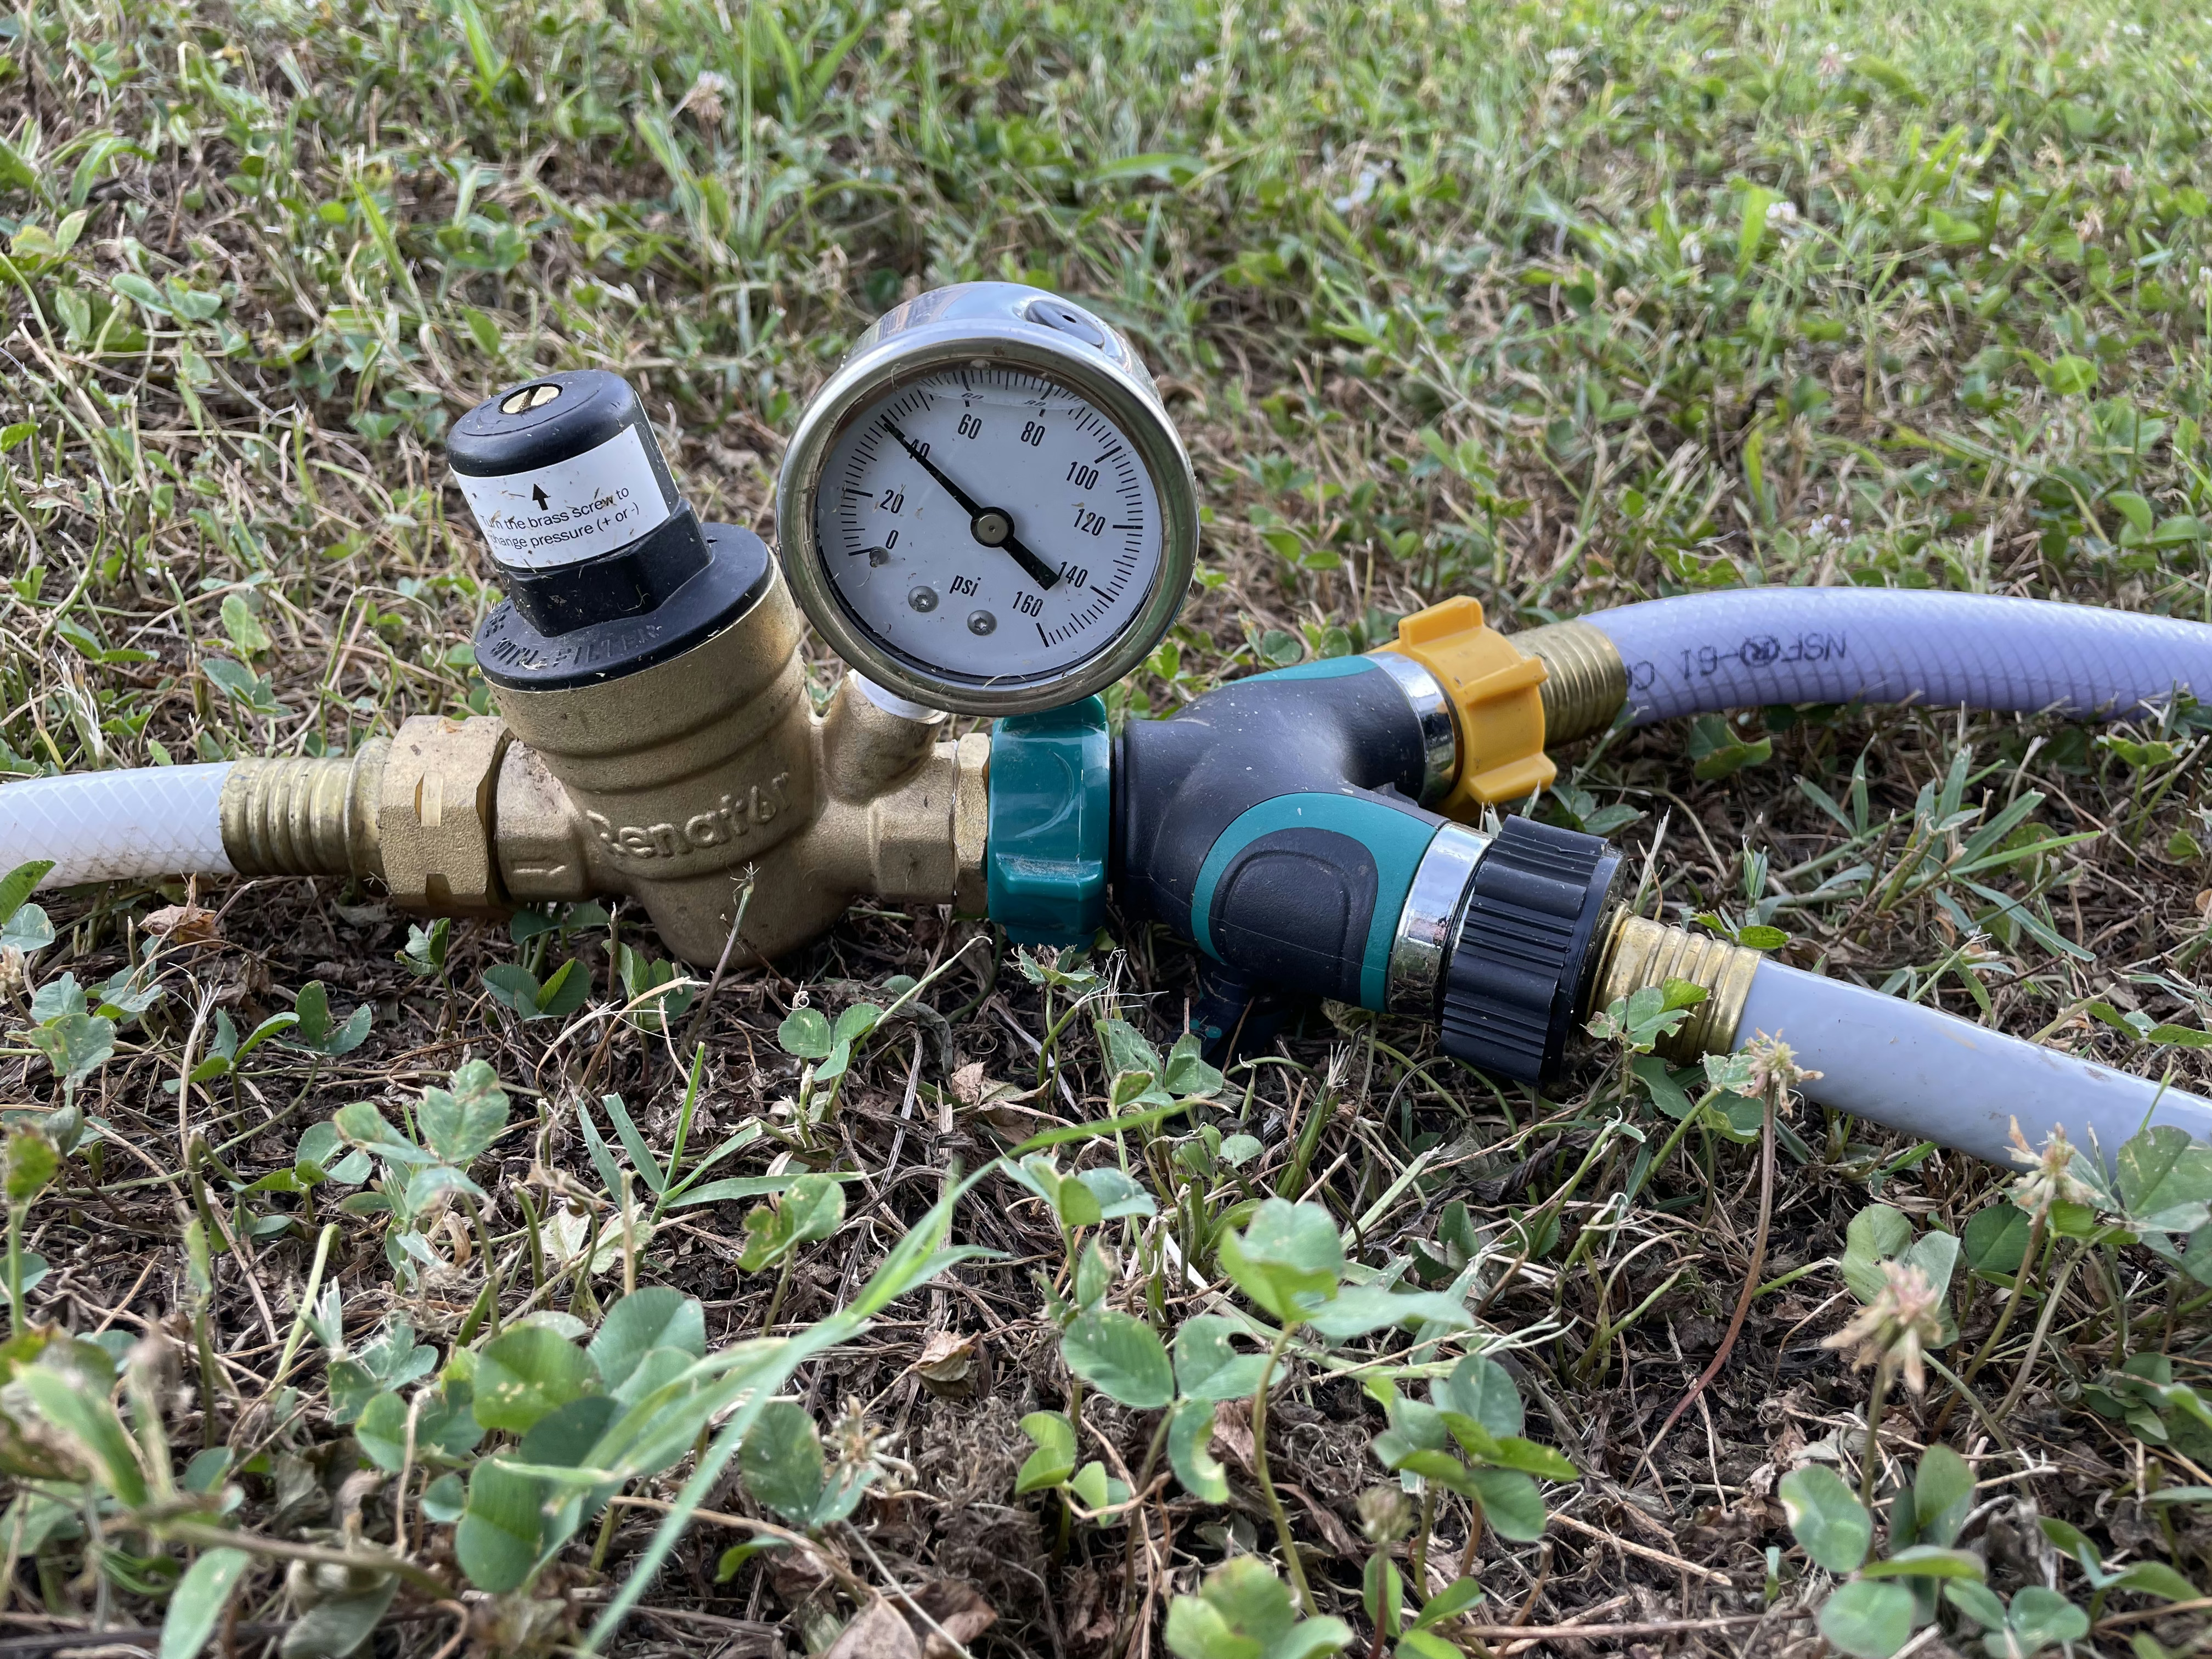
This is our Y split + a pressure regulator. An essential part if you’re traveling to places that have pressures that would otherwise damage your RV’s plumbing. The Y split is great for not having to unhook your rig’s water to do various things like flush tanks or play in a sprinkler.
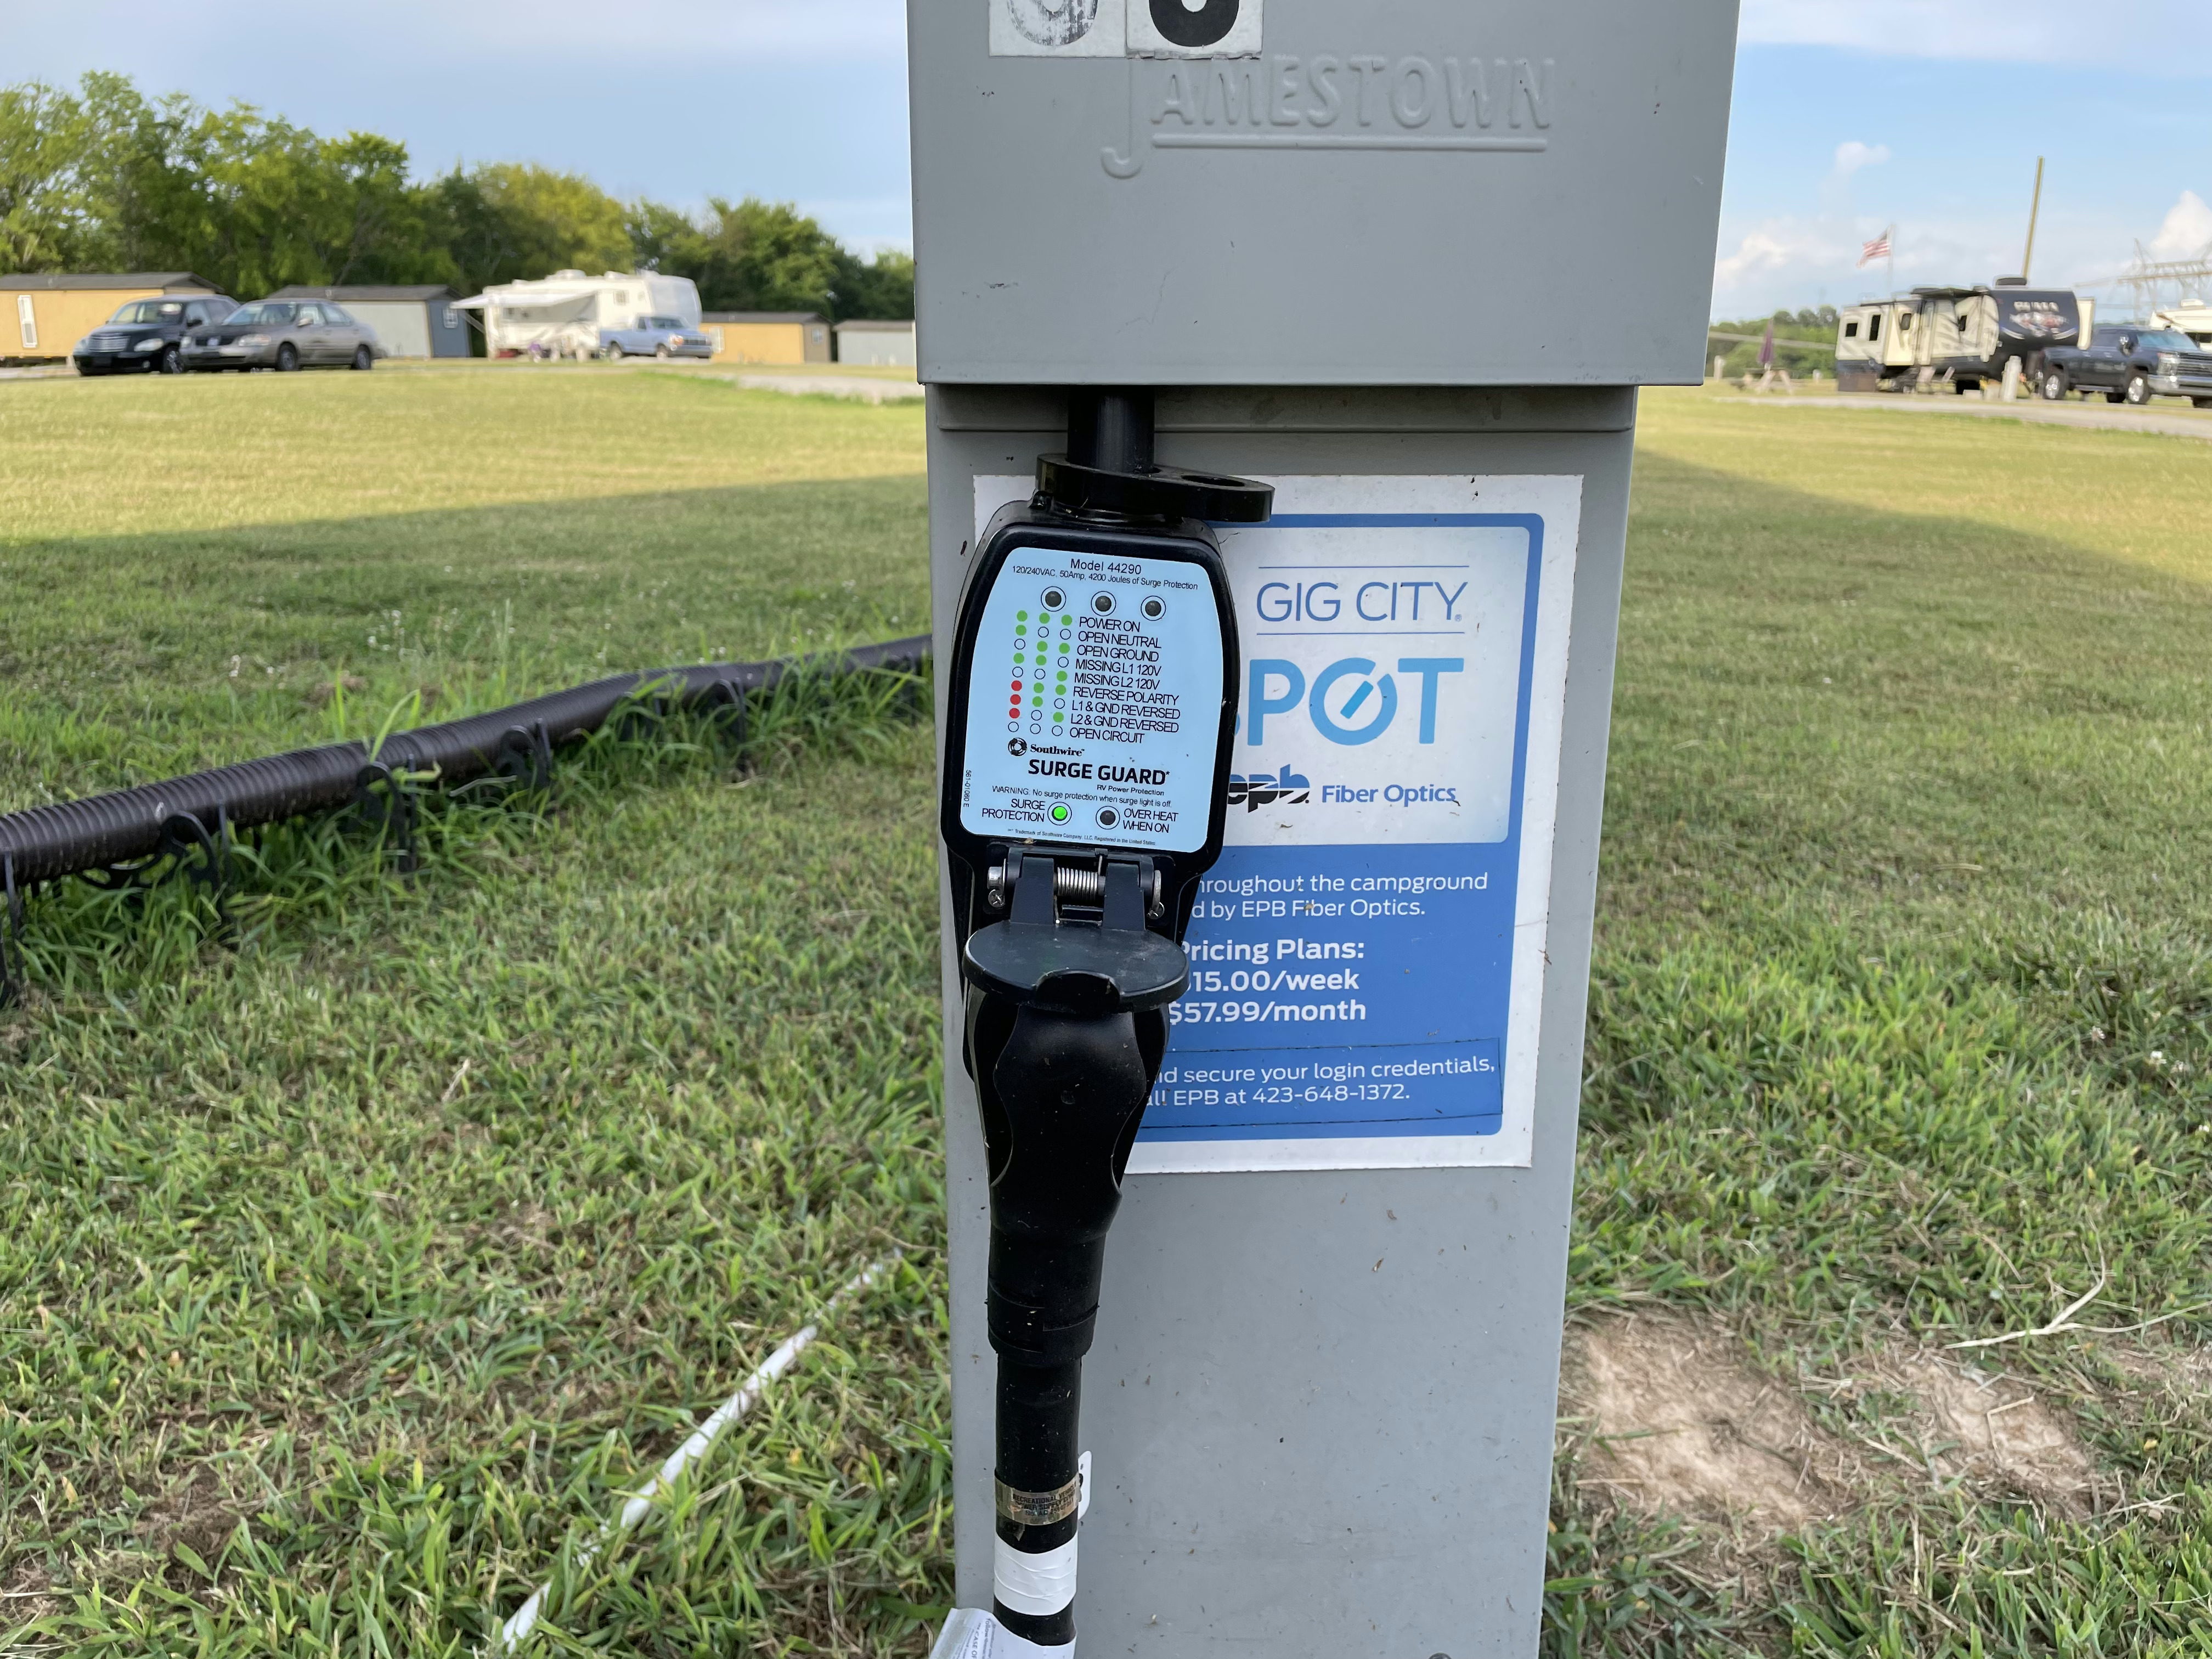
Another thing to be wary of is poorly wired electrical posts. A device like this Surge Guard will protect your rig from faulty wiring. Here you see this post is wired correctly and we’re hooked up to 50amps.
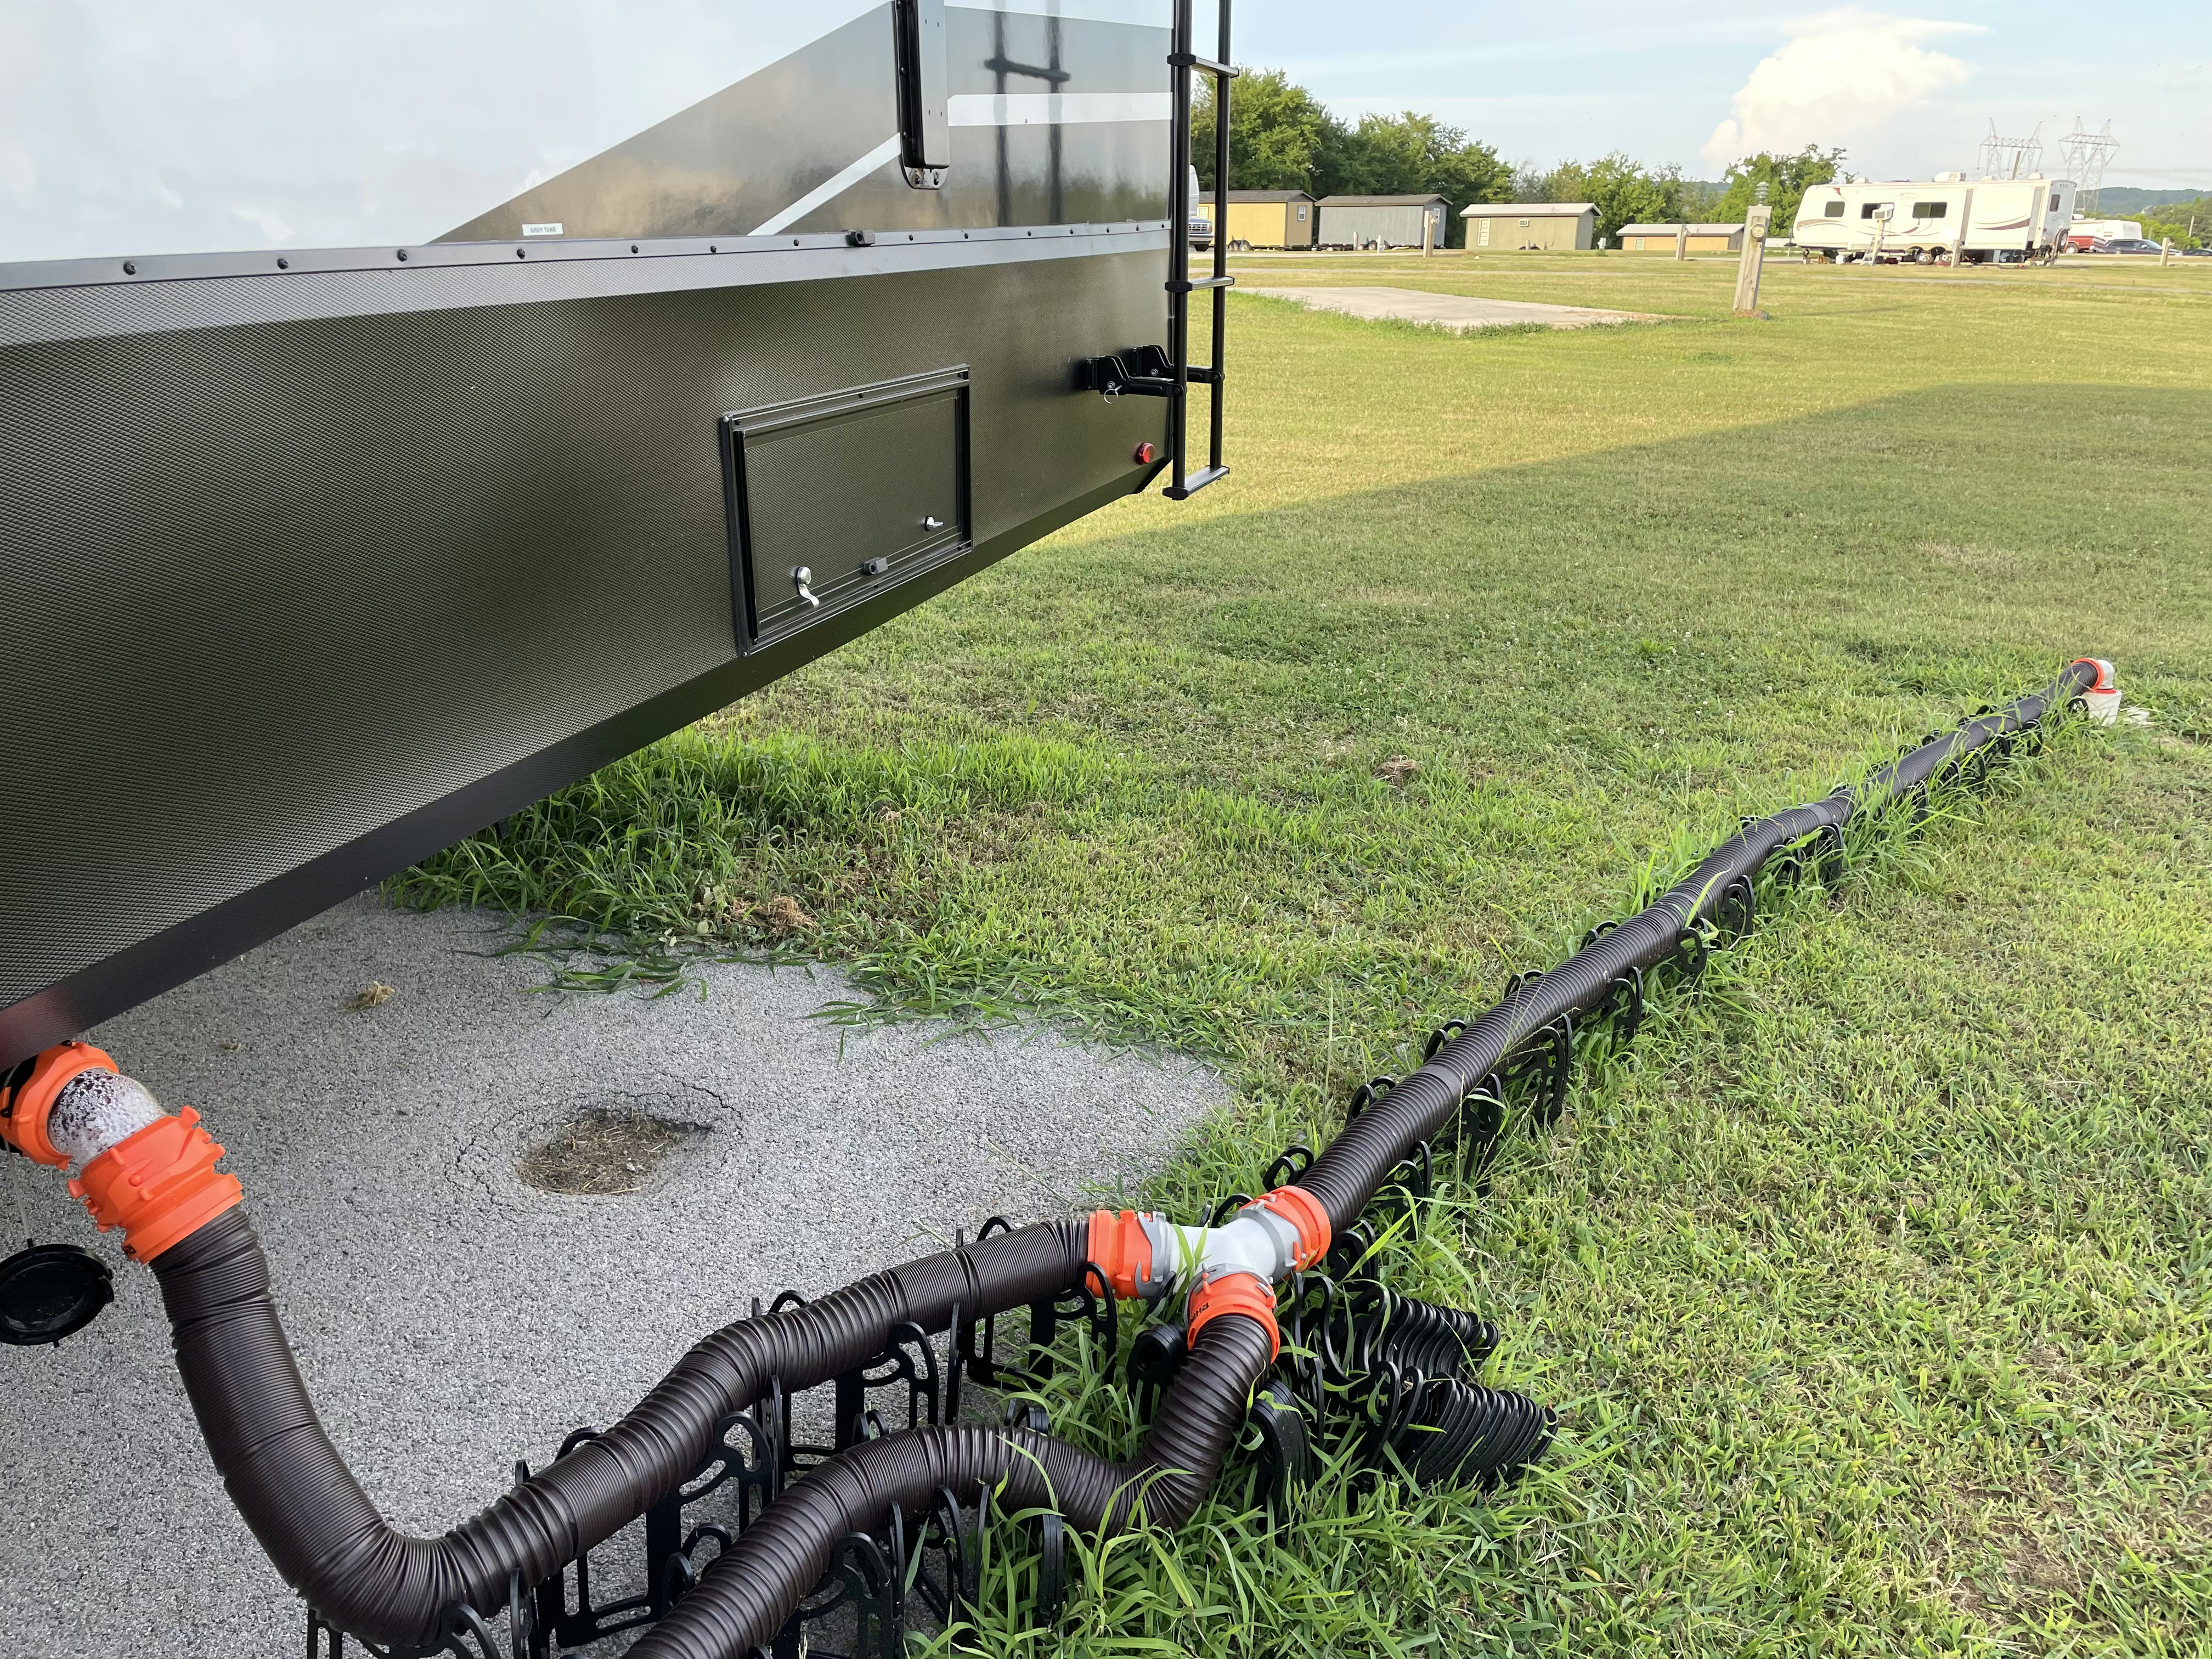
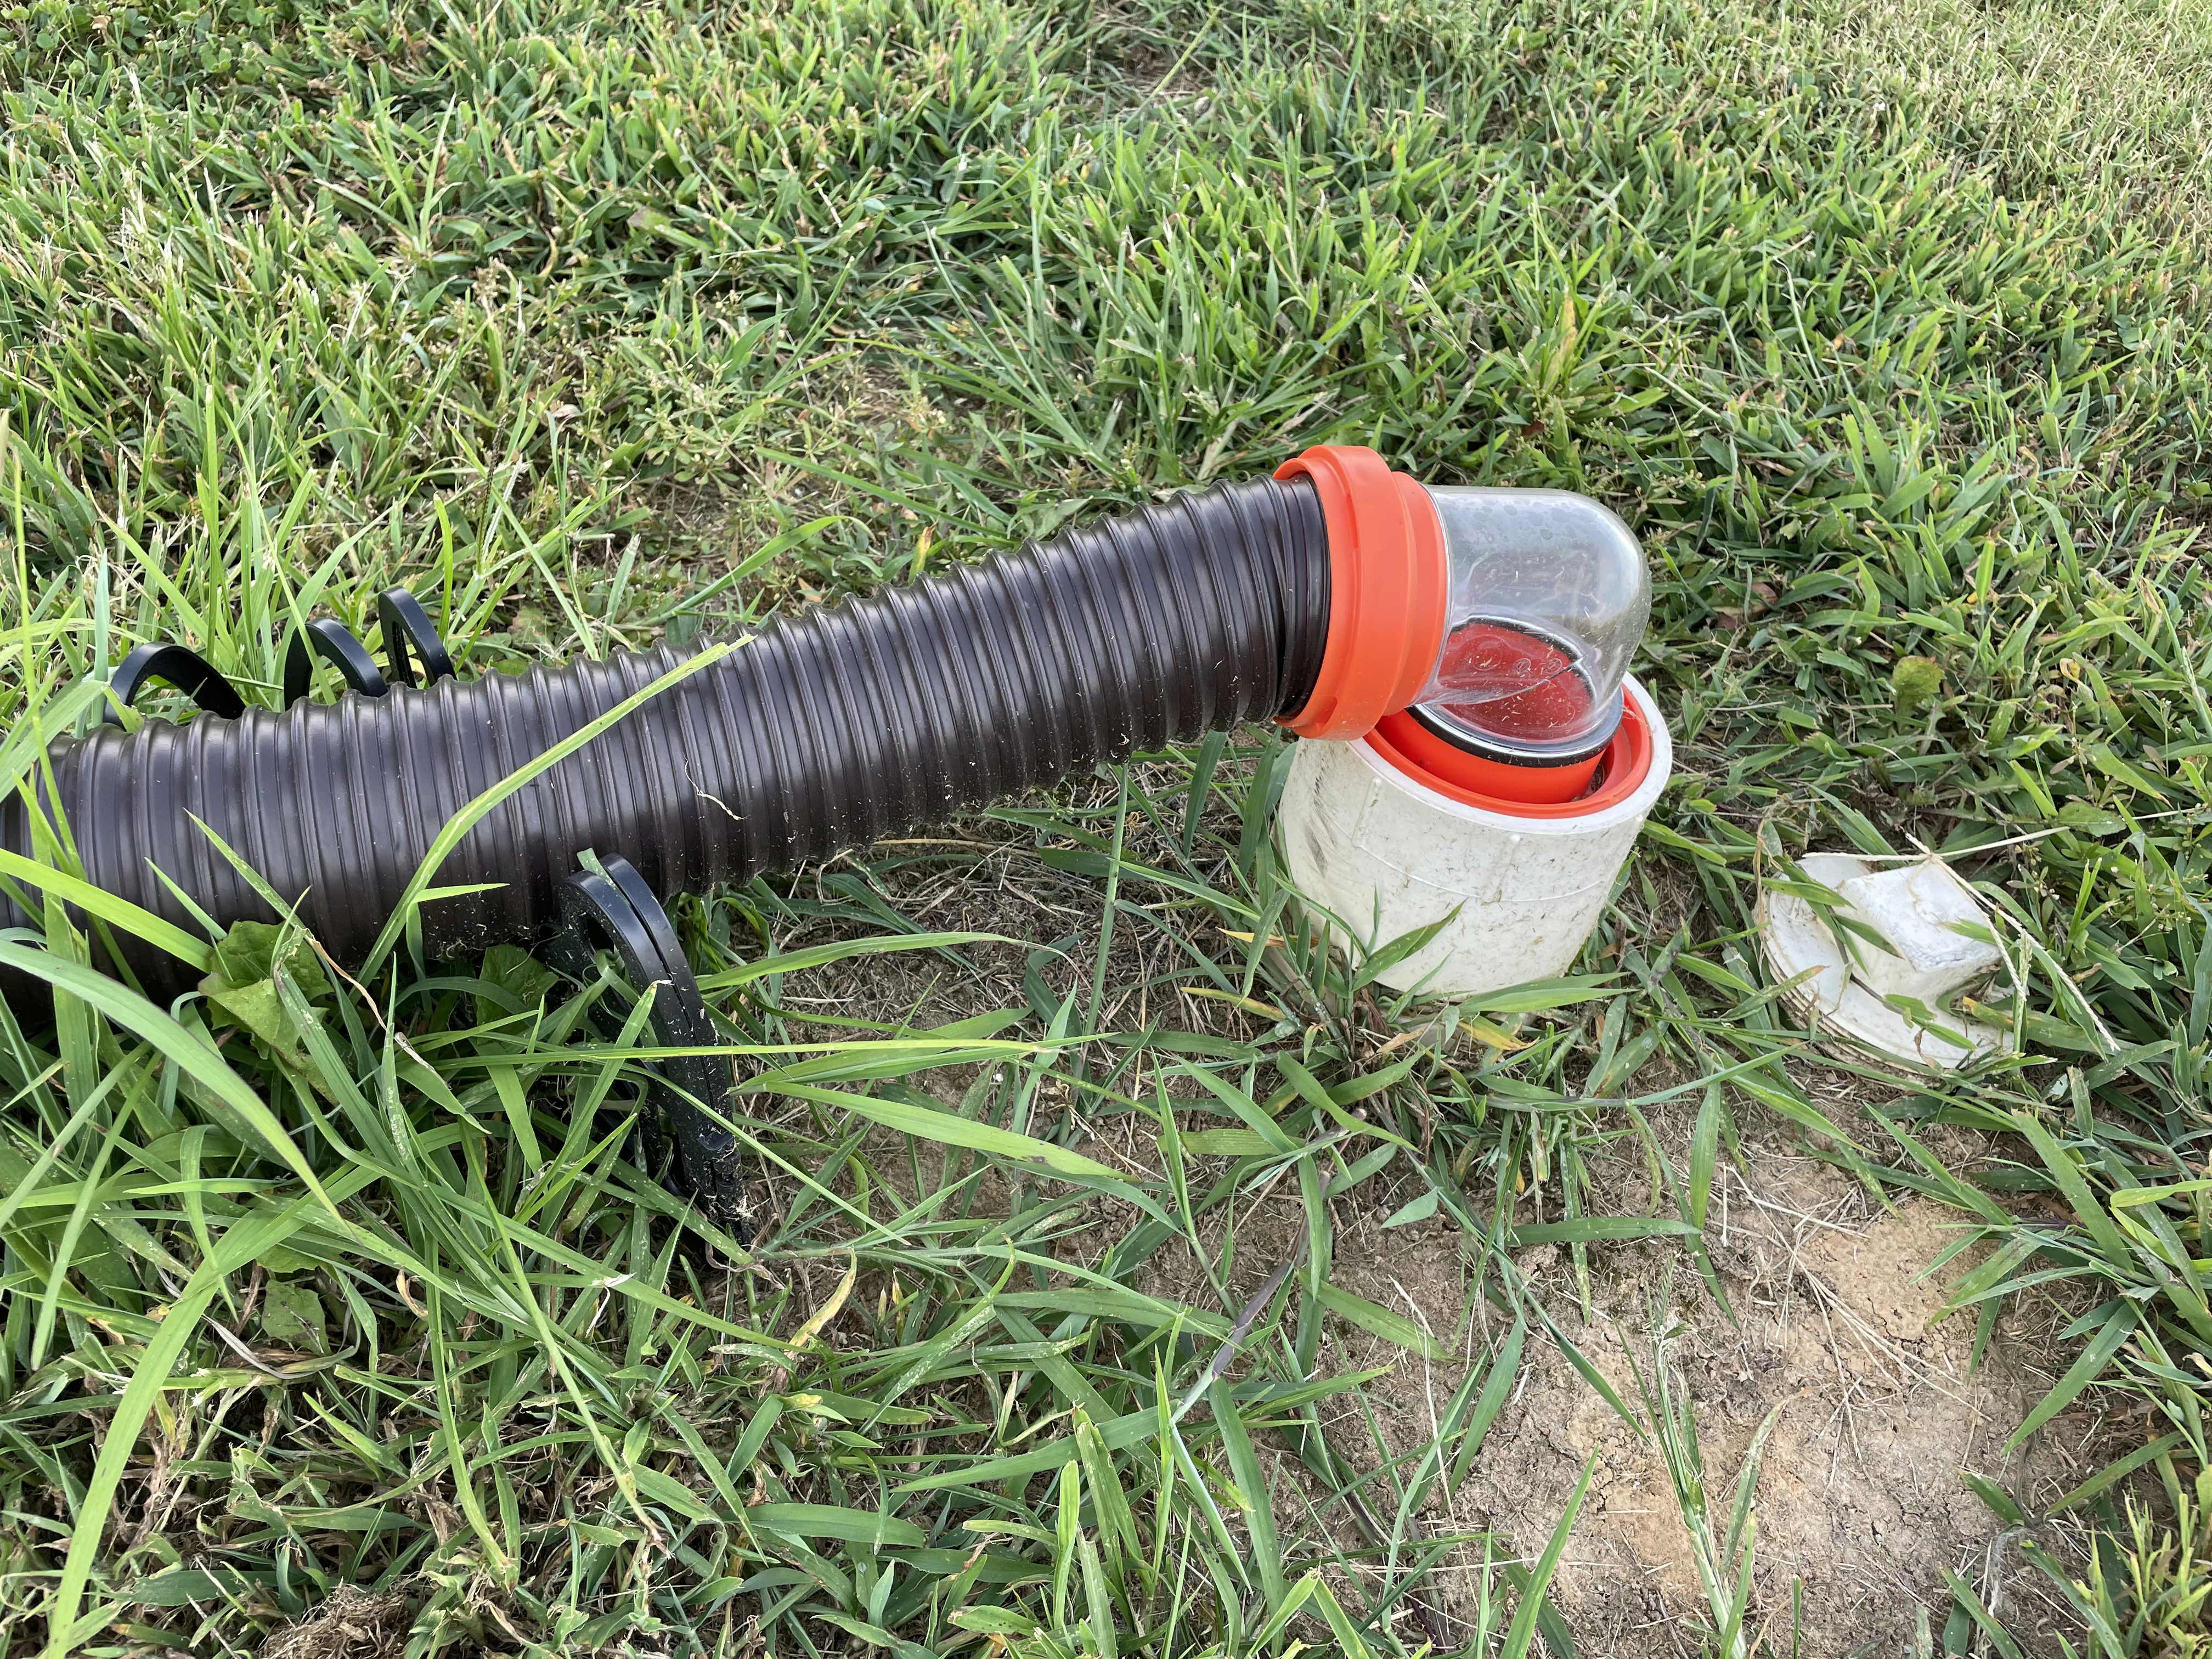
This showcases the setup for having our black/gray tank and subsequent gray tank all run together into a single sewer hose. The gravity drop right there at the Y connector isn’t the greatest but it’ll do for now.
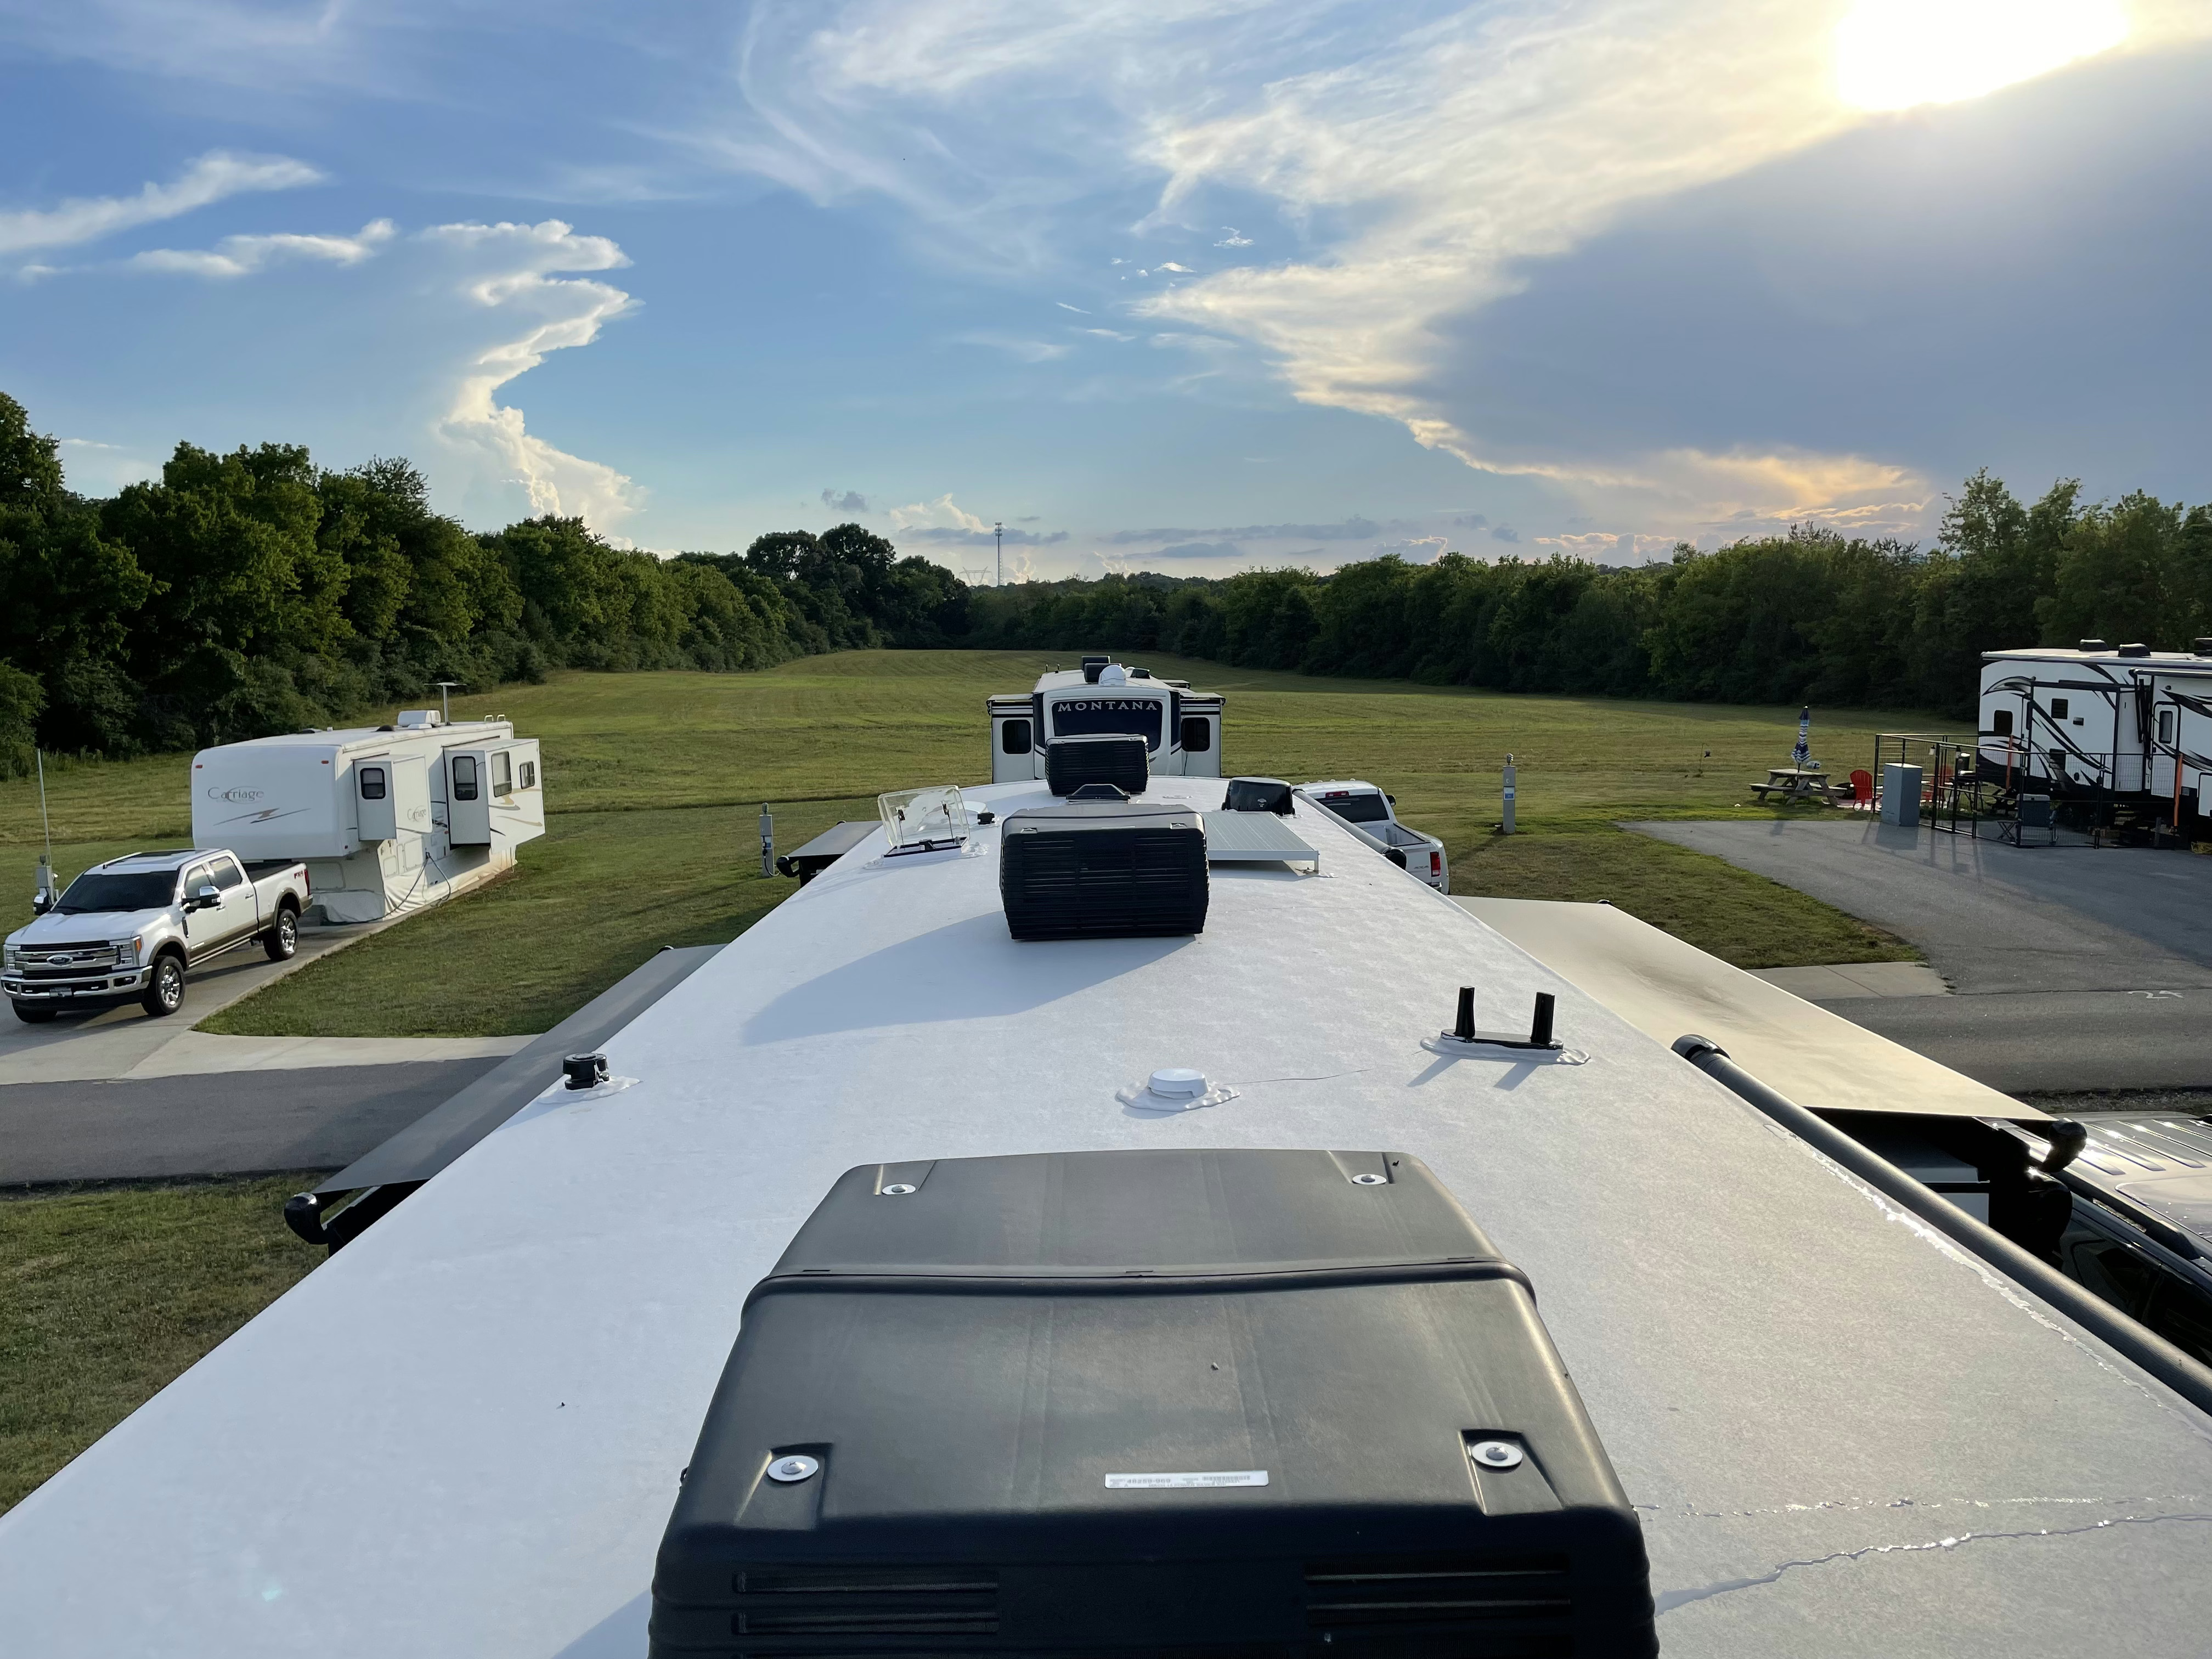
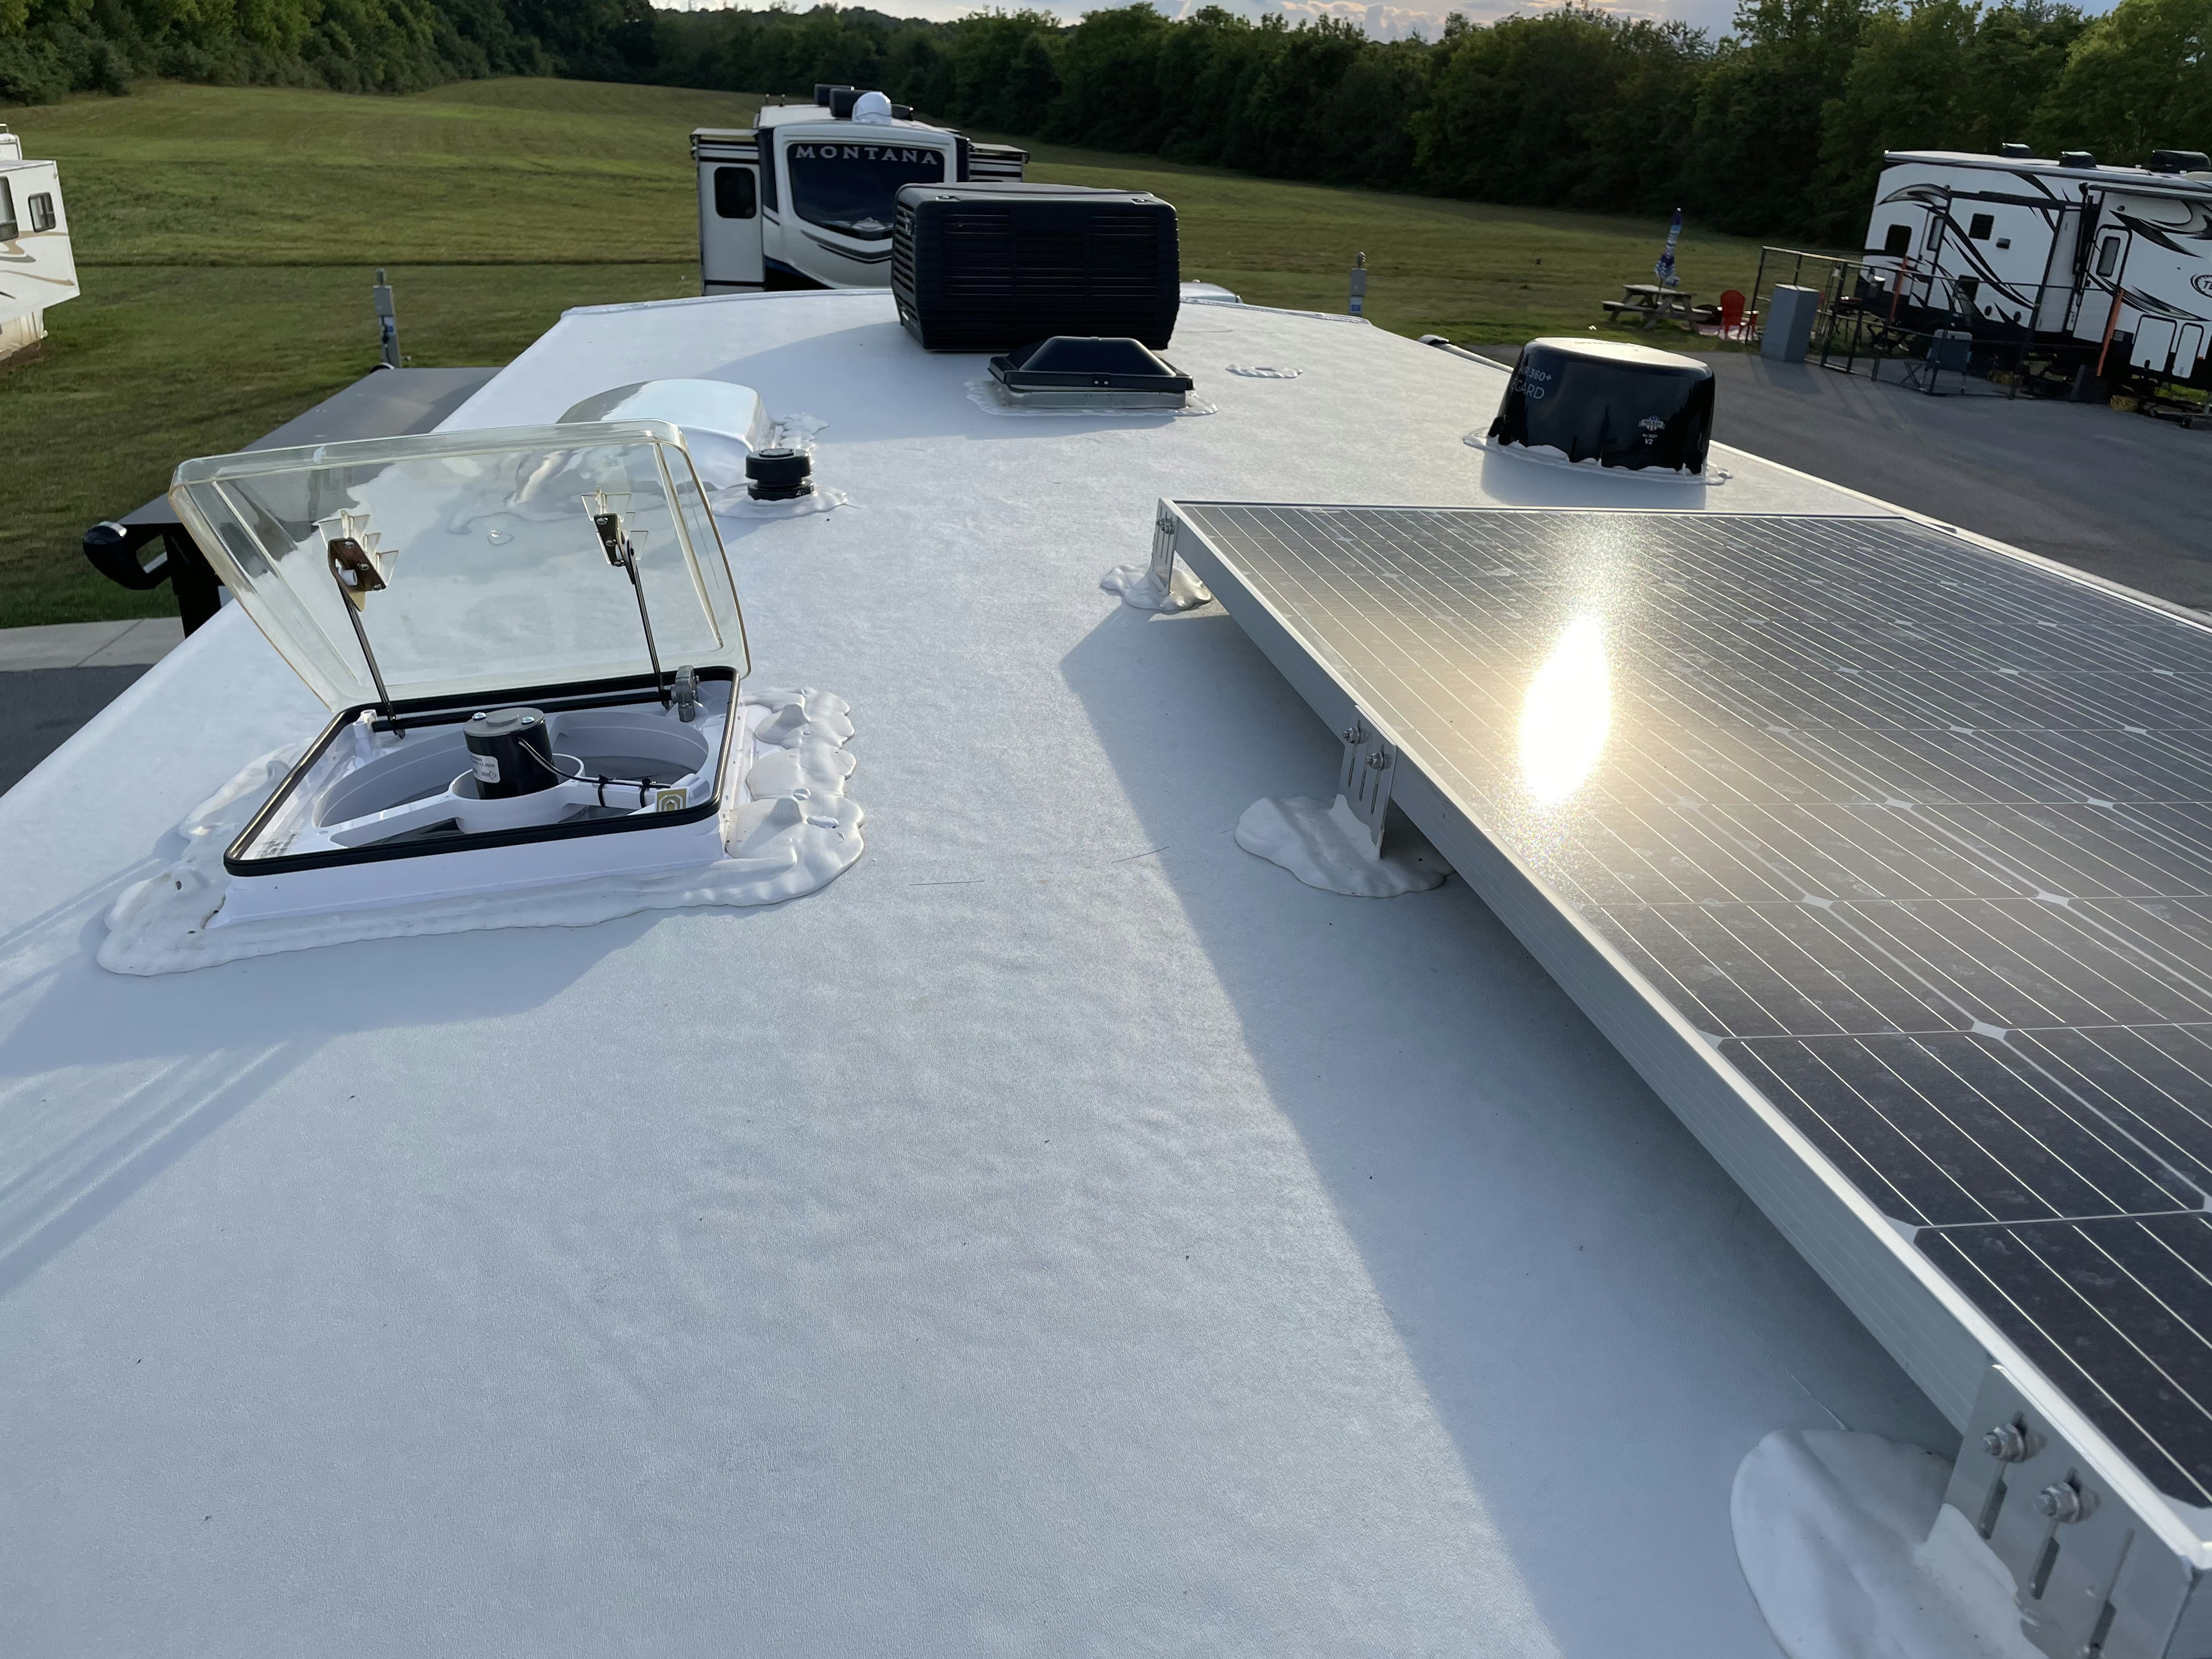
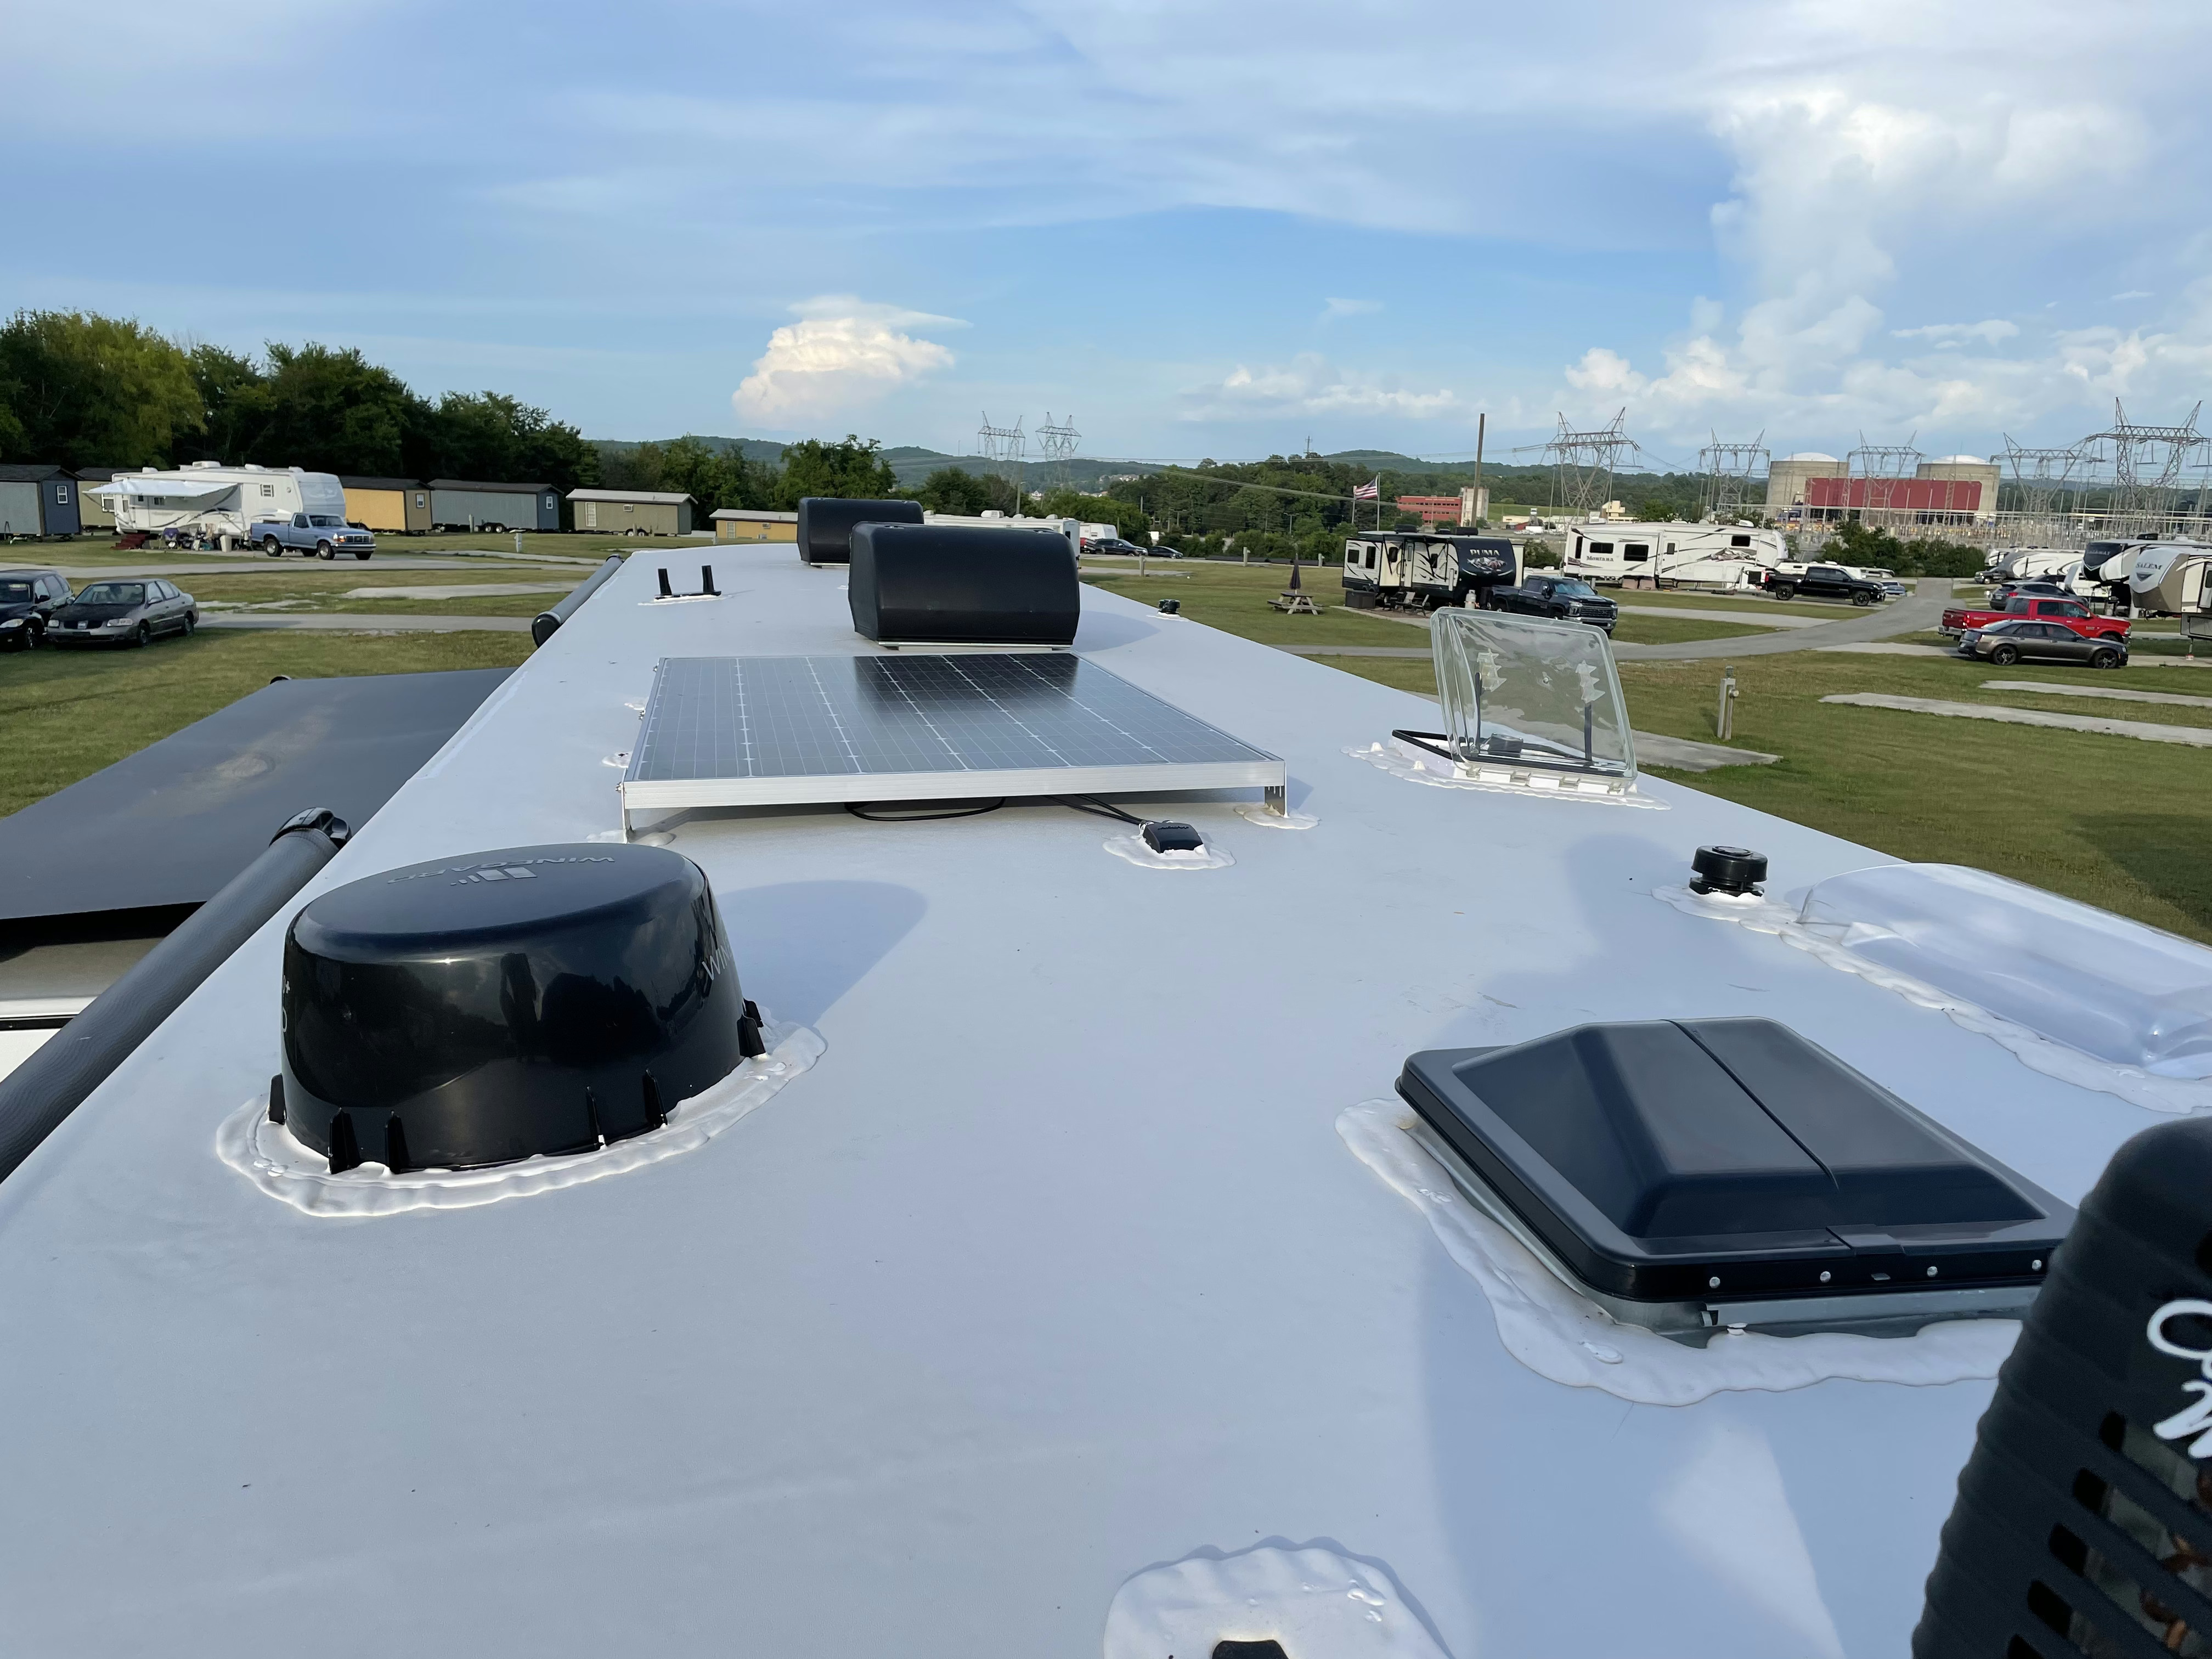
Here you’ll see the roof with 3 units, an open kitchen vent, and the solar panels.
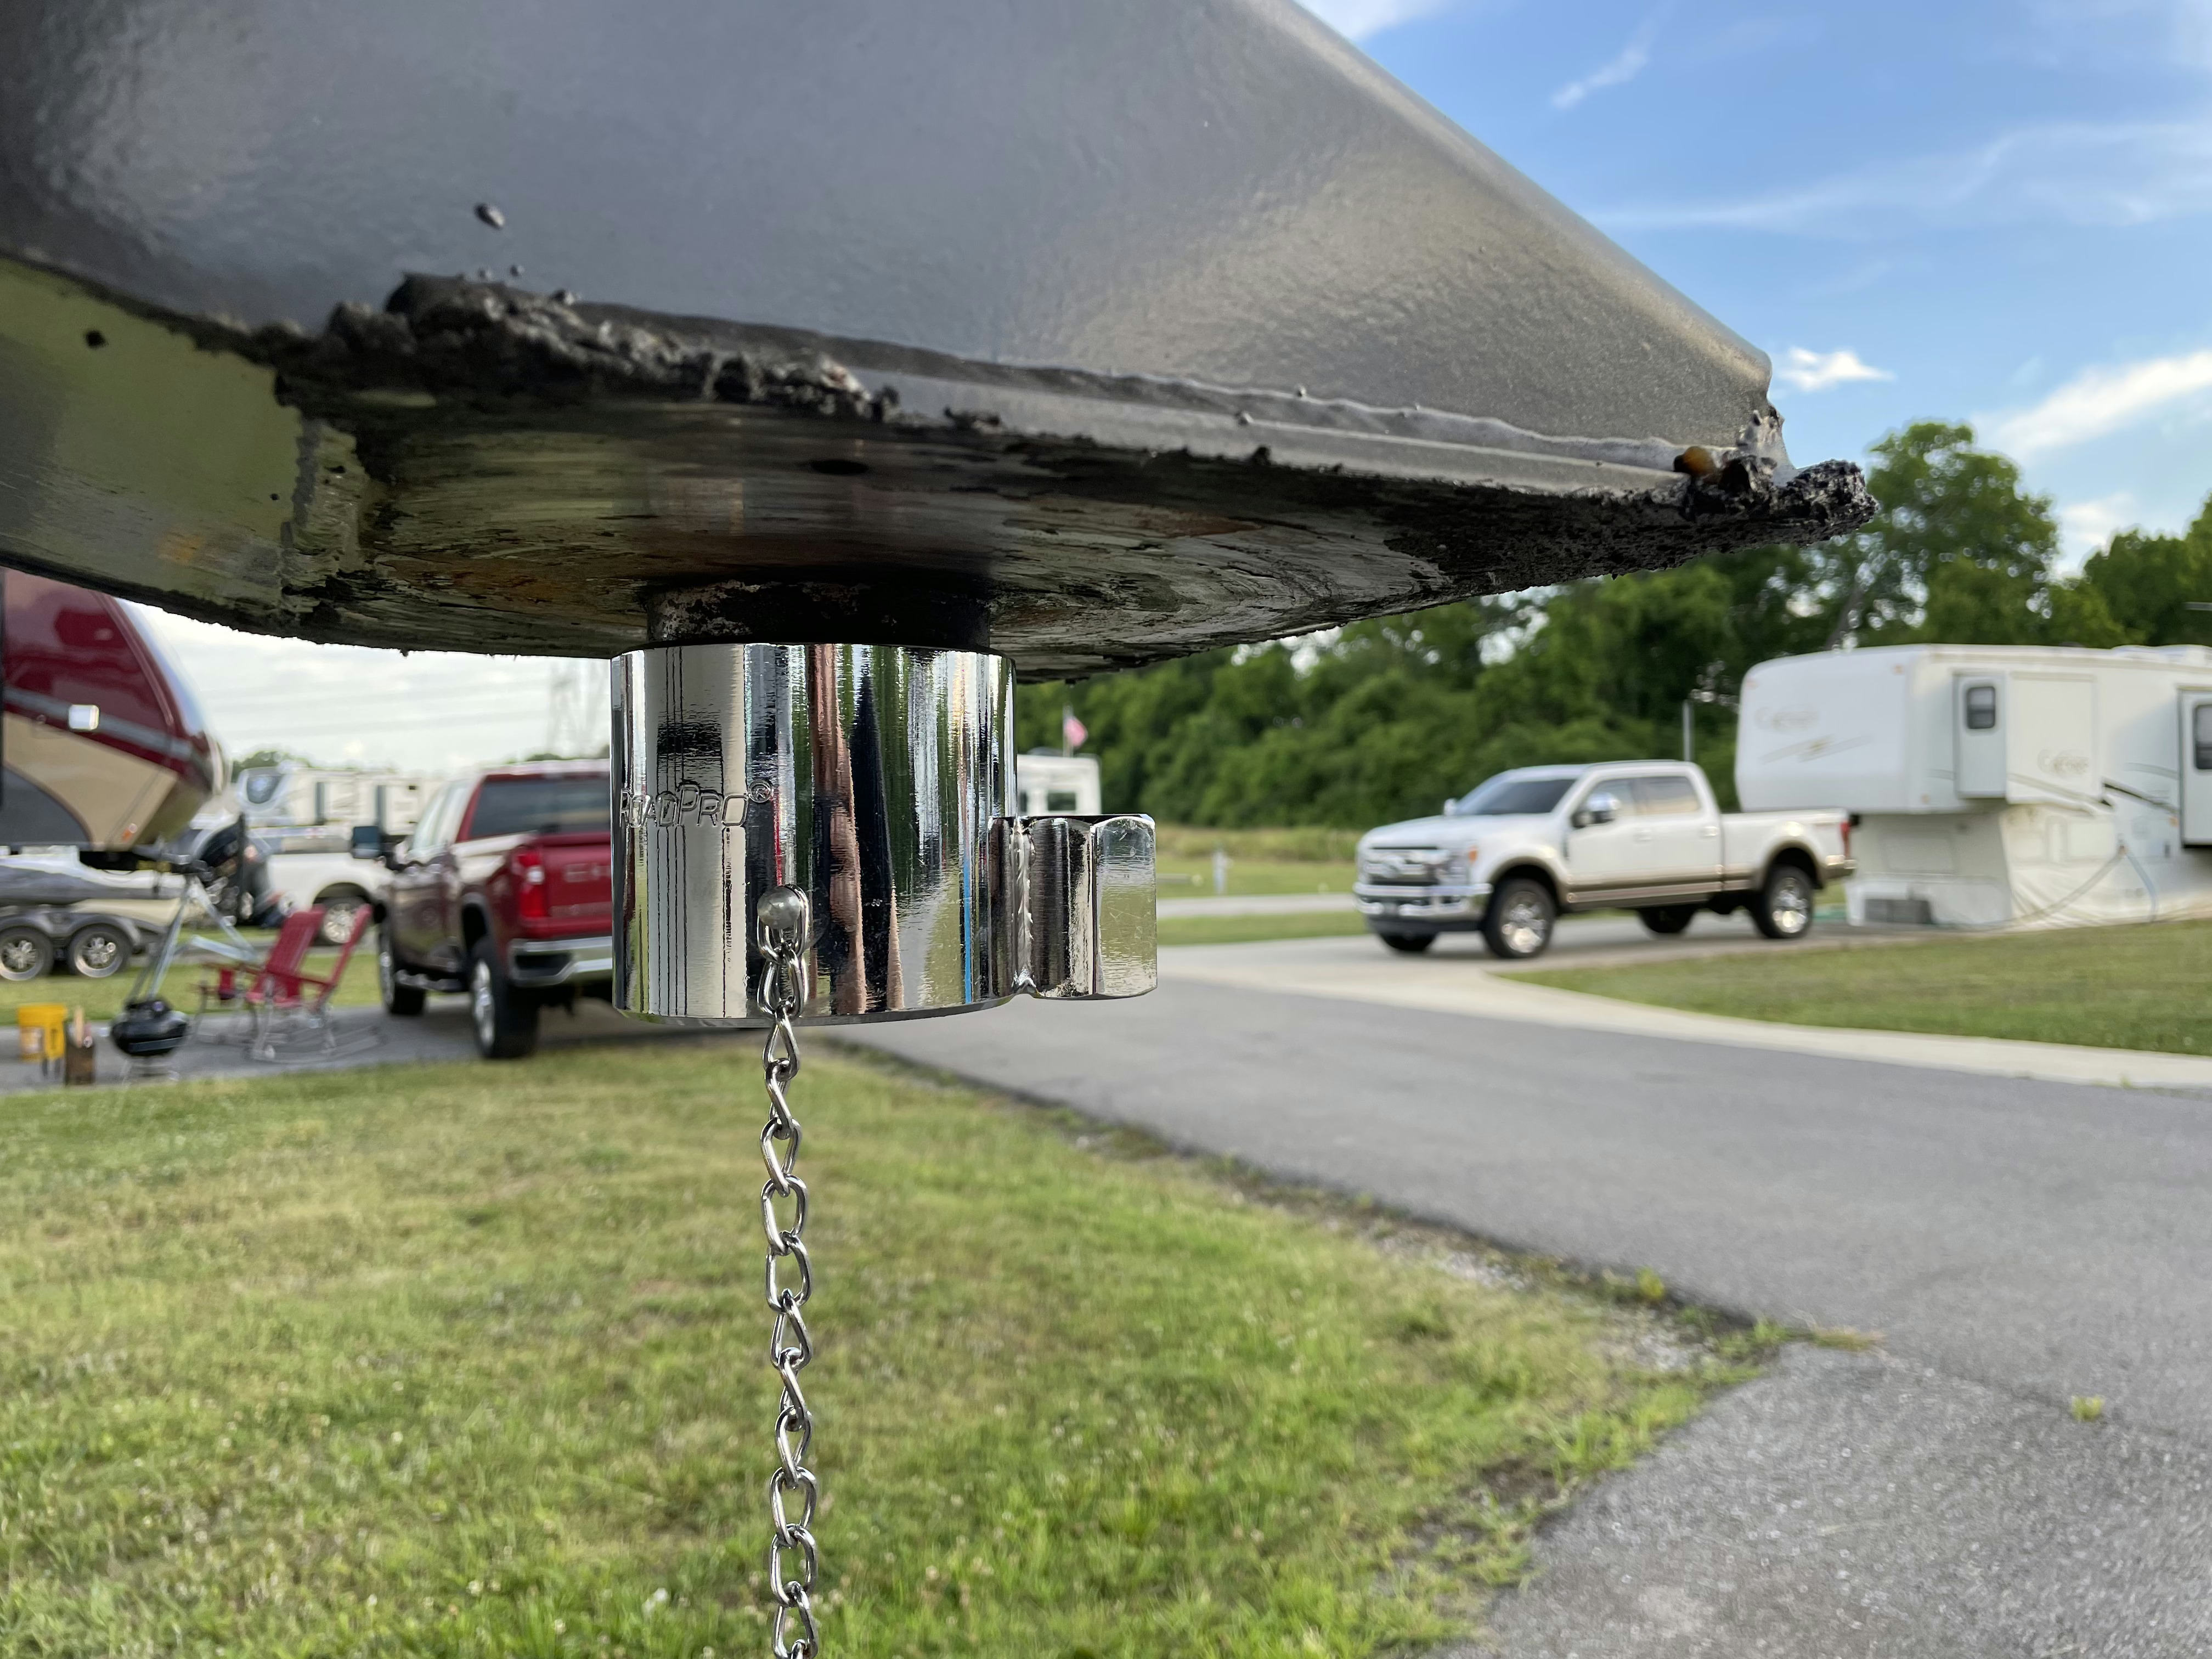
Lastly we have here a kingpin lock which anyone with a modicum of experience could probably pick in 10 seconds or less, but it does make us feel a tiny bit safer.